
Grasp of Avarice dungeon guide - Destiny 2
A complete walkthrough of the Grasp of Avarice dungeon in Destiny 2, including tips to complete the Master version.
The Grasp of Avarice dungeon is Destiny 2’s latest end-game content, added to the game with the Bungie 30th Anniversary pack. For those with a desire for some of the best loot in the game, completing the dungeon is a must, especially if you want Gjallarhorn or some incredible armor. In this Grasp of Avarice dungeon guide, we’ll detail each section, as well as give some weapon and build recommendations, and outline the mechanics of each fight.
Master Difficulty Tip: Look out for these tips in each section down below. Each tip will inform you of the Master difficulty differences and provide some general tips to help you succeed.
Grasp of Avarice dungeon guide
The Grasp of Avarice dungeon is located in the Cosmodrome, up in the Skywatch where veterans will remember the loot cave from years ago. In fact, the whole dungeon is themed after that very event. There are only a couple of encounters in the dungeon, with each one being fairly straightforward. In saying this, there could be a few areas that cause some troubles. Use the following links to jump to each section:
- Skywatch – Loot cave crystal
- Rusted Gangplank – trap puzzle
- Phry’zhia the Insatiable
- Shroud – Sparrows and mines
- Sunken Lair – Destroy the shield
- Captain Avarokk the Covetous
Grasp of Avarice dungeon weapons and builds
Destiny 2 continues to evolve in a way that makes many different builds viable in end-game content. For the Grasp of Avarice dungeon on Normal difficulty, nearly any build will get you through the encounters and any weapon is reasonably effective. There are, however, some standouts that work well during Season of the Lost (the season that is active when the dungeon launched).

One clear winner is going to be One Thousand Voices. This Exotic Fusion Rifle continues to be an excellent option in end-game content, however, it’s obviously a bit difficult to acquire. If you can’t grab it, Linear Fusion Rifles with the Particle Deconstruction Class mod from the Seasonal Artifact (along with a Fusion Rifle in your secondary slot) will melt through bosses.
Another great option is going to be Witherhoard. This Grenade Launcher leaves pools of energy on the ground that damage opponents over time. Consider this as your Primary weapon as it will help you clear groups of enemies with ease.
Something worth considering is what Sparrow you are using. A quick-summon and quick-cooldown Sparrow is well worth it. This ensures you can get your Sparrow back quickly if it is destroyed. This makes the Sparrow and mines section significantly easier.
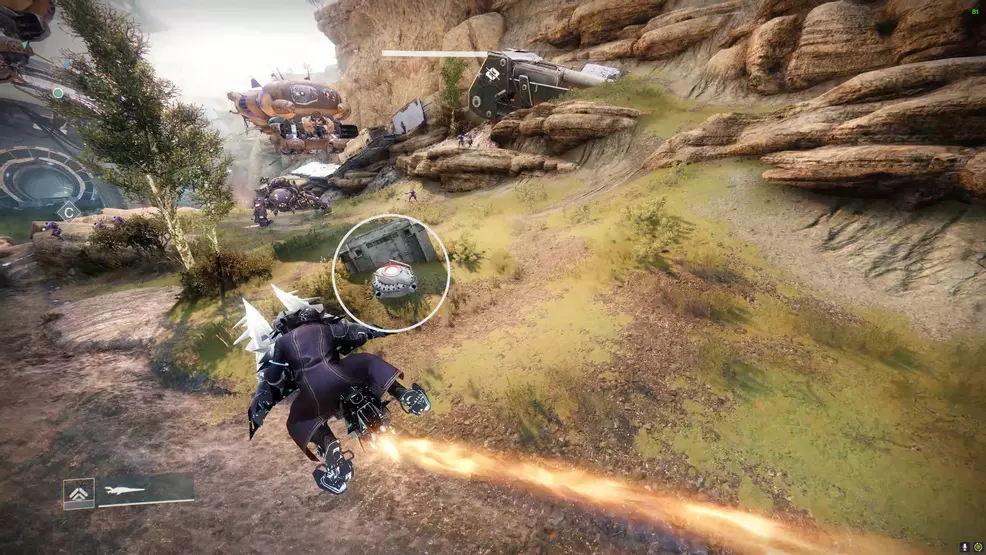
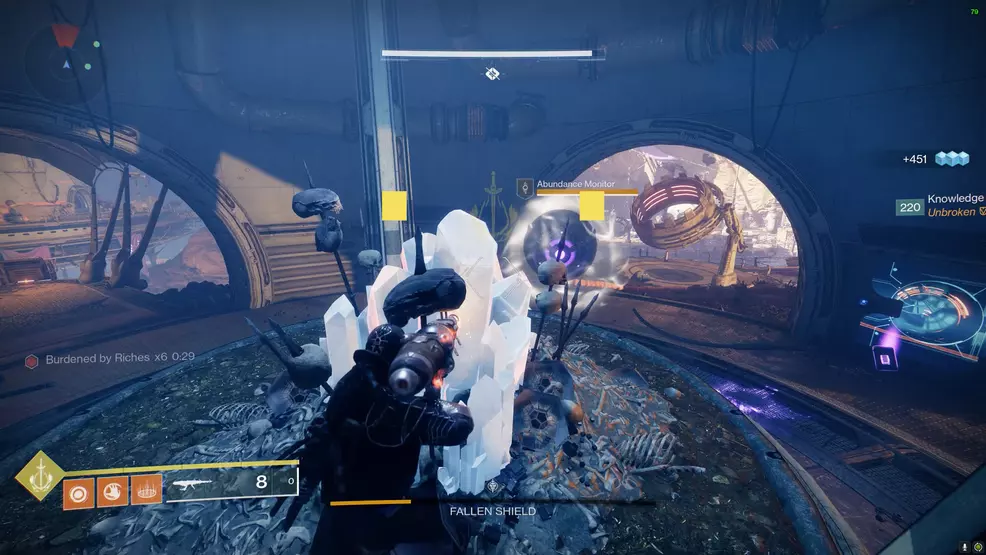
Skywatch – Loot cave crystal
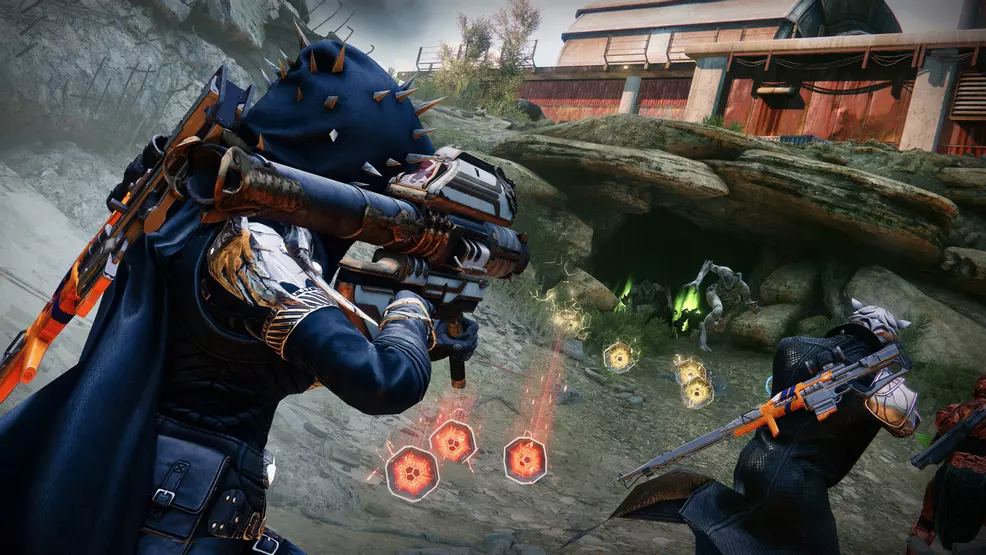
The encounter in the Skywatch takes place where the loot cave was from the original Destiny. This section asks players to “Tempt the Icon of Excess”. The mechanic introduced here (Burdened by Riches) will be used throughout the entire dungeon.
- Defeat enemies and collect the engrams they drop for the Burdened by Riches debuff
- Go into the cave and stand by the crystal to “deposit” the debuff
- Repeat until the crystal is sated and the text “The remains are quieted” appears
Skywatch acts as the entrance to the main area of the Grasp of Avarice dungeon. You should stick around the small cave that the enemies pour from – this is where you’ll be “depositing” the debuff.
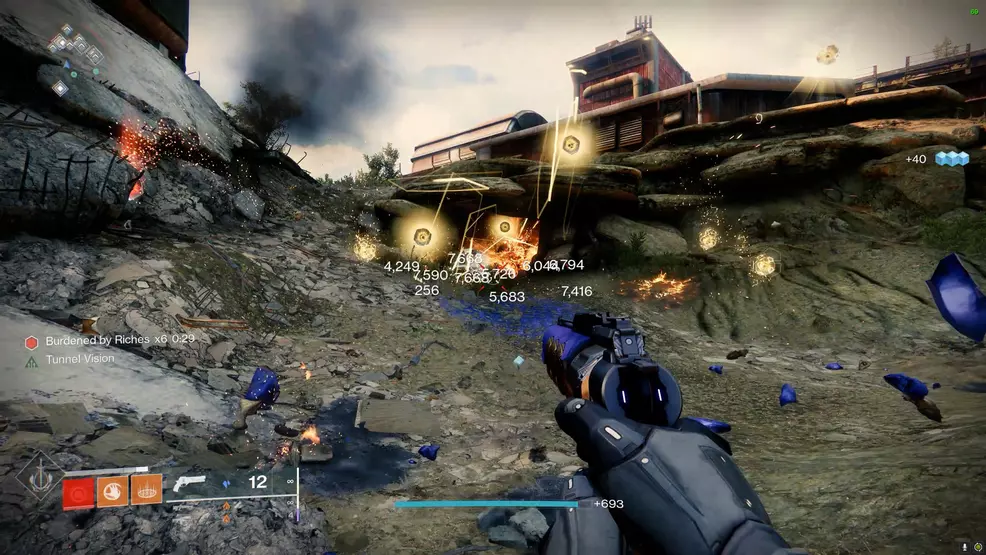
Stand back and defeat enemies as they spawn. They will drop engrams which, when collected, will grant a debuff called Burdened by Riches. You can carry quite a lot of these at once. When you hit 10 stacks, you will get your Super back. However, there is also a 30 second timer that will kill you when depleted. Collect as many as you can and then go inside the cave and stand beside the crystal. The stacks will slowly drain as you “feed” the crystal.
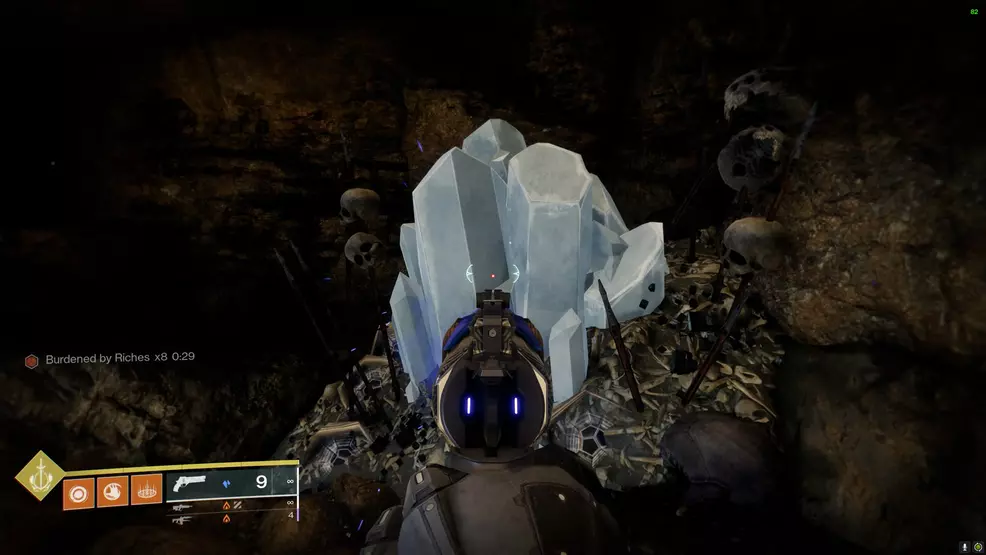
Keep defeating enemies, collecting Burdened by Riches, and depositing it into the crystal until the encounter ends. You will know it is finished when the text “The remains are quieted” appears on-screen, the Skywatch text appears, and the respawning zone will become restricted.
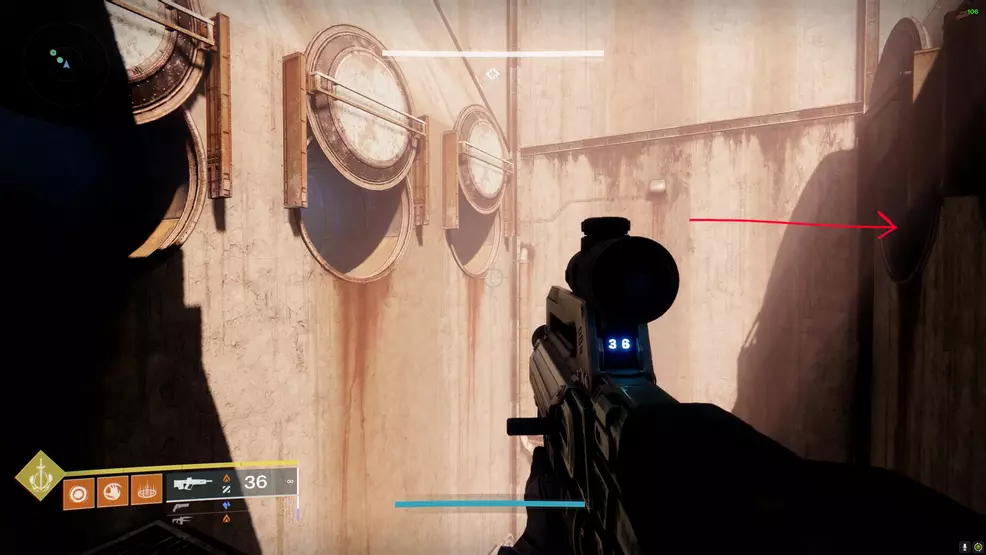
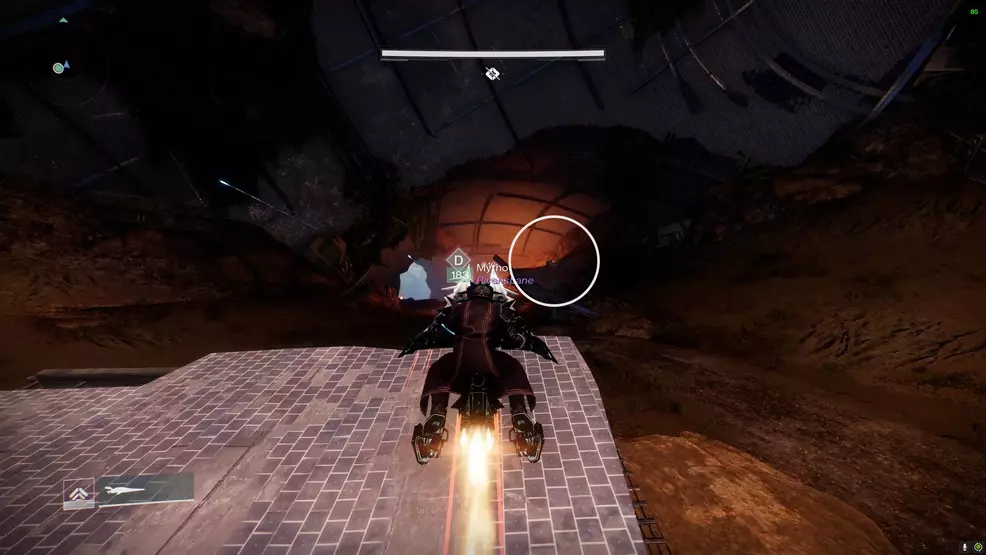
Work your way through the crystal caves until you reach the Rusted Gangplank puzzle.
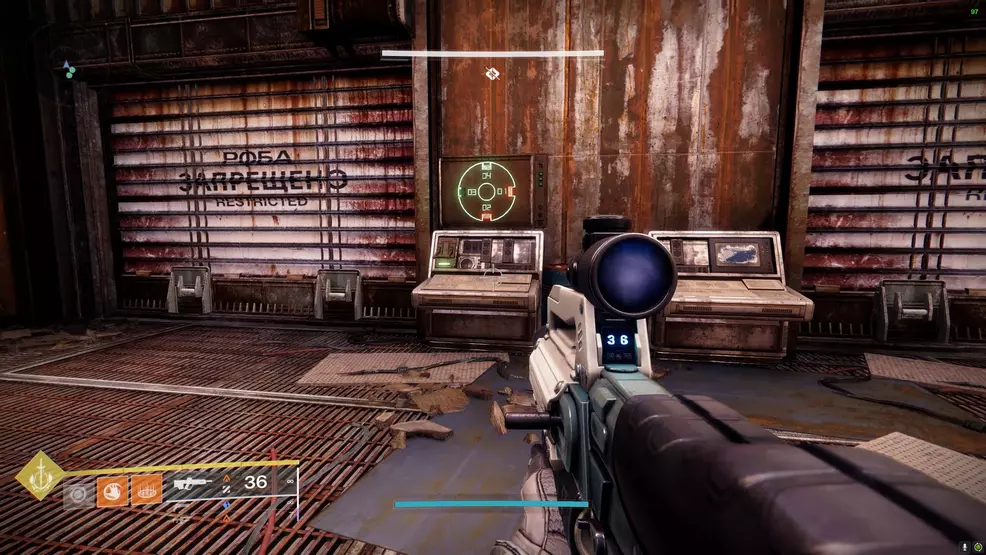
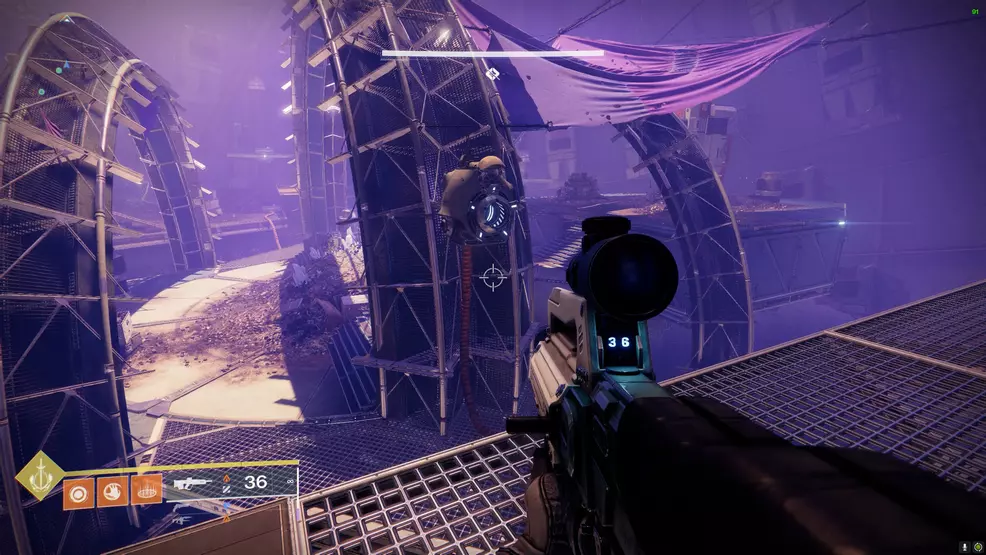
Rusted Gangplank – Trap puzzle
The Rusted Gangplank area is a sort of trial-and-error puzzle. There will be levers and pressure plates that activate a trap which will instantly kill you. The goal of this puzzle is to move through the area, avoiding the traps, and activating the correct levers and switches.
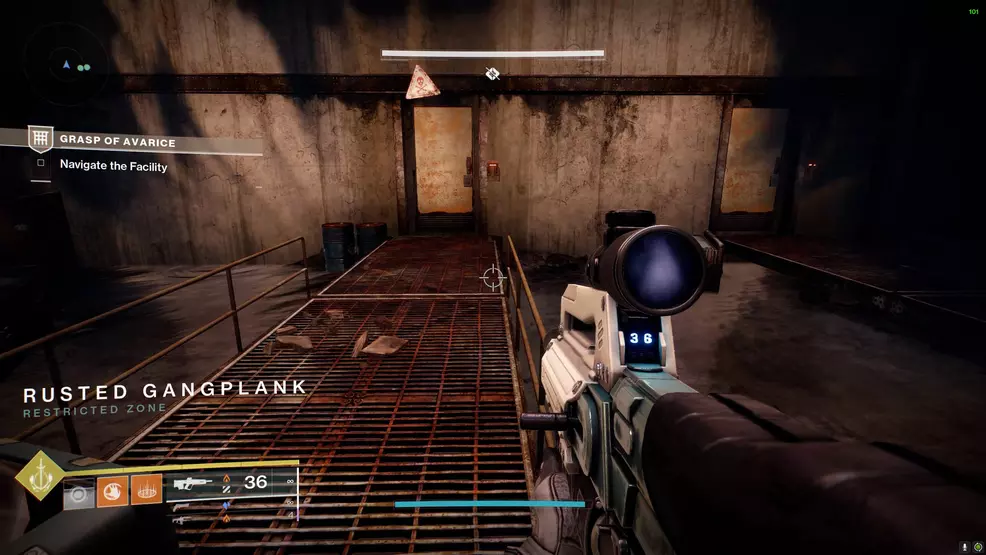
To begin with, look to the right to spot two doors. The door on the left is the safe one to open. Enter the door, jump over the pressure plate on the floor (it’s a trap) and throw the lever near the computer. Go back out and head through the now-open tunnel.
Before you will be a bottomless pit with a platform in the middle and a switch on the far side. The correct path is below the platform and into a side room on the right. The platform is made of two panels that swing open, dropping you into the pit. To reach the path, jump to the left side of the platform. As you land, jump again and aim to go under the right-side to find another lever at a computer terminal. Throw the lever and go back to the first area with the two doors and look up to see six holes in the wall.
Jump up to the six holes and go inside the one on the back-right. Stand on the pressure plate to open the grate above your head. Jump up through the hole and continue onwards.
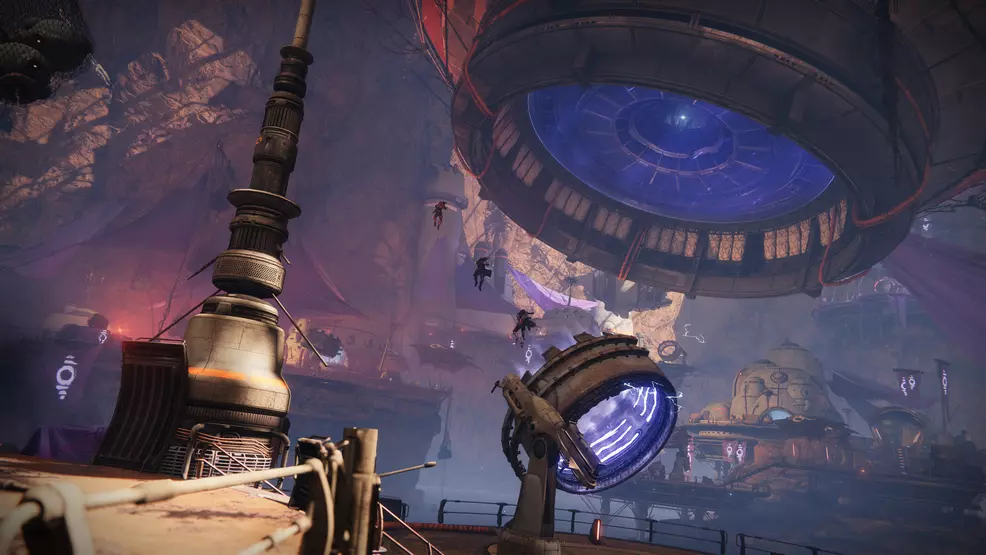
In this new hallway, jump up the pipes and platforms to the top. Go through the doorway to spot another lever near another computer terminal with a display on the wall. Activate the lever to open the door, revealing a catwalk and a water-filled chasm.
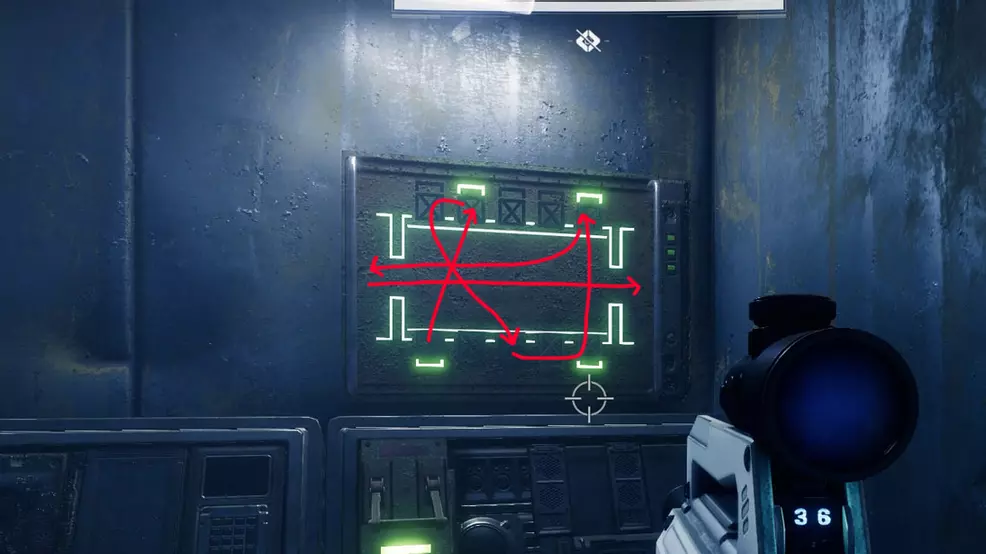
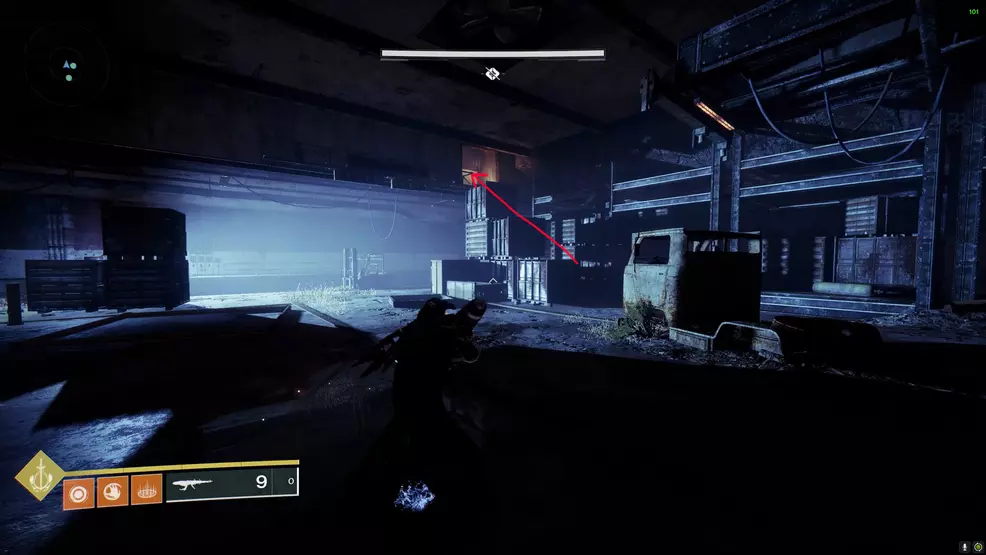
In this new section, interacting with a lever opens and closes certain doors. The idea is to move from door to door, jumping across the gap, until you find a lever that opens the main door at one end of the chasm. The door with the switch is in the back-left corner, behind the metal fencing – if you’ve got the movement and jumping skills, you can leap over there early – for everyone else, follow the route on the image. In each room will be a switch that opens the next door.
Once you reach the far side of the chasm, enter the room and throw the switch. Jump up into the roof to find another room with a large window and another lever on a terminal. Using this lever will open the main gate. Go back to the previous room, use the lever to free yourself, and work your way back to the starting catwalk.
Jump up and into the big area at the end to find another switch. Use the switch to open the big door at the opposite end. Now work your way over to it and defeat any enemies that are inside. Go inside and use the switch on the right-hand door to progress into a large, circular room.
The circular room introduces the Scorch Cannon mechanic. The idea here is to go around the room, using the levers, and then using the Scorch Cannon to activate the generator. Shoot a round directly into the generator to activate it. From the starting point, follow this order: Door 03, Door 04, Door 01, Door 02.
When Door 02 is open, go over to it and defeat the Vandal called Scorch Vandal, Gunner of Avarokk. Grab the Scorch Cannon and go to Door 04. Shoot a round into the generator and let it explode, this will open the door. Go up the stairs and use the small holes on the side to dodge the barrel that falls down.
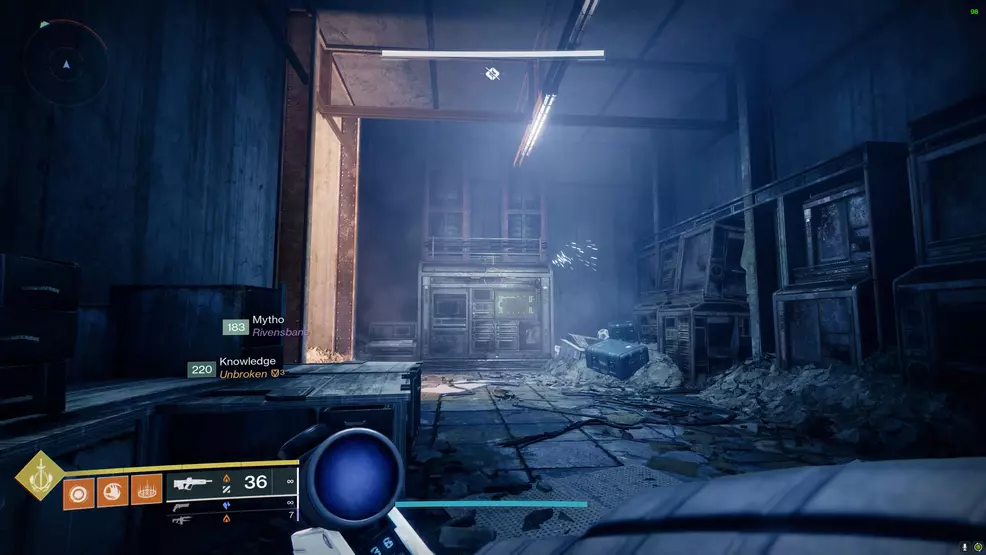
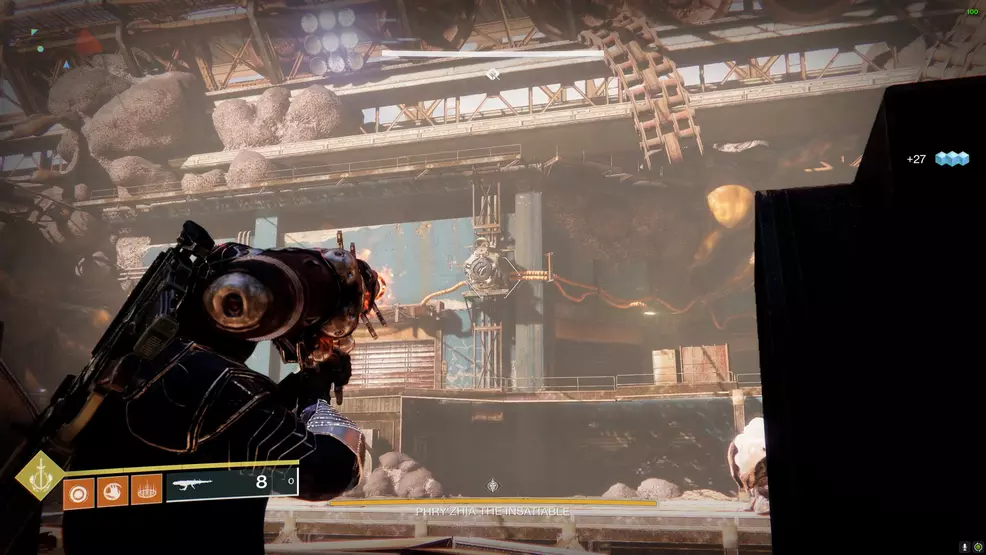
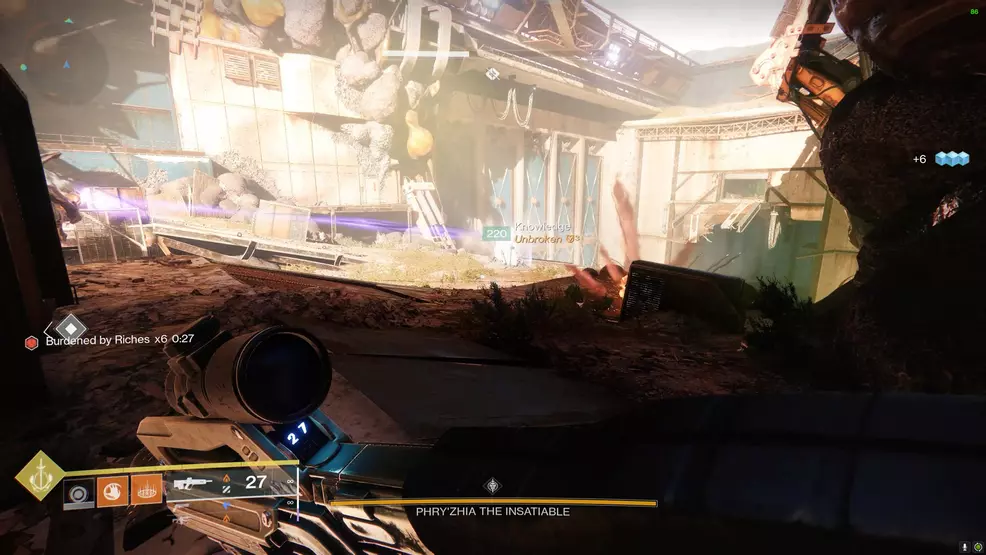
Follow the hallway into the next large room. Use the containers that are stacked on top of each other as a set of stairs to reach a hole at the top of the wall. Continue into the flooded room and jump across the gap. You will now be at the first boss encounter, Phry’zhia the Insatiable.
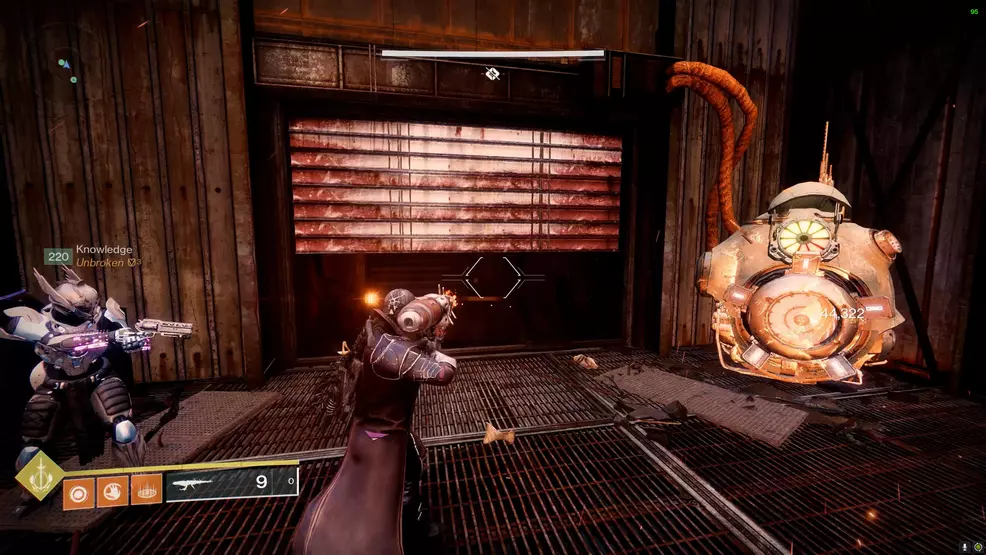
Phry’zhia the Insatiable

The Phry’zhia the Insatiable fight uses the two previous mechanics: Burdened by Riches and the Scorch Cannon. The goal is to deposit Burdened by Riches until Phry’zhia loses its immunity shield.
- Defeat Vandals to get Scorch Cannons
- Use Scorch Cannons on generators above doors to spawn enemies
- Defeat enemies to get Burdened by Riches
- Deposit Burdened by Riches at the crystal to remove Phry’zhia’s shield
- Damage Phry’zhia the Insatiable
- Repeat
Master Difficulty Tip: Anti-Barrier Knights spawn in the garages. The Lament makes short work of them, though, it does mean using a different method of attack during damage phase. Deposit after one garage is cleared and rotate as a group.
Begin the fight by jumping across the chasm to the main area. On either side of the arena will be two doors that are powered by a generator. Defeat the Vandal that spawns at the back and use its Scorch Cannon to power up the generators. When you open up one side, the other will shut.
Open up a door by shooting a round from the Scorch Cannon into the generator and then defeat the enemies inside. Collect the Burdened by Riches debuff and take it to the crystal. As before, standing near the crystal will drain the debuff and halt the countdown timer.
Repeat the process of unlocking the doors, collecting the Burdened by Riches, and depositing it at the crystal until Phry’zhia’s shields are gone. The text “Phry’zhia the Insatiable has succumbed to temptation” will appear on-screen when its shield is gone and the health bar will lose its white outline. At this point, deal damage to Phry’zhia.
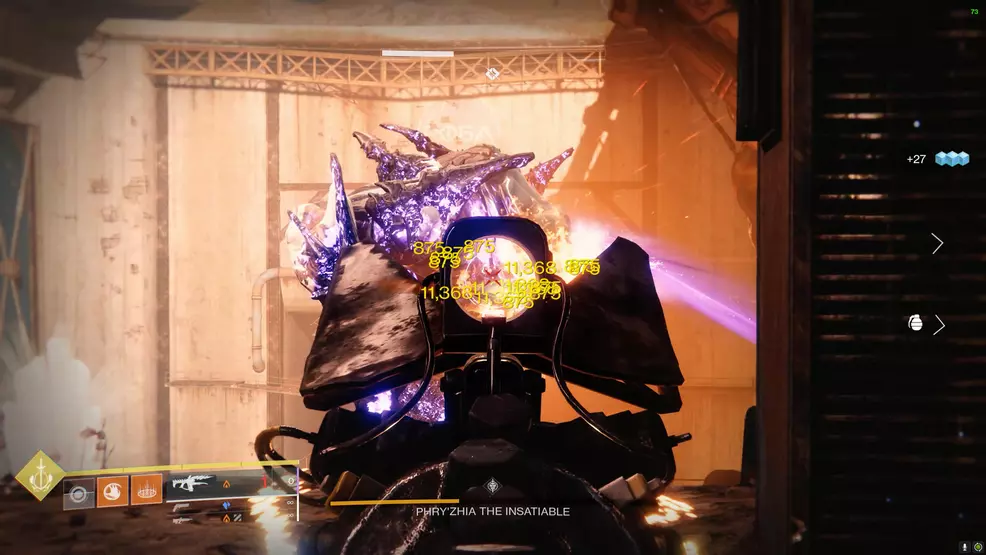
If you manage to one-phase Phry’zhia, congratulations, if not, just repeat the above steps. Depending on what season you attempt this dungeon will alter what weapon you choose to use. During Season of the Lost, One Thousand Voices remains a top choice, as mentioned in the above build recommendation. Any Warlocks might want to consider using Well of Radiance for the extra damage.
Another tip to remember is that collecting 10 Burdened by Riches will immediately refresh your Super. Use this to your advantage to ensure you always have one ready for damage phase.
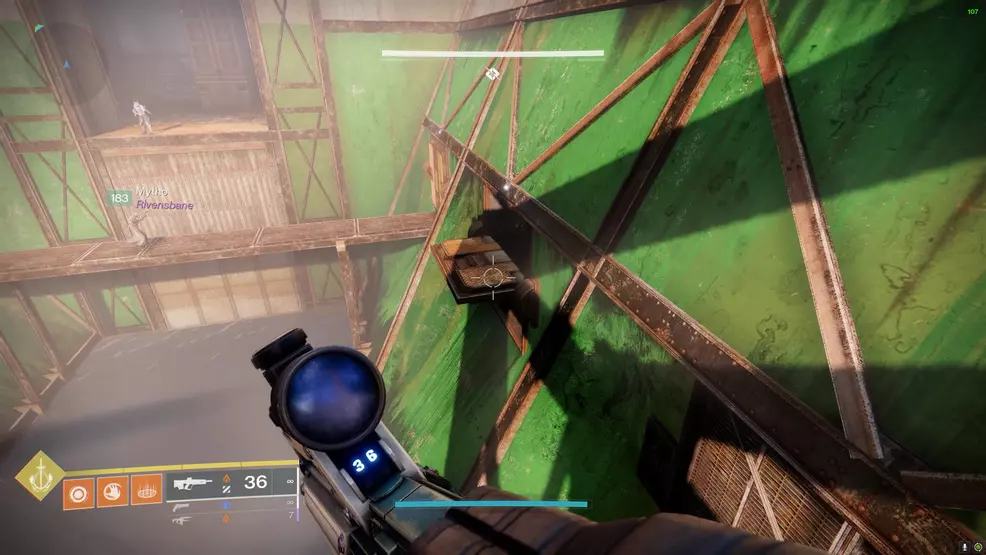
When Phry’zhia the Insatiable is defeated, check in the middle for the loot chest. Continue to the next area by going up the back and into the now-open door. Inside, go left and follow the path into the Shroud area. You will find a large door with two switches – the switch on the left opens the door (the one on the right is a trap).
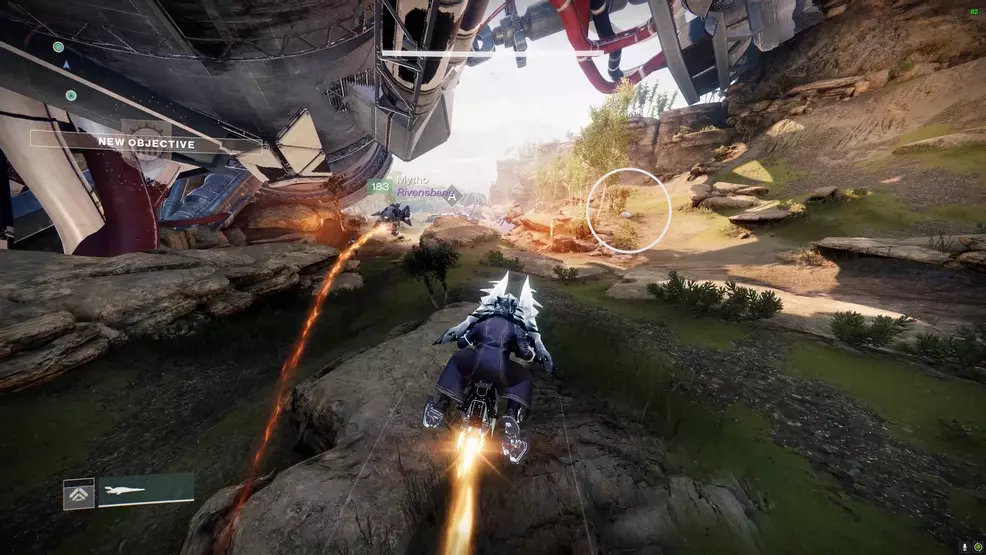
Shroud – Sparrows and mines
The Shroud area is the Sparrow section of this dungeon. Much like the Scourge of the Past raid, this Sparrow section requires you to race through the area as fast as possible. There are mines along the path that must be disarmed but thankfully there are also buttons you can pass by to extend the timer.
- Race along the track on your Sparrow
- Defuse mines A, B, C, and D
- Extend mine timer by driving over buttons along the path
Master Difficulty Tip: Use the Micro Mini Sparrow to avoid unnecessary enemy fire. Use Riskrunner and Arc Resistance mods to survive Fallen shots. It can help to use a Grenade Launcher with Blinding Grenades to blind any enemies around a mine, though, you must jump off your Sparrow before you reach it.
For this section, a quick-summon Sparrow will do wonders, as will the mod that makes it so Sparrows have a shorter cooldown if they’re destroyed. This will ensure you have more leeway if you get knocked off.
There’s not really a whole lot of strategy to this one. The main tip is to find and remember where the buttons are. Each one you pass by (you don’t need to stop, just get close enough) will extend the fuse timer – a notification will appear on-screen.
An extender for mine A is on the right-hand side of the route, under the wreckage of the ship.
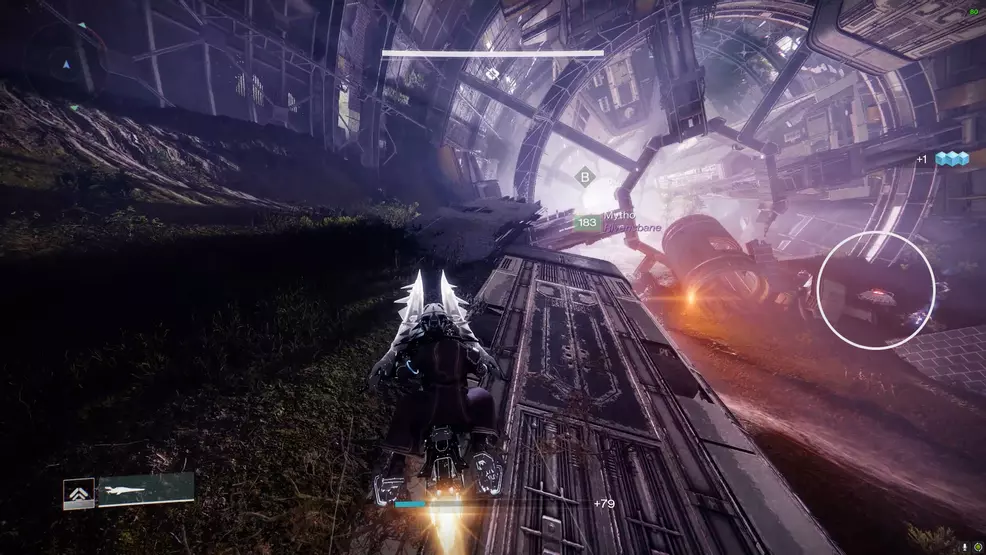
Mine B’s extender is inside the ship, before the hexagonal center structure, on the right-hand side.
A fuse extender button can be found before C, right where the Spider tank gets dropped off. The button is behind a piece of wreckage in the middle of the route.
The most difficult mine to disarm is the last one, D. You’ll find a button right before the gravity cannons. It’s on the right-hand side, at the top of a ramp.
When you clear the last mine, you can continue on to the next area, the Sunken Lair.
Sunken Lair – Destroy the shield
The Sunken Lair uses the Scorch Cannon and Burdened by Riches mechanics. The goal is to destroy Abundance Monitor Servitors and launch their shells at the bulbous central structure to remove a shield. To do this requires leaping from platform to platform, angling the gravity cannons as you go.
Master Difficulty Tip: Overload Captains spawn at each point. Defeating them should be a priority.
To begin the encounter, find the Vandal nearby and take its Scorch Cannon. Angle the gravity cannon in the direction you wish to travel and shoot a Scorch Cannon shot into the generator to activate it. Anything on the gravity cannon’s platform will be launched in the direction it is facing. Use this to hop around the outside until you find groups of enemies and a Servitor. You may need to charge the Scorch Cannon shot to give you enough time to get to the platform.
When you locate the Servitor, it will have a white shield. Defeat the enemies, collect the Burdened by Riches debuff, and deposit it at the crystal. The crystals should all be in about the same place: in the center building of each platform. When enough debuffs are deposited, the Servitor’s shield will lower and you can defeat it.
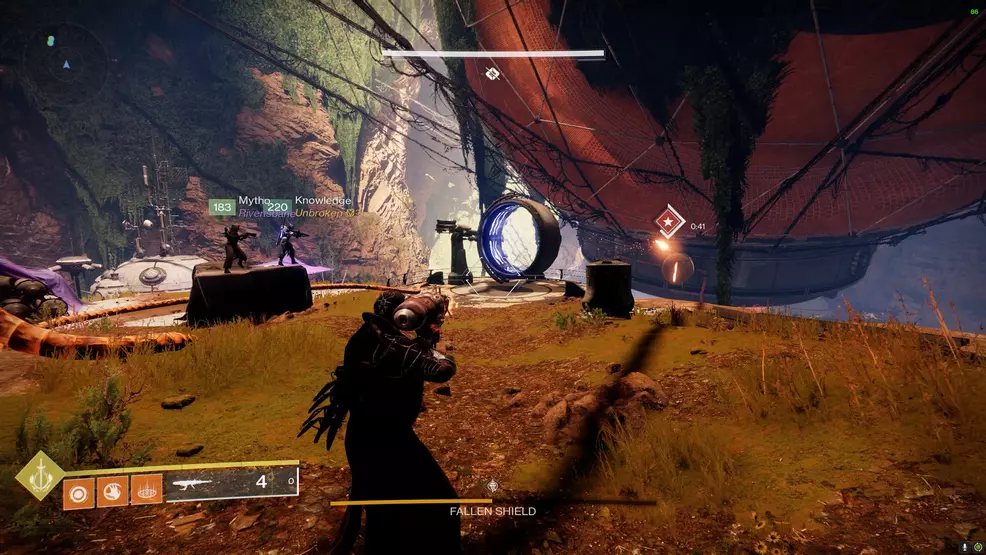
After defeating the Servitor, you have roughly 90 seconds to move the shell to the cannon’s platform. Do this by pushing it with your body or meleeing it. Interact with the gravity cannon until it’s aiming at the central structure hanging from the ceiling. When the shell is on the cannon’s platform and the cannon is angled at the center structure, activate the generator using a Scorch Cannon shot. The Servitor shell will fly through the air and destroy one of the nodes around the ring.
With the first node destroyed, all you need to do now is find the next group of enemies and Servitor, and repeat the process until four nodes are destroyed and the shield is lowered. At this point, make your way to the middle platform – your rewards are up the stairs from the cannon. Now, angle the cannon up into the structure, and launch yourself up.
Captain Avarokk the Covetous

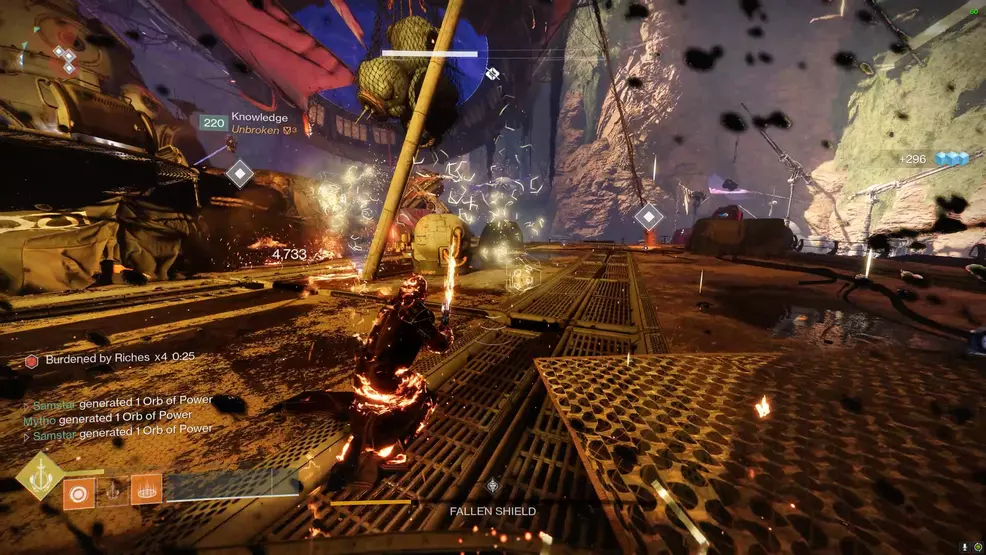
The final fight in the Grasp of Avarice dungeon is against Captain Avarokk the Covetous. This Fallen Kell has a few crewmates with him, a Shank called R-M80, Loyal to Avarokk, and a Vandal called Grisprax, Bosun of Avarokk.
The goal of this fight is to use Scorch Cannons to charge a generator, which causes Burdened by Riches engrams to fall to the ground around the perimeter. Depositing these at the central crystal lowers Avarokk’s shield.
- Defeat the Vandal with the Scorch Cannon
- Use the Scorch Cannon to activate the generators
- Collect the Burdened by Riches engrams
- Deposit the engrams at the crystal
- Deal damage to Avarokk the Covetous
Master Difficulty Tip: Anti-Barrier Servitors spawn during the collection phase. Group up as a team behind the pod and then move together to take down the Servitors. Another strategy is to use Well of Radiance or Ward of Dawn where the boss' miniosn spawn, killing them as soon as they appear. When all the major enemies are defeated, each player should take one side, defeat Dregs, and prepare to collect the Riches. Try to clear enemies before depositing, and use the crystal to shield you from Avarokk.
To begin the fight against Captain Avarokk the Covetous, approach the middle area where the crystal is – there may be an engram on the ground. When Avarokk comes out, retreat back to the perimeter.
Search for the Vandal with the Scorch Cannon and defeat it. Use the Scorch Cannon to fire a round into one generator that is attached to the stage. There are three generators to pick from: one on the left, another on the right, and one right in the middle at the front.
When the generator activates after the explosion, pods on the sides of the arena will launch up and hit other pods, which will release engrams. Collect the engrams to get the Burdened by Riches debuff. Collect as many as you can and head to the middle to deposit them at the crystal. Deposit as many as you can before activating another generator.
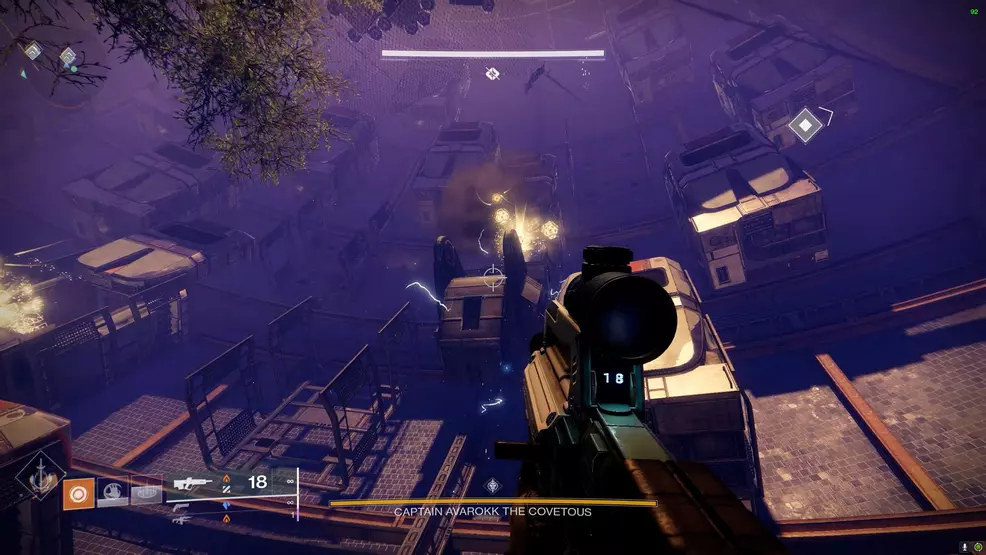
It takes 60 Burdened by Riches to lower Avarokk’s shield. When enough engrams are deposited, text will appear on-screen that reads “Avarokk the Covetous has succumbed to temptation” and its shields will go down. This marks the start of the 30 second damage phase. Deal as much damage as possible.
After 30 seconds, text will appear on-screen that reads “Avarokk the Covetous resists temptation once more” and it will go immune. Repeat the above steps and you will eventually defeat the boss!

That’s all there is to the fight against Avarokk the Covetous in the Grasp of Avarice dungeon in Destiny 2. If this is your first clear and you’ve got the quest, you will complete one step on your way to unlocking Gjallarhorn.
The Grasp of Avarice dungeon in Destiny 2 is one of the more straightforward and easy dungeons. It’s certainly not as long as Shattered Throne, nor has chaotic as Prophecy. However, it does have quite a lot of great rewards including the Artifice armor if you play through on the Master difficulty setting. With that done, check out our Destiny 2 Guide for even more walkthroughs and tips.

-
Shacknews

 reply
replySam Chandler posted a new article, Grasp of Avarice dungeon guide - Destiny 2
