
Shattered Throne dungeon guide - Destiny 2
A complete walkthrough of the Shattered Throne dungeon hidden beneath the Dreaming City in Destiny 2.
The Shattered Throne dungeon is Destiny 2’s latest end-game piece of content that challenges up to three players to complete a raid-like activity set in the Ascendant plane. The majority of the Shattered Throne has a recommended Power of 590, so only the most robust players will have a shot at solving the puzzles and defeating the bosses.
Shattered Throne guide
The Shattered Throne is an extremely challenging activity and while it can certainly be solo’d, for most players it will be wise to enter as a three-person Fireteam. With a recommended Power of 590, the enemies in the Shattered Throne hit significantly harder than the enemies and bosses in the Last Wish raid. Though players can still damage enemies at a Power deficit, being as close to 590 as possible will help to avoid being one-shot by some of the bosses.
The general team makeup does not matter, though players will find it helpful to have a Nightstalker Hunter using Shadowshot, a Sunbreaker Titan, or a Warlock using Well of Radiance or Dawnblade. The reason for these classes is that they focus on add clear, add control, and increasing player resilience and damage output.
Players will obviously need to know how to get to the Shattered Throne dungeon before they can actually attempt to finish it.
Erebus – Search for Safe Passage
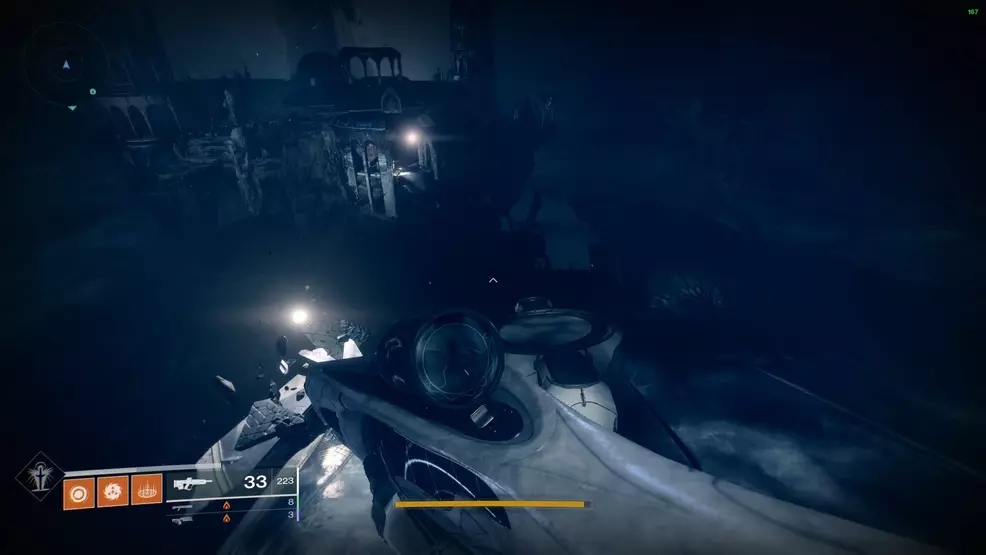
Upon entering the Shattered Throne, players will be introduced to the first area, Erebus, which consists of a city and temples in ruin. Around this area are several symbols of birds, fish, and dragons. The only goal is to “search for safe passage”. This is a darkness zone with respawns restricted where any deaths incur a 40 second respawn penalty and a full team wipe results in a reset.
The area is split into four distinct sections. There is the first building in the center, The Ingress, a tower to one side call the Temple of the Infinite, a tower to another side called the Tower of the Deep, and another called the Tower of the Sky. Twisting between these three towers are a series of paths and named areas. All of these sections have a symbol stamped onto the wall – pay attention to these.
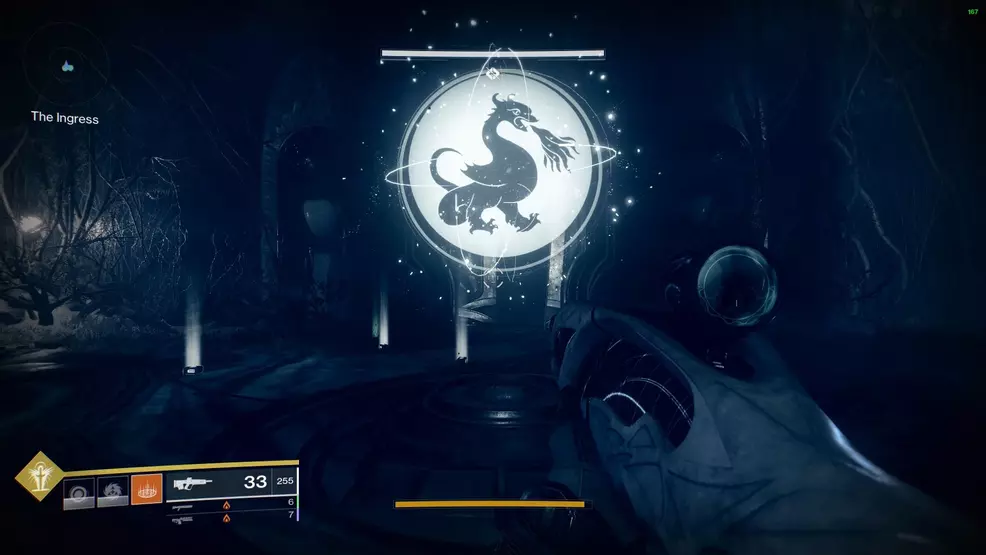
As players enter The Ingress, a handful of enemies will spawn alongside a named enemy called Labyrinth Architect. Defeating all of these enemies will cause a symbol to appear, players must find the symbol in one of the surrounding buildings. Because of how winding and twisty the halls and paths are, locating the building may take a while. Players should keep an eye out for another Labyrinth Architect and a dozen enemies, as this indicates the correct building. Kill the enemies, discover the symbol and find the next building. Repeat this process until a picture of a flying bird is found, this one points to the building at the beginning. Clear the enemies to unlock the drop down to the next challenge.
The Descent – Journey to the spire
The next section of the Shattered Spire dungeon is fairly straight forward. Players must follow the path laid before them. Drop off the stairs to the platforms below and fight back up the other side. Continue to push through the large cavernous hallway, killing the Taken Knights, Phalanx, and Hobgoblins that line the area.
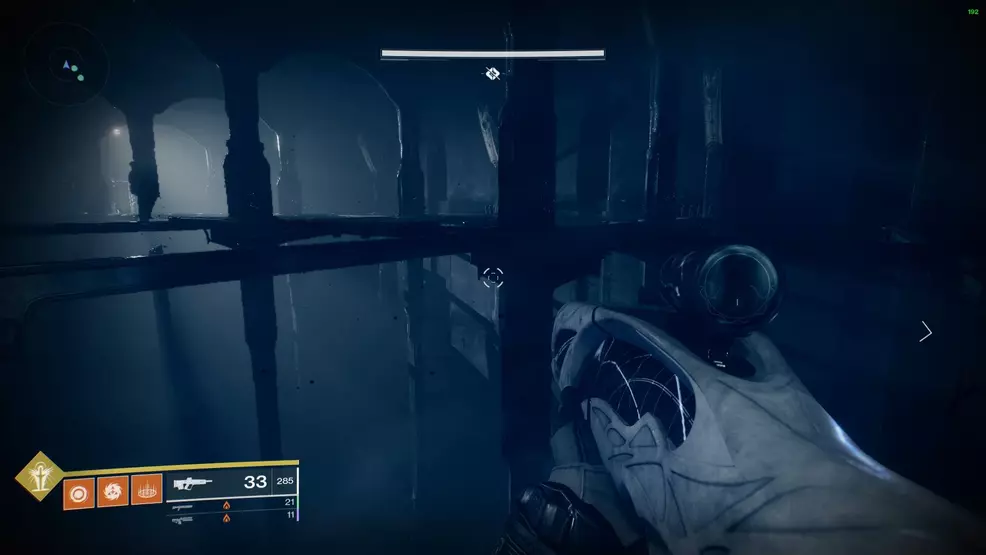
At the end of this area are a set of stairs that lead to rafters at the top of a giant room. Players will need to use the interconnecting rafters to move from the entrance, all the way over to the left side of the room. Hallowed Ogres spawn along the main junctions and use their attacks to push players off the thin beams. Some junctions will be blocked entirely by Taken blights and spinning orbs, simply use the alternate track or jump by them to continue. Landing on the other side completes this section of the Shattered Throne.
The Descent – Press onward
Though it is still part of the previous section, the goal and the setting will change dramatically. Moving through the film will leave players in a series of hallways full of Taken Thrall and completely unable to run, double-jump, or heal. The challenge is to reach the end of the hallway. At low Power levels, this is easier said than done, as the Taken Thrall will respawn infinitely and attack in groups.
The best and safest way to progress through this area is to stand on the raised ledges beside the stairs, boxes found on the ground, and anything high off the floor. Standing on these raised areas will give players some breathing room from the horde. A Warlock’s Healing Rift will come in useful for healing up any missing health. Continue through the hallways and jump over the misty ledge to clear the area.
The Descent – Cross the chasm
While still a part of the previous segment, this new area demands players cross a large chasm full of Taken pushy-portals and Taken Phalanx. Slink along the ledge, avoiding being pushed off, or locate the doorway that leads inside and play “the floor is lava” up the inside of the cliff. Jump over to the next area and fight up the stairs.
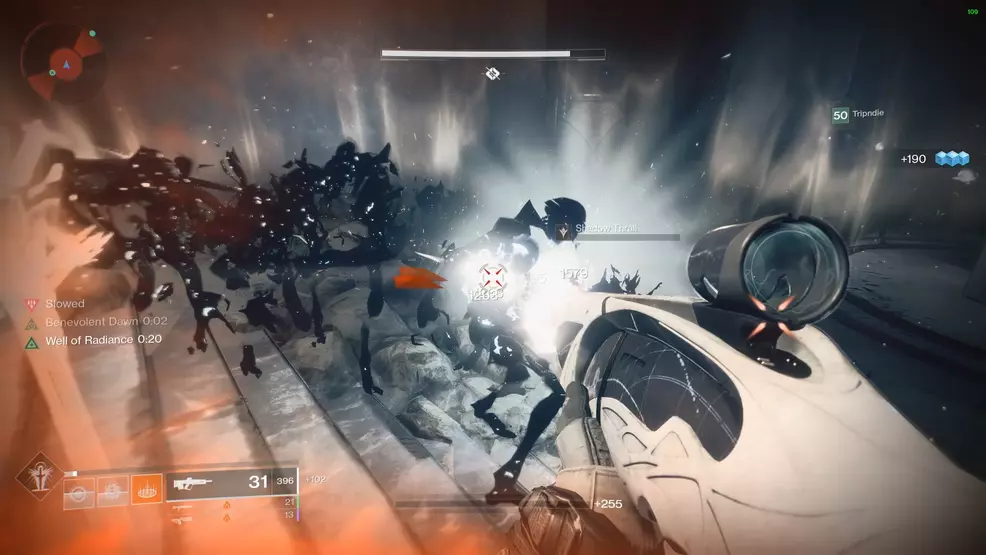
Vorgeth, the Boundless Hunger
After clearing the Descent, players will enter the next area, Eleusinia. This new area brings with it the first boss of the Shattered Throne dungeon, a massive Taken Ogre called Vorgeth, the Boundless Hunger. The only hint given is to overcome the Keeper of Petitions.
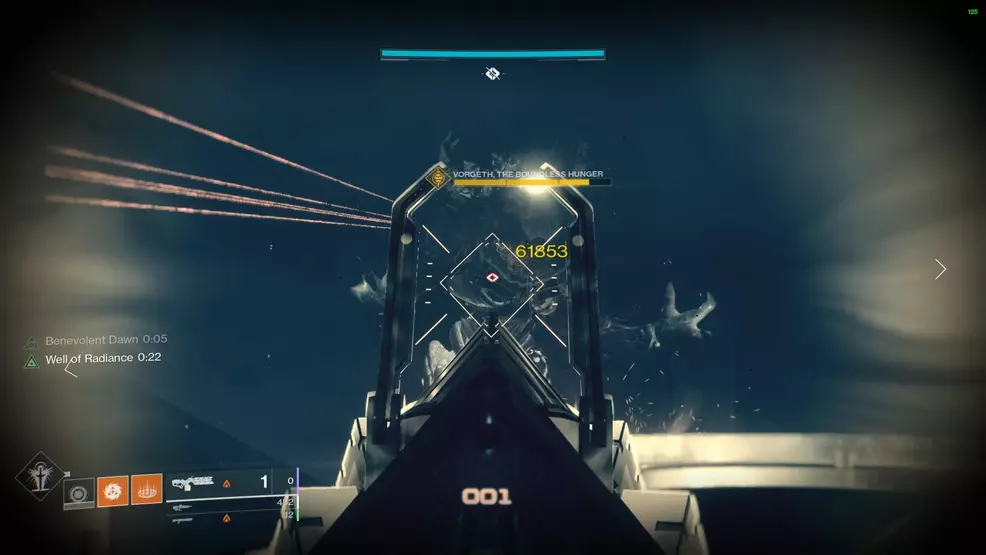
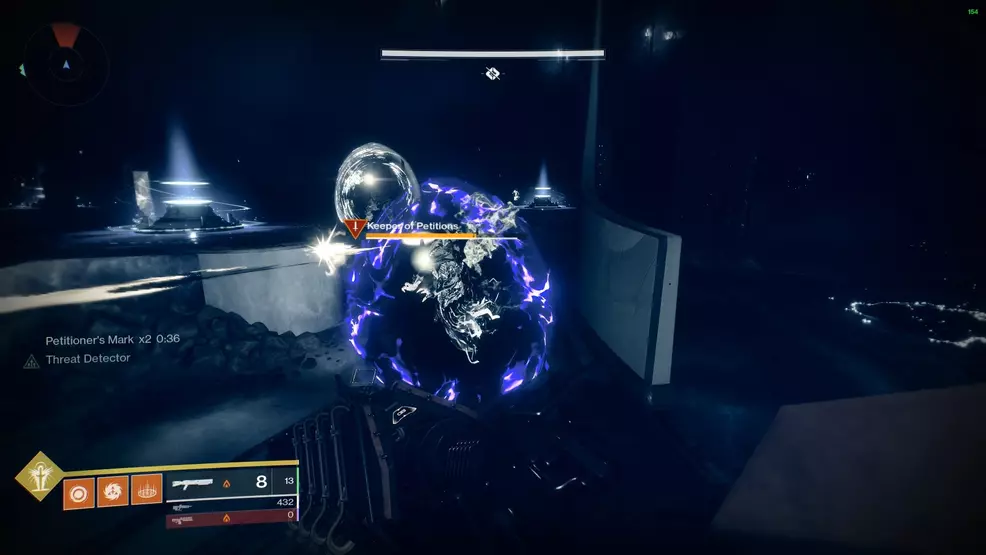
The main goal of the fight against Vorgeth, the Boundless Hunger, is to kill the four Keeper of Petitions Wizards, collect the debuffs they drop, and use it to extinguish the buttons around Vorgeth. Once a brazier has been extinguished, Vorgeth’s immunity shield will disappear and players can deal damage to it.
The boss arena is a large open area with several pillars and barricades offering slim protection against Vorgeth and the various adds. Sticking together as a Fireteam is the best option, as this allows for quick revives and helps when focusing down specific groups of enemies.
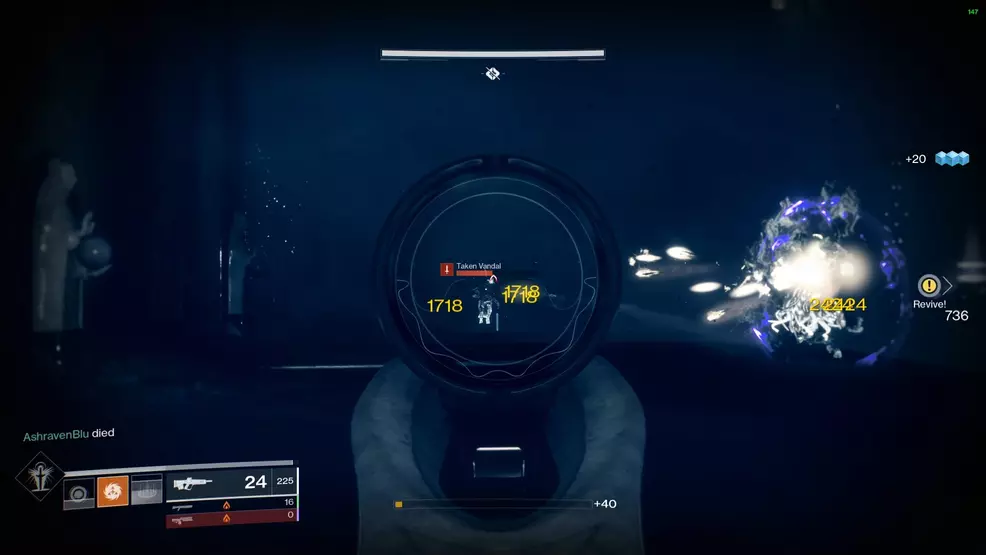
For every Wizard that spawns, four enemies will spawn alongside her: two Taken Vandals and two Taken Goblins. The sniper Vandals deal an obscene amount of damage, and they’re often protected by the Goblins. The best strategy for the first part of the fight is to ignore the Wizards completely and circle around the room, clearing the basic enemies. Once the enemies are cleared, players should focus on killing the Wizards one at a time and collecting the Petitioner’s Mark debuff.
The Petitioner’s Mark debuff stacks up to four times and has a counter that ticks down from 45 seconds. If the counter hits zero, the player will die. Every time a Petitioner’s Mark is collected, the counter will reset to 45 seconds. If a player dies while holding a Petitioner’s Mark, they will lose all stacks of the debuff. The aim is to get at least one player to Petition’s Mark x4, at which point the debuff will change to Petitioner’s Burden, allowing them to extinguish one flame.
As soon as the flame is extinguished, players will need to focus fire on Vorgeth, dealing as much damage as possible. An excellent option is obviously going to be Whisper of the Worm, while Sleeper Simulant is great for those who haven’t completed the mission. While Vorgeth’s shields are down, it will send out a swarm of homing Taken bombs that will need to be shot out of the sky or avoided.
If Vorgeth isn’t defeated the first time his shield drops, players will need to repeat the process of clearing enemies, killing Wizards, collecting the debuff, and removing Vorgeth’s shield again. With Vorgeth defeated, players will receive a Powerful Gear drop and can continue on to the next section.
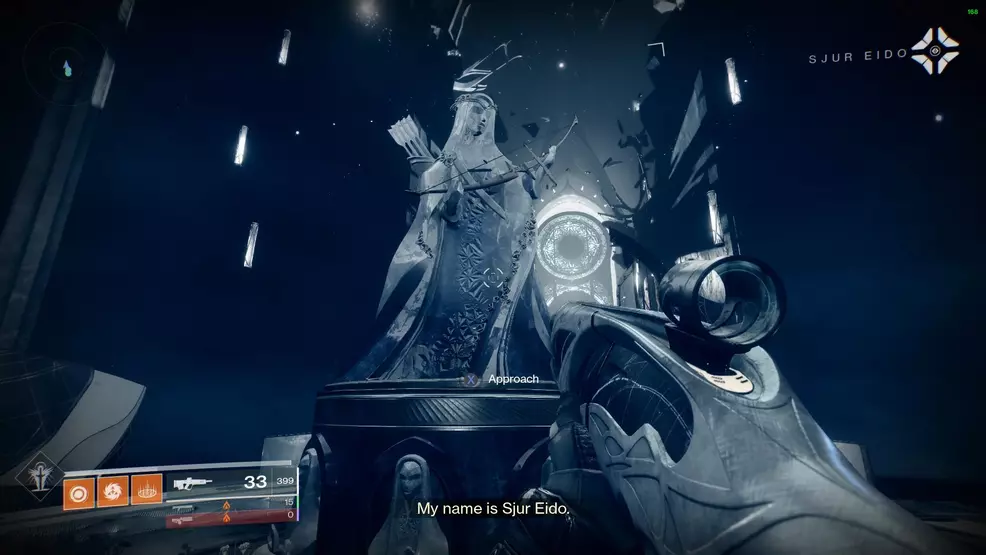
Approach the statue holding the bow, listen to the dialogue and then run past the statue to continue the Shattered Throne dungeon.
Eleusinia – Press onward
Follow the step decline down to four low-level Wizards around a lift. Clear out the enemies and head up the lift to find another hallway full of enemies. This entire area consists of killing enemies, pressing onward, going up lifts, and killing more enemies.
At one point, the goal will change to “Ascend” and players will be lead outside to creep along a ledge with a lot of Taken pushy-portals. It’s important to take it slow and time the movements to avoid getting knocked into the abyss. Once pass this wall, use the next few elevators to reach the top of the spire where the final boss of the Shattered Throne dungeon awaits.
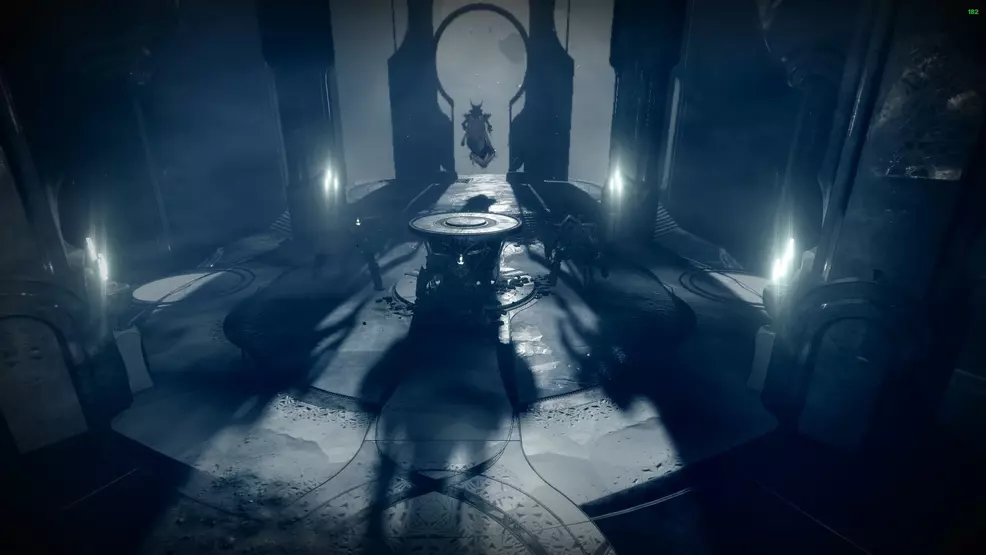
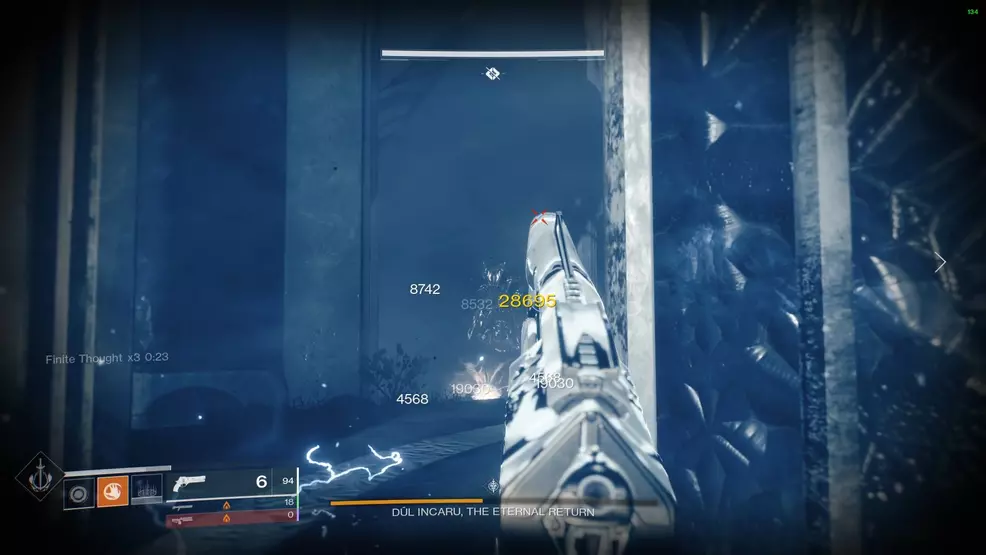
Dul Incaru, the Eternal Return
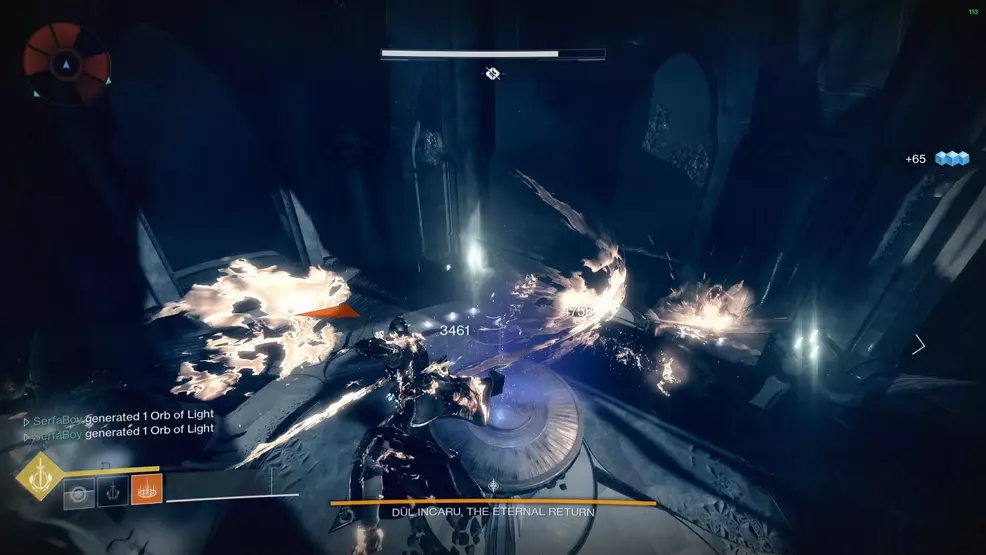
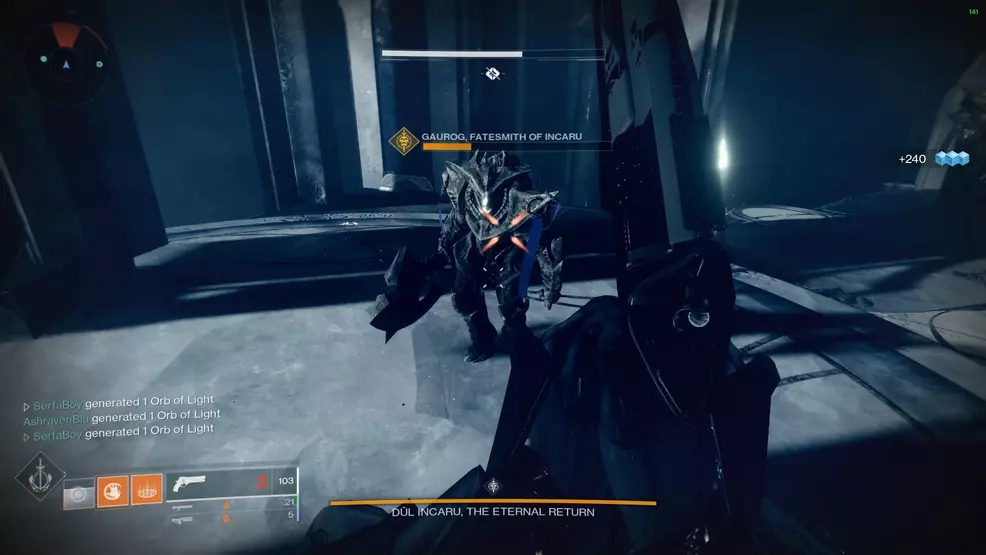
The final boss encounter in the Shattered Throne dungeon is Dul Incaru, the Eternal Return, a high-ranking Hive Wizard with three high-ranking Hive Knights that take on the appearance of the Abyssal Knights from the Ascendant challenges. The fight takes place in a claustrophobia arena that will test players’ ability to manage enemy spawns, deal with relentless hostiles, and time the collection of buffs.
How the boss fight against Dul Incaru works is straightforward: killing the Knights drops a buff that allows players to deal damage to Dul Incaru. Though the buff allows players to deal damage, it will also kill them when the timer reaches zero unless they remove it by standing on the central brazier. When the Knights’ health drops, Dul Incaru will summon a crystal to shield the Knights, destroying the crystal removes their shields but also summons two groups of Taken Psions. When a Knight dies, it will respawn after roughly 60 seconds.
Begin the fight by shooting the Knights, they only have melee weapons and walk slowly, so avoiding their attacks is relatively easy. However, once the Knights lose their helmet, they will run at a full sprint, so be careful chipping away too much health before being ready to kill them outright.
The waves of Taken Psions will always spawn on the two ledges that flank the arena. Using a Shadowshot tether to keep them locked down is a good idea, or using a Dawnblade’s Super to clear the room also works. When trying to deal with the Knights, tethering them forces the Knights to disappear for a few seconds, though they can still take damage as they are disappearing.
Use the back balcony as a safe point, as the pillars can be used to block damage and kite enemies around. Skilful jumpers can leap from the back platform, around the outside of the arena, to the lower balconies and back again. Make good use of this to avoid running through the middle and drawing too much attention from the enemies.
Try to whittle the health of all the Knights down at once, as collecting three of the Finite Thought buffs allows players to deal more damage compared to just a single buff. As the timer grows lower, get in a position to use the central brazier to remove it.
While the Finite Thought buff is active, focus on dealing as much damage to Dul Incaru as possible. Whisper of the Worm offers the highest DPS, while Sleeper Simulant is great for burst damage. Using a Warlock’s Well of Radiance or Empowering Rift for more damage is also a good option.
Keep in mind that any Knights left alive will still pursue the player, interfering with any damage that they might be able to deal. This is why it’s a good idea to kill all three Knights and collect their buffs before attacking the boss.
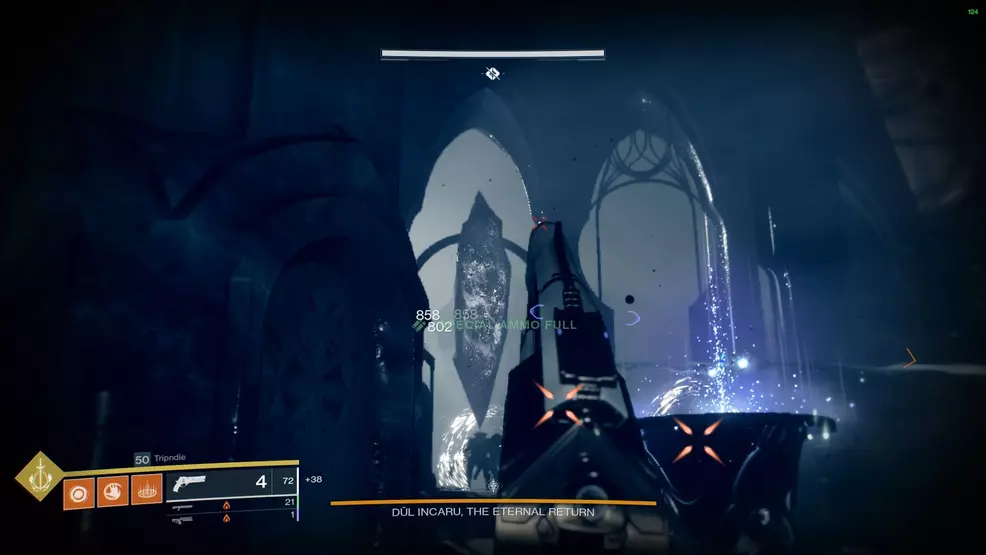
The main challenge of this fight will be whittling down the health of the Knights and dealing with the waves of Taken Psions. As a Knight’s health grows low, Dul Incaru will summon a large crystal in one of the doorways around the arena. Keep an eye on the on-screen text, as it will say “Dul Incaru conjures” whenever she summons a crystal, or just watch the Knights and look for a white shield.
Continue damaging the Knights, destroying the crystal, clearing enemies, and damaging Dul Incaru until she finally dies. Once she goes down, players will receive a Powerful Gear drop and the Shattered Throne dungeon will be completed.
Be sure to check out the Shacknews Destiny 2 Complete Strategy Guide for more comprehensive walkthroughs, like our Last Wish raid guide.

