
The Whisper Exotic quest - Destiny 2
A walkthrough for the Exotic quest, The Whisper, in Destiny 2 which rewards the Sniper Rifle, Whisper of the Worm.
After being removed a few years ago, The Whisper is back on the menu in Destiny 2 along with its Exotic reward: Whisper of the Worm. Those that played this Exotic mission back in the day will already know how this works, but for those who missed out, here’s how to easily beat The Whisper to unlock your Whisper of the Worm Exotic Sniper Rifle.
Last updated on April 22, 2024 at 12:39 a.m. PT.
Where to find The Whisper Exotic mission
Source: Shacknews
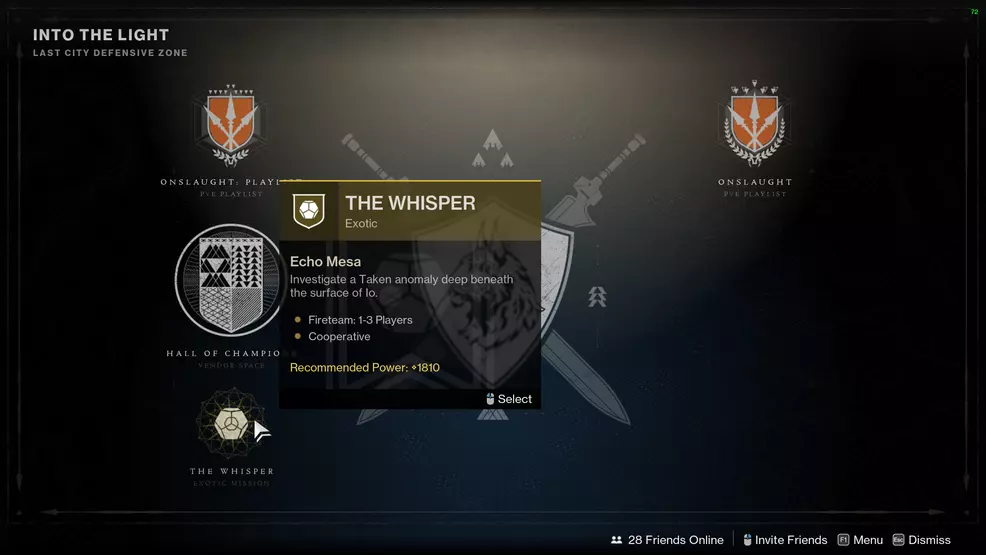
The Whisper is available via the Into the Light node in the Director. However, if you’re playing after the Hall of Champions leaves, it may be relocated to the Legends node where you’ll find the other Exotic missions. This mission has a 40 minute timer on the normal difficulty and a 20 minute timer when playing Legend.
Make sure you check out our guides on the Oracle locations so you can unlock all necessary Triumphs. There’s also our guide on the Whisper of the Taken quests for the additional perks for Whisper of the Worm.
The Whisper guide
Source: Shacknews
Source: Shacknews
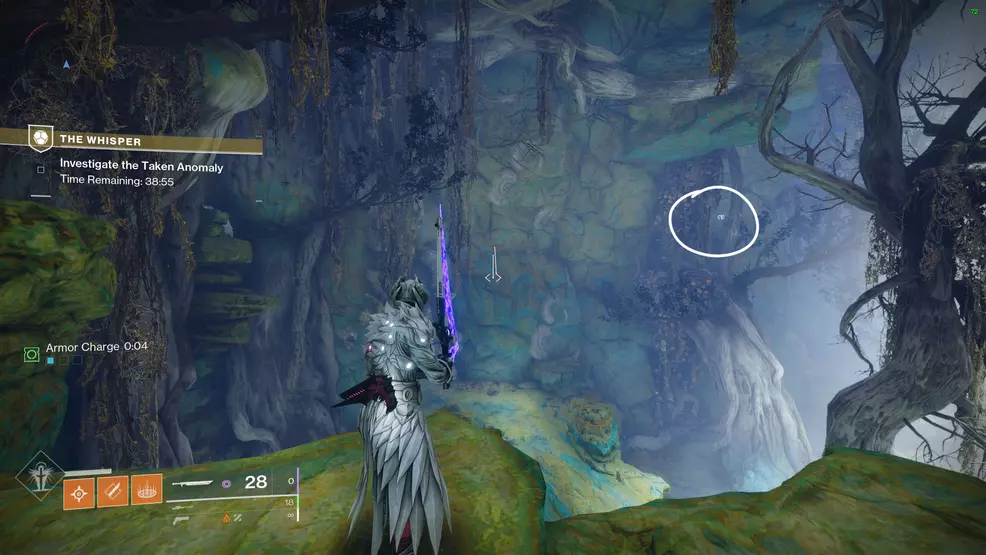
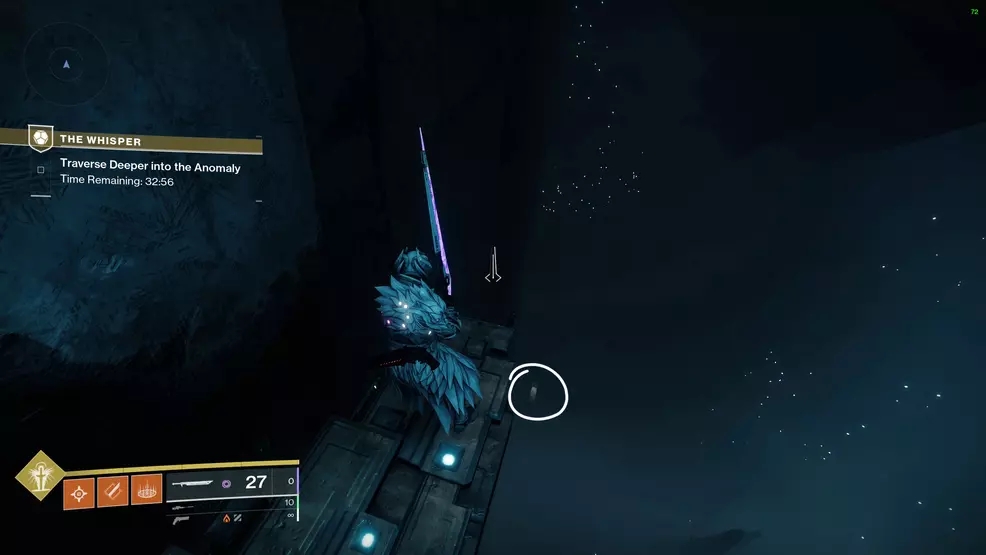
When you first start The Whisper, you’ll spawn inside a small cave on Io. Move forward to the ledge and look to your right to spot a small Vex cube floating in the air. Destroy this to summon platforms on your left. These lead up to a Taken Phalanx defending a Taken Blight. Destroy the Blight to reveal a hole you can drop down.
Source: Shacknews
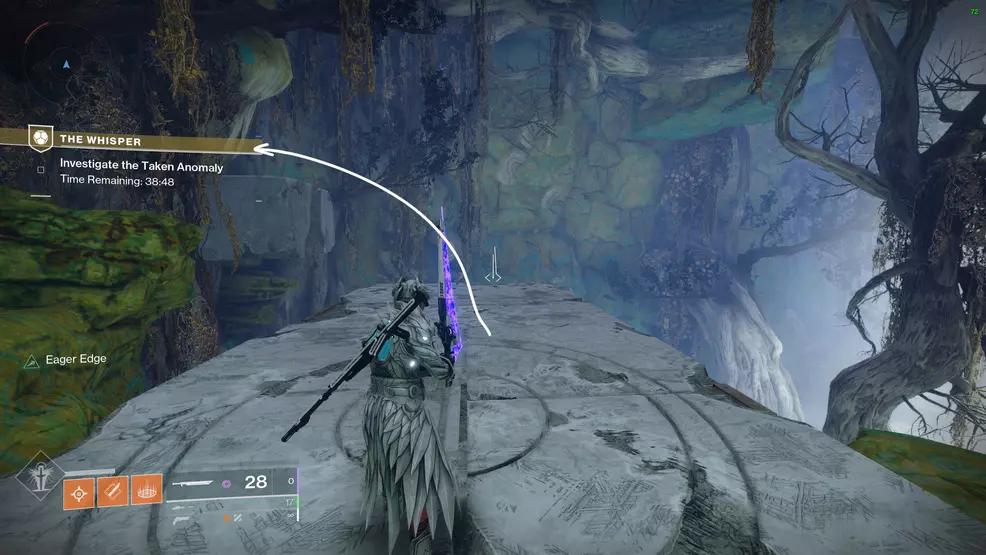
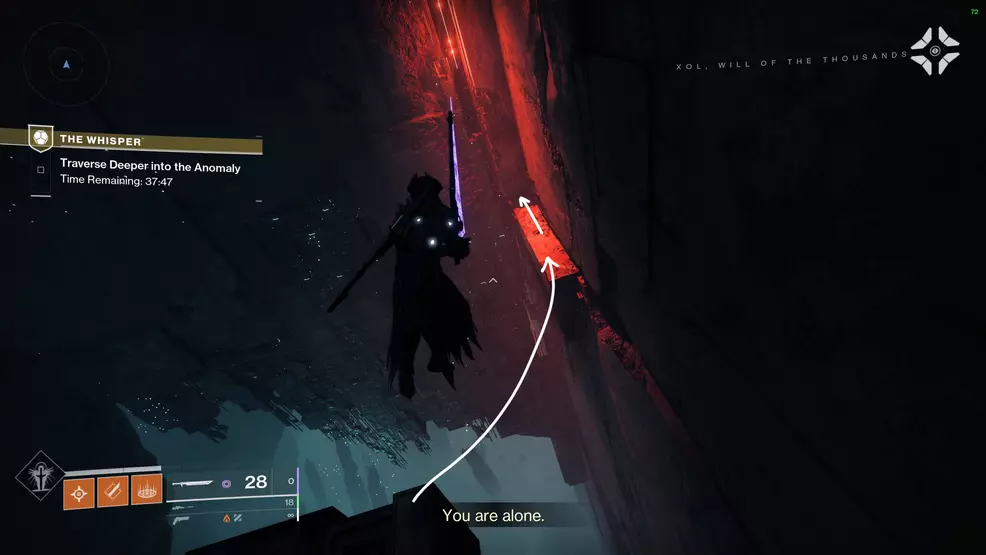
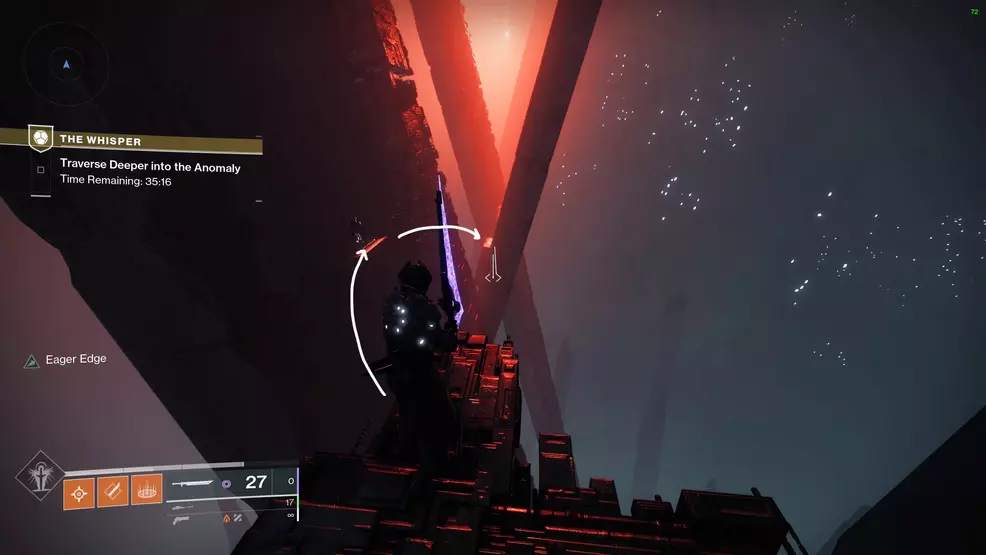
Head down the hole and through the cave to reach the first element of this mission: platforming. The caves will give way to something that is definitely not a natural formation. Jump through the vertical slit in the wall and then jump down to the ledge below that’s bathed in a red light.
Source: Shacknews
Source: Shacknews
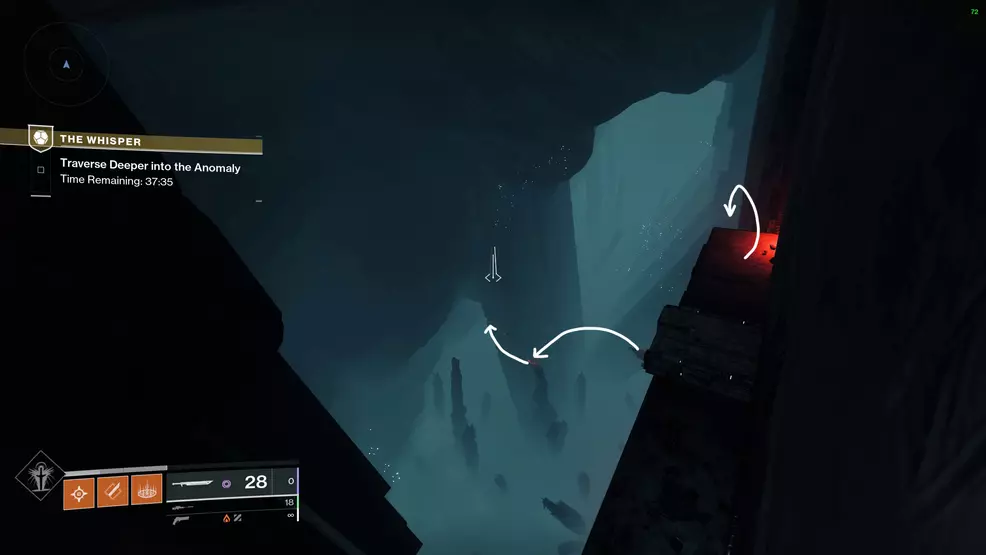
Crouch through the tunnel and, being sure to avoid the pushy wall, jump down to the platforms further below. The correct platforms are highlighted with red lights. Jump from the outcropping to the pillar in the middle and then to the next ledge. From here, you’ll need to jump around the corner to another ledge with a softer, bluish light.
This next part requires you to crouch-walk through a small tunnel with blocks that move back and forth. Avoid getting pushed off by the blocks. To do this, wait until the block covers the path and then wait for it to recede before you move onwards. At the end will be a gap to your left with two large spheres embedded in the wall and an elevator further along.
Source: Shacknews
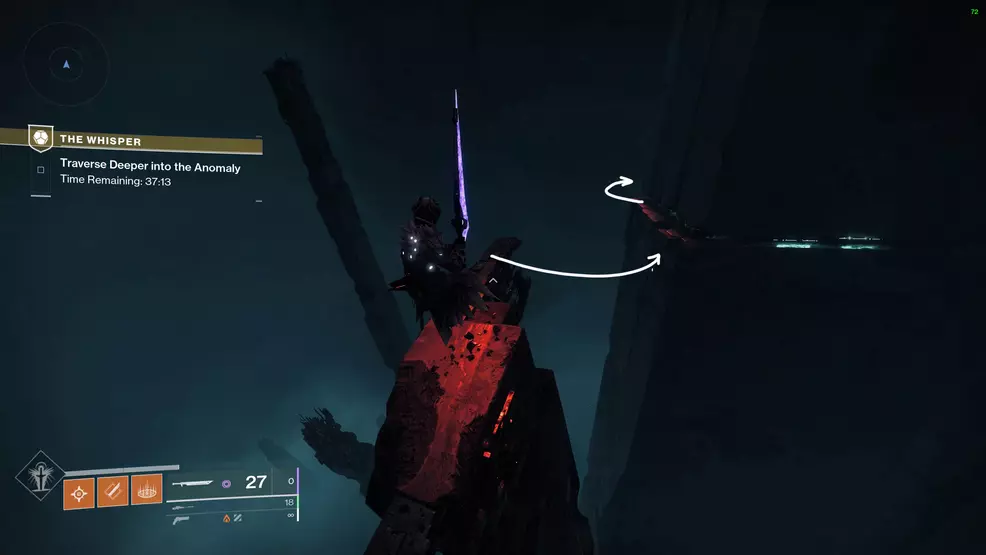
Jump over to the spheres and round the corner to where the platform is rising and falling. Jump onto the platform and then at its highest point, jump to the ledge that’s above you – watch out for the pushy bit of wall. When you land on the ledge, turn left and walk up the small ramp.
Source: Shacknews
Source: Shacknews
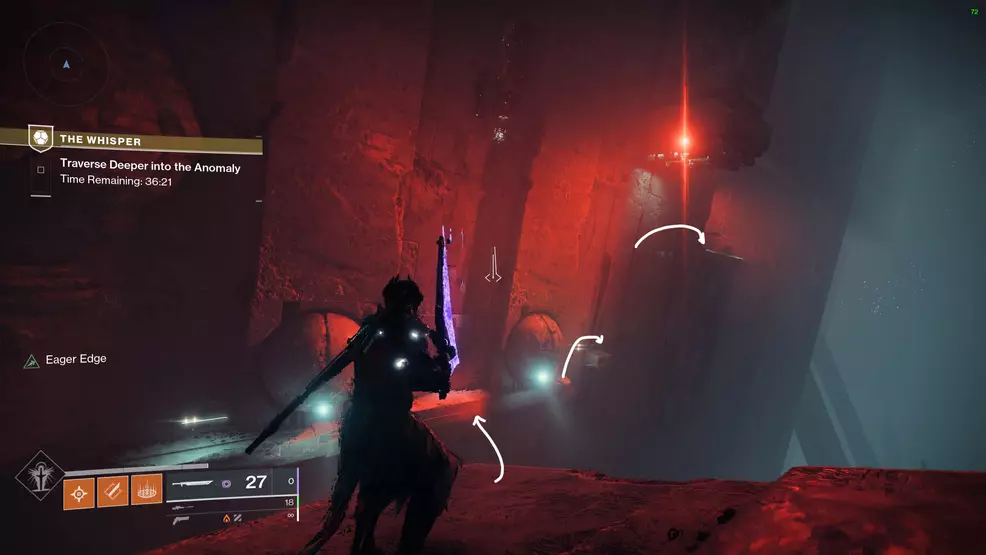
You’ll find yourself in a red, diamond shaped tunnel with a pit to your left. The wall on your right will push out while the roof to your left with push in. Avoid getting knocked into the pit as you pass through. At the end you’ll be looking over a cavern with pillars that form a basic V-shape. Use the small ledge on the inner side of the pillars to reach the far side of the room. The trick will be avoiding getting pushed off by the Taken energy blasts. As you progress, Taken Vandals will spawn on distant platforms and try to snipe you.
Source: Shacknews
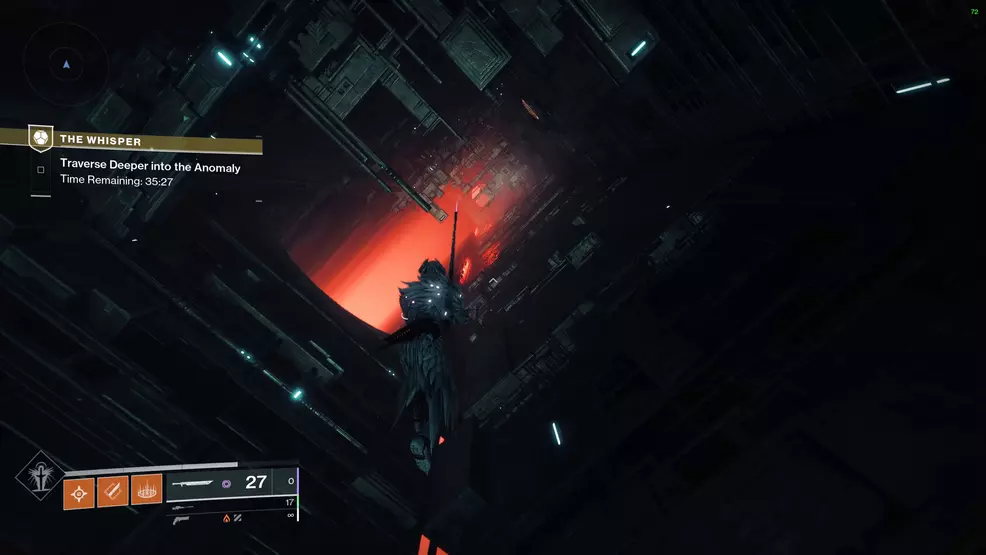
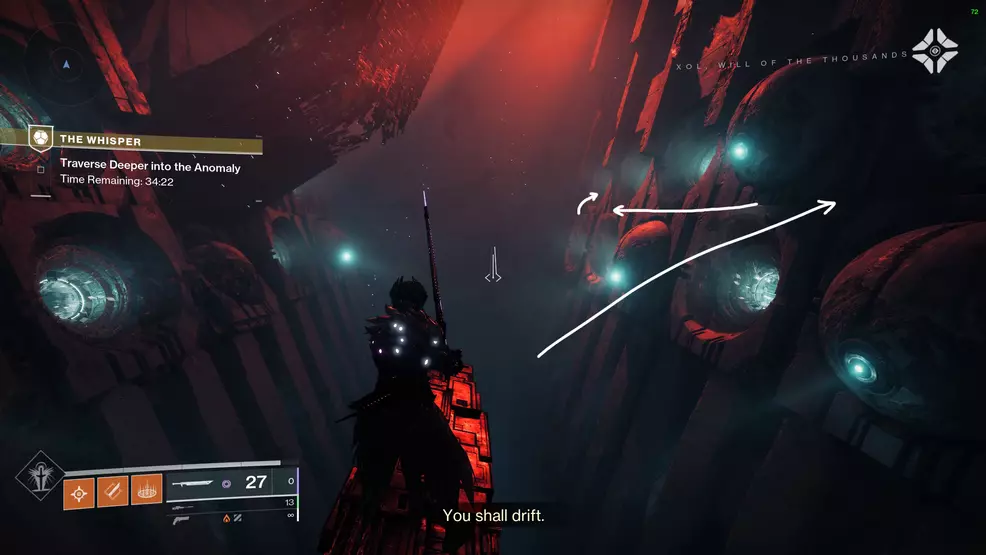
The next room is a large cavern with spheres and holes lining both sides. You must go through the hole on the right-hand wall, on the top row, at the far side of the room. Jump into the hole and go down the chute to reach the green room.
Source: Shacknews
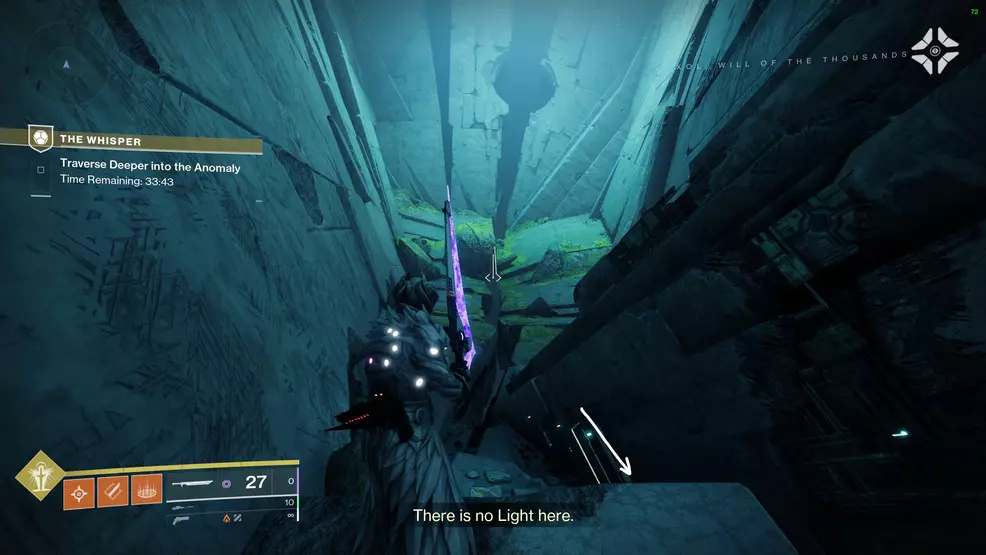
There are two ways to traverse the green room, either by climbing up and around the perimeter, jumping on thin ledges until you reach the top or the easier method: drop down to your right the moment you enter the room. There is a light bar on the wall pointing to a hidden passage. Crouch into the tunnel and drop down to the lower level, jump the gap, turn right, go up the stairs and through the vertical slit in the wall.
Source: Shacknews
Source: Shacknews
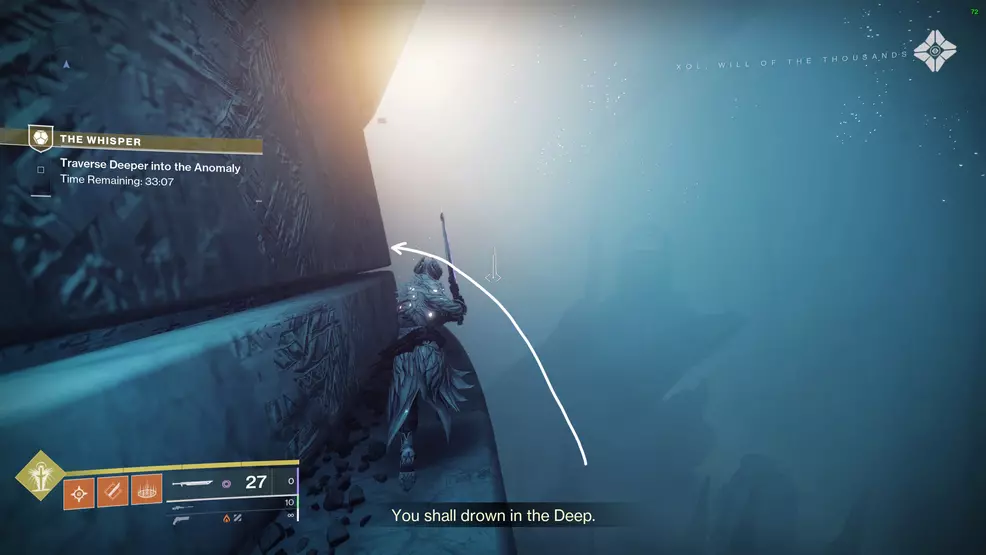
In this new cavern will be a Vex portal in the distance and a curving structure immediately to your left. Walk along the thin, curving path until you reach the opposite side. Walk onto the outcropping and aim down at the wall it’s pointing to – there’s a small gap in the wall with some light coming from it. Jump down to it and then leap across the little gap. Jump to the ledge on the left-hand wall and when you reach the end, turn right and jump up to the ledge, and then through the hole in the wall. This begins the next part of The Whisper: combat.
All of the combat rooms are basically the same. There will be Taken Knights, Taken Vandals, some Taken Thrall, and perhaps a few Taken Hobgoblins scattered about. The goal is to defeat all enemies in the room as this will let you destroy a Blight that is blocking the doorway at the exit located at the opposite side you entered. You can completely ignore the large Taken Blights dotted throughout the rooms. Clear the first room, defeat the Taken enemies that ambush you in the hallway, and then clear the second room.
The final room is where you’ll drop down to the boss. There are dozens of Taken Psions to defeat along with some Taken Hobgoblins sniping from the three pillars on the left. As you enter, you will also be flanked by two Taken Phalanx. Defeat all the enemies and then destroy the Taken Blight in the center of the floor. Drop down, defeat the Taken Phalanx, plant your rally banner, and prepare for the boss fights.
Source: Shacknews
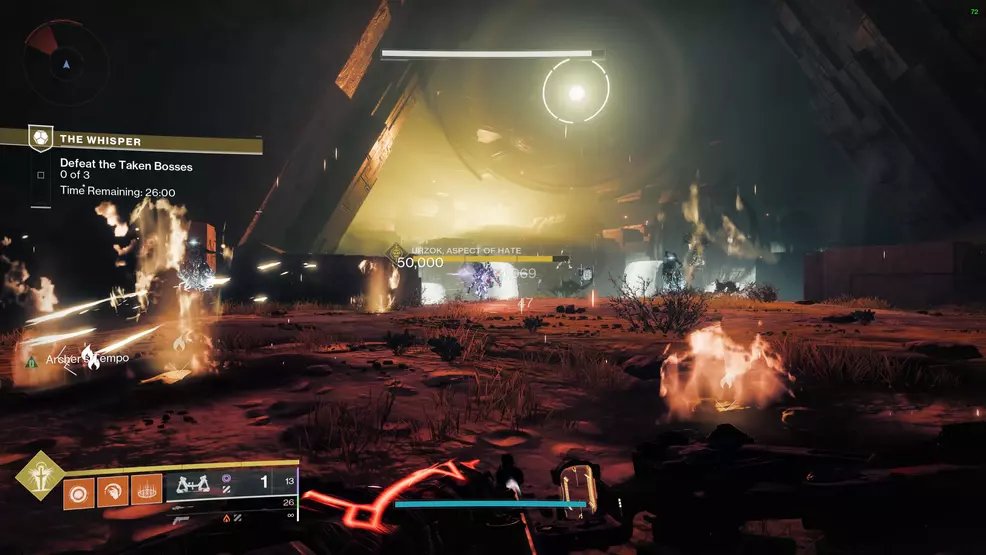
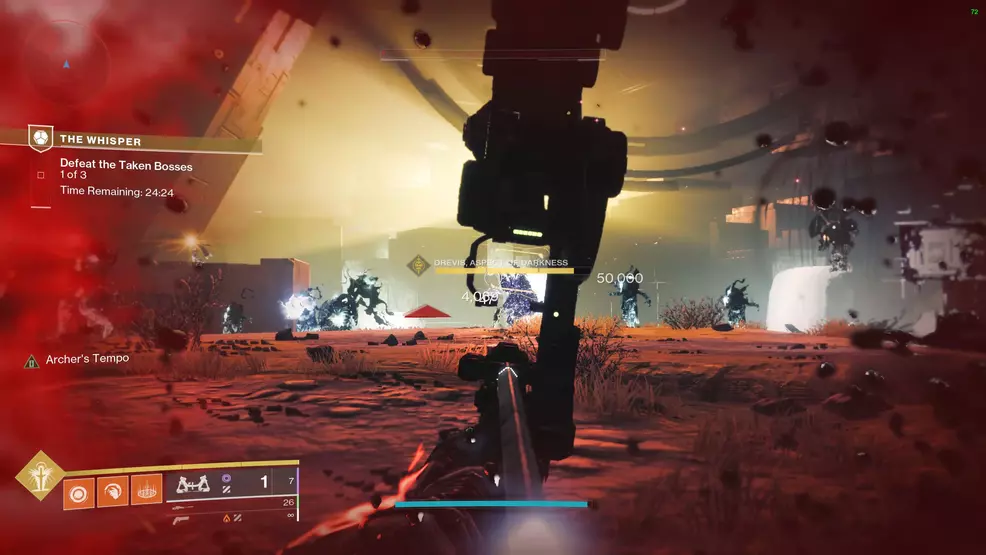
You must defeat three bosses before the main boss will spawn. Destroying one of the Vex cubes will spawn a boss and its minions. You can summon them all in at once, do them one at a time, or some other combination. After defeating a boss, a wave of Taken Minotaurs will spawn.
Source: Shacknews
The cube on the left summons Urzok, Aspect of Hate. This Taken Knight is supported by Taken Wizards. The middle cube is Drevis, Aspect of Darkness, a Taken Kell who is joined by Taken Captains and Taken Vandals (there are a lot of snipers and darkness orbs being thrown during this phase). The cube on the right summons Ta’aurc, Aspect of War, a Taken Cabal who brings Taken Psions and Taken Centurions along for the ride.
Defeating these three bosses is fairly easy on normal, even while solo. The Leviathan’s Breath Exotic Bow makes short work of these foes, though just about any Heavy weapon and Super will do a great job.

Source: Shacknews
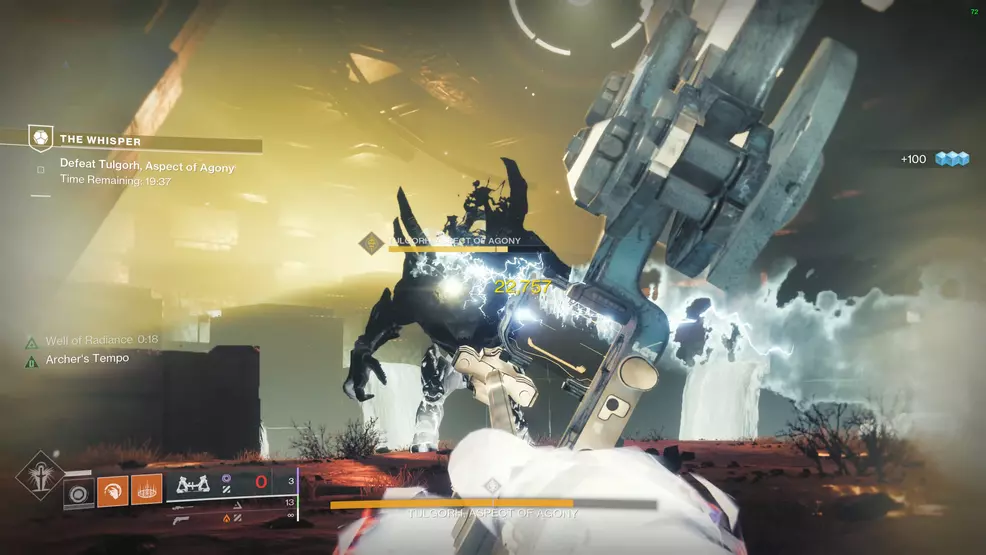
Once these three are defeated, Tulgorh, Aspect of Agony will join the fight. This is a massive Taken Ogre that has an immunity shield and a split health bar. Defeat the two Taken Wizards on the platforms behind him to lower his shield. Once the first chunk of health is gone, more Taken enemies and Taken Blights will spawn and the two Taken Wizards will be back. Defeat them again to lower the shield. The shield won’t come back again, so take your time and stay safe.
Source: Shacknews
Like the previous three bosses, use your Super and whatever Heavy weapon you find to be most effective at dealing with bosses. Apex Predator is an excellent Rocket Launcher, Leviathan’s Breath remains a great choice, even Edge Transit can plough through big baddies with ease.
When Tulgorh dies, the mission will be over and a chest will appear at the back of the room. Open the chest to receive Whisper of the Worm, an Exotic Sniper Rifle that first appeared in Destiny where it was called Black Hammer. You’ll now be able to unlock more perks for it via some quests from Eris Morn on the moon.
Whisper of the Worm perks
Whisper of the Worm is an Exotic Sniper Rifle that sits in the Heavy weapon slot. It is no slouch when it comes to dealing boss damage, making it an ideal choice for any foe with an easy to hit crit spot. Here are its main perks:
- White Nail: Higher base precision damage. Rapidly landing three precision hits will refill the magazine.
- Whispered Breathing: Aiming this weapon without firing for a brief moment grants bonus range and precision damage while it remains zoomed.
You can also select between a few perks on the crafted version including Mulligan, Field Prep, No Distractions, and Enlightened Action. As mentioned, you can only acquire these if you complete the relevant quest from Eris Morn, Whispers of the Taken.
With The Whisper Exotic mission completed and the Whisper of the Worm unlocked, you can dive back in on the Legend version to power up your new Exotic Sniper Rifle. Take a look at our Destiny 2 Strategy Guide for more help with the other Exotic missions and our guide on all Exotic Catalysts and Masterworks so you can vastly improve your arsenal.

