
Scourge of the Past raid guide - Destiny 2
A complete walkthrough of the Scourge of the Past raid in Destiny 2.
The Scourge of the Past is the newest raid activity for players in Destiny 2. This raid arrived alongside the Season of the Forge and is one of the shorter raids available. Despite its length, figuring out each section and optimizing a strategy can be difficult, so we’ve put together a complete walkthrough of the Scourge of the Past raid.
- Berserker, Botza District
- Sewer Maze Map
- Escape!, Botza Underground
- Vault Access, Botza Ruins
- Insurrection Prime, Botza Ruins
Scourge of the Past
Taking place in the Last City on Earth, the Scourge of the Past raid has teams reclaiming sections of the city from the grip of the Fallen and defeating Insurrection Prime.
The Scourge of the Past has a recommended Power of 640, with enemies rising to 650 Power in the final area. Before attempting the raid, ensure that all players are of an appropriate Power for their skill level. It is possible to complete the entire raid while lower than 640, though it will require greater skill.
What weapons to use
As with pretty much every single piece of content in Destiny 2, the Whisper of the Worm reigns supreme in most sections. However, thanks to the arrival of heavy machine guns, Thunderlord is an excellent choice for those players who will be fighting in close quarters.
Sleeper Simulant doesn’t really have a place in the Scourge of the Past raid, as there are no high-ranking targets that can be easily dispatched with the slow-firing fusion rifle.
What class to use
At the moment, a Warlock running Well of Radiance is the most useful class in Destiny 2 thanks to the massive buff it gives an entire team. Ideally, any Warlocks should be opting for Well of Radiance during the final boss fight and any other subclass or tree for the other sections.
Hunters will likely want to opt for supers that offer good crowd control. Nightstalker is a great option with Tether while Arcstrider and Way of a Thousand Cuts excels at clearing rooms. Titans will no doubt want to opt for Sunbreaker for the Hammer Strike buff and the add-clear potential.
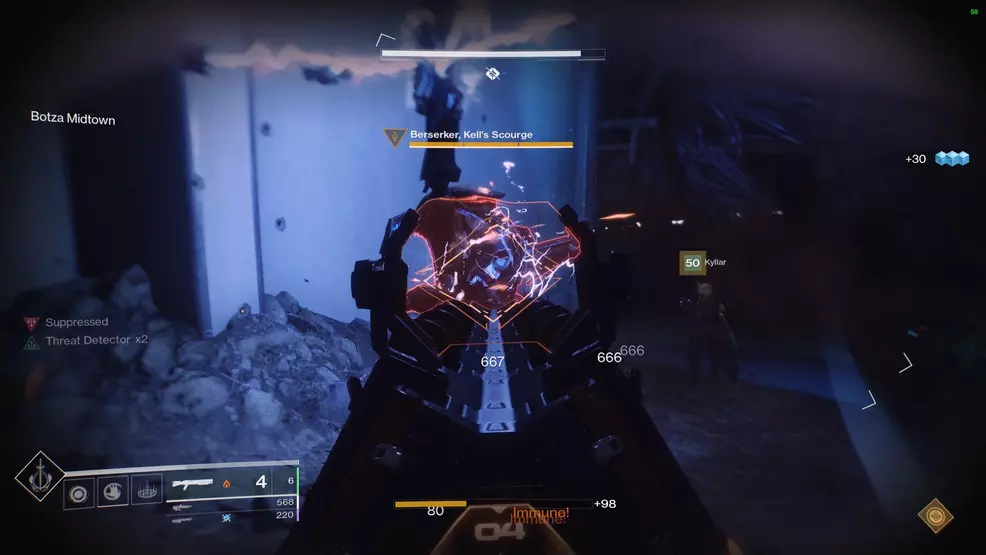
Berserker – Botza District
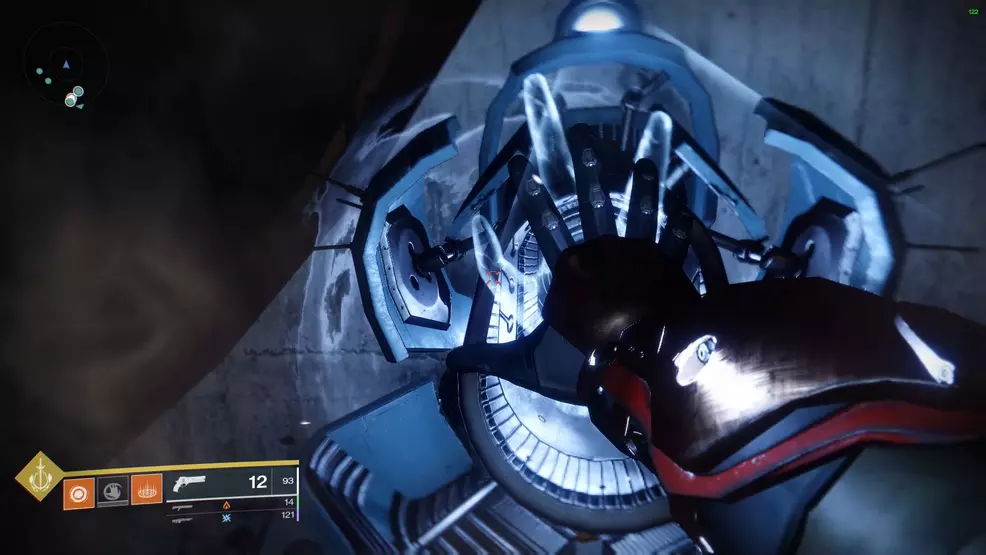
The first encounter in Scourge of the Past takes place on the rooftops and in the streets of the Last City on Earth. Players will need to hunt down Berserkers, kill them, and take the batteries to generators in the streets.
- Kill the Berserker on the roof and insert the Radiant Battery in the nearby generator
- Player with Ionized debuff stands near the map and directs players to next Berserker
- Kill Berserker with the circle above its head
- Pick up one Radiant Battery
- Player near the map directs that player to the matching generator
- Pick up second Radiant Battery
- Player near the map directs that player to the matching generator
- Repeat
To kill a Berserker, two players will be needed. Approach the Berserker to make it summon a shield and charge its gun in the air. During this time, two weak points will appear: one on its front and one on its back. These two weak points must be destroyed to remove the Berserker's immunity shield. If the weak points are not destroyed, the Berserker will fire its now-charged gun, which deals enough damage to potentially one-shot a player.
After killing the first Berserker and plugging in the battery, the map will appear and the encounter will begin. The area has five distinct generators, one at each cardinal point and one in the center. Each generator is labelled with a series of dots from one through five. The map generator will need to be charged, if it runs out of charge the entire team will wipe.
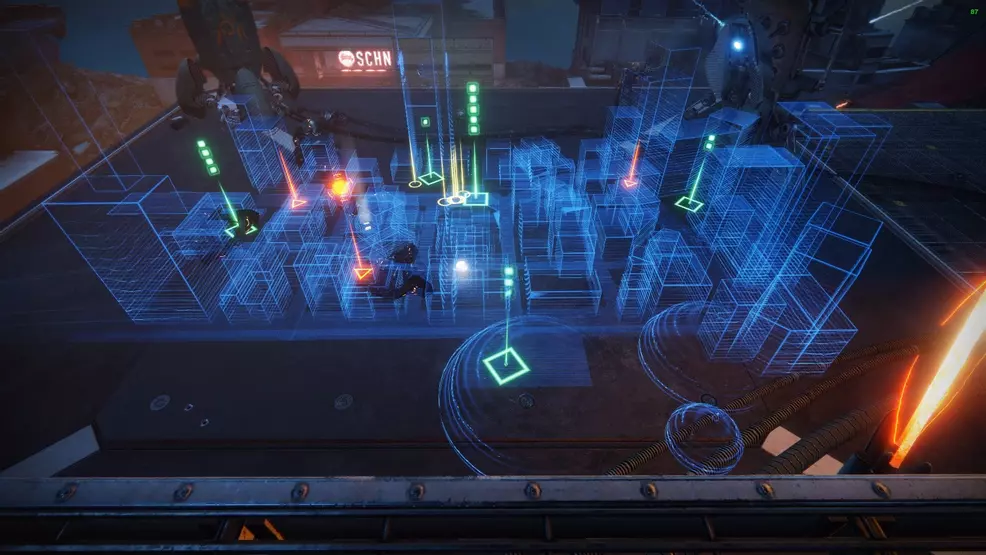
The player who plugged in the battery will need to stand near the map as they will have the Ionized debuff, preventing them from picking up another battery for roughly 2 minutes. All the other players should hunt down the next Berserker. There are multiple Berserkers on the map, but the only one worth killing will have a circle above its head. This Berserker will drop two batteries, one to charge the map and one to take to another generator.
When a player picks up a battery, dots will appear above their circle on the map. The player near the map will need to direct the player to the generator that matches the amount of dots they have. If the player has three dots, they will need to go to the generator that has three dots. It is important for the batteries to be picked up slowly, as there is no way to tell by looking at the map who has how many dots.
The Berserker with the mark above its head will always drop a battery for the map and one battery that needs to go to another generator. Using this knowledge, it is possible to deduce what battery remains. If the first battery that is picked up needs to go to Generator One, Two, Three, or Four, then the last battery is for the map.
Whenever a player picks up a battery, they will have 52 seconds to take the battery to the correct generator or they will die. It is important for someone to go with the battery holder, as there will be a Servitor or two blocking the generator. Kill the Servitor to remove the shield from the generator.
After inserting the battery, the player will have an Ionized debuff, preventing them from picking up another one. At this point, they can either swap with the map reader or simply become the player who kills the Servitors.
Repeat this process until one of the generators on the street is fully charged. Once the generator is charged, the shield will disappear, granting access to the Sewers.
Sewer Maze
The next section of the Scourge of the Past raid is a maze that winds below the city. Using the map below, figure out where your team dropped down from and then follow the colored path to the center chamber and on to the next encounter.
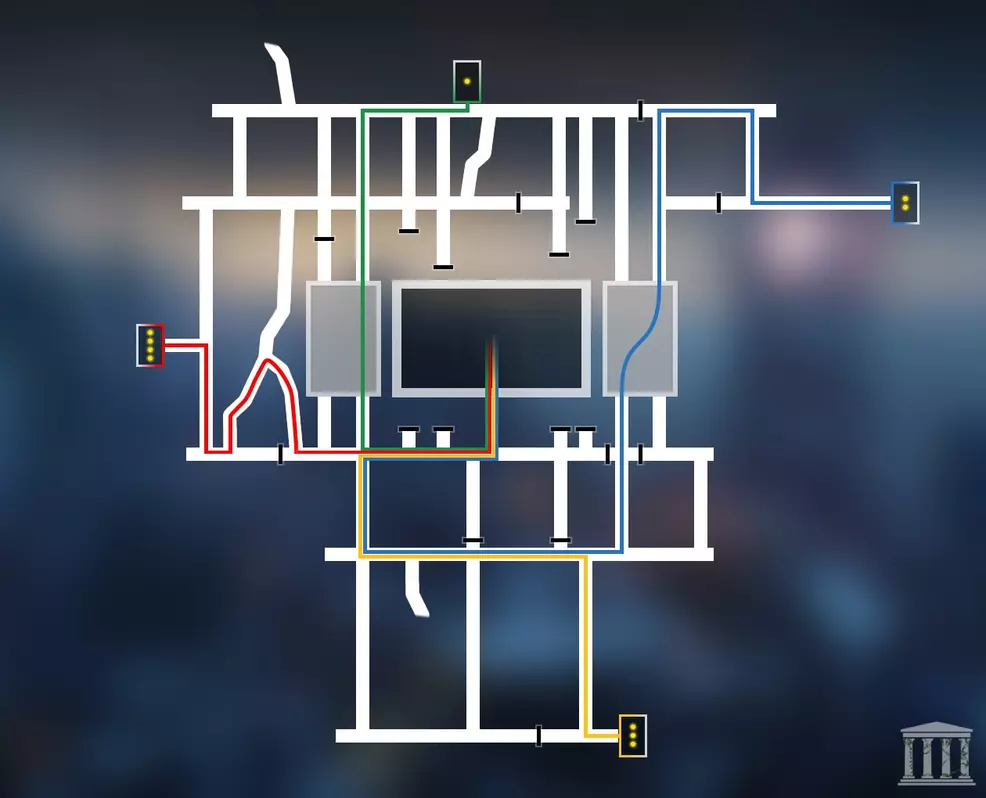
Credit to Reddit user Storm_Worm5364 for this creation.
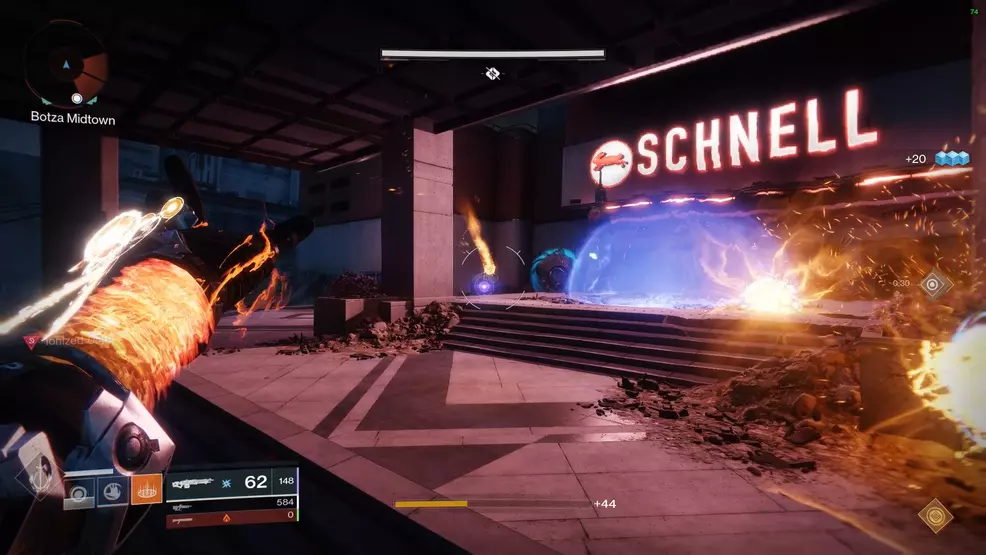
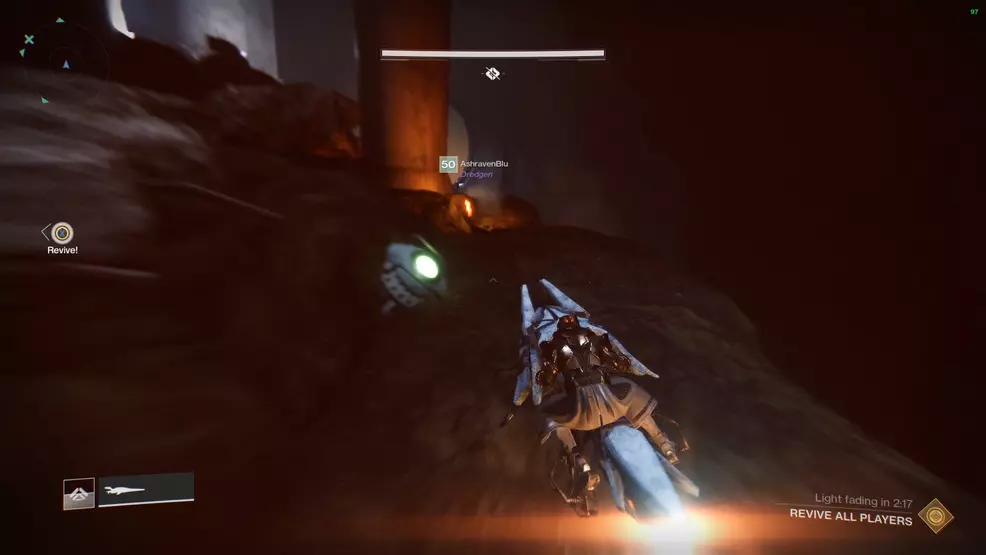
Escape! – Botza Underground
The Escape! portion of the Scourge of the Past raid tasks players with using their Sparrows to outrun a giant flaming Servitor through the Botza Underground. This section is pretty straightforward, as there is only one path to take. In saying this, there are often high routes, low routes, and forks in the track though they all lead back to a single path. It's also worth bringing a quick-summon sparrow or one that has a reduced cooldown, as you will need to get on it quickly and if it gets destroyed you'll want another as soon as possible.
To start the encounter, ensure all players are in the chamber and then have two players melee the switches on the sides of the door at the same time. Each player will need to get on their Sparrow and follow the track to the end.
Two players must make it to the end, as there will be another two switches on the sides of the door. Melee these switches to shut the door and prevent the Servitor from coming through.
There is an alternate ending to this section of the raid, though it requires finding several sensors hidden along the track. If all the sensors are touched (they don’t have to be interacted with) then another door will open up in the final chamber, leading to another intense bit of the track.
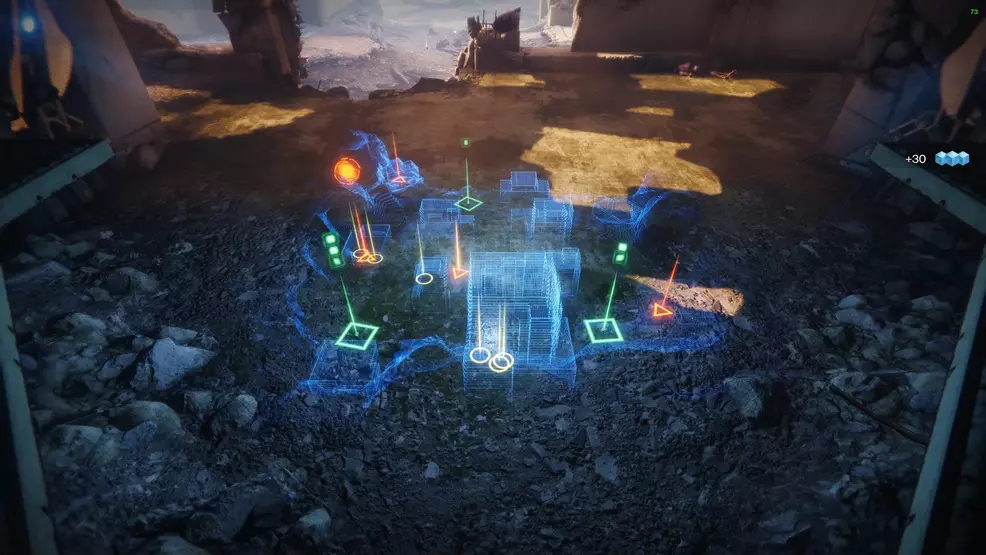
Vault Access – Botza Ruins
This penultimate section of the Scourge of the Past raid has players collecting matching symbols to charge a generator that will spawn tanks to destroy the center construct. Players will be taking turns going below ground and above ground, and as such, a good variety of weaponry is ideal. While above ground players will need to deal with long-range enemies and below ground are tight-quarters.
- Kill the Insurrection Defender Servitor
- Send three players down into the tunnels to melee one shape each
- Players above ground kill the next Servitor
- Players below ground collect a second matching shape
- Players above ground kill a Servitor, allowing underground players to emerge
- Any player with a Phase Radiance x2 buff inserts it into a generator
- Use tanks to damage Insurrection Prime
- Repeat from step 2 with the teams now swapping roles
Begin by splitting the team into two groups, one group will start above ground while the other goes below. The team below ground will need to melee one shape each, being sure to avoid the randomly-broken generator. The team above ground will need to clear adds and destroy the Servitor whenever the team below are ready for the shapes to be reset.
In the tunnels below the ground will be four generators spaced equally along the path. One generator at random per reset will be broken and hitting it will cause the team to wipe. The three players below ground will need to find a working generator and melee the shape, either a circle, triangle, or square. This will give a Phase Radiance buff, the goal is to collect two of the same shape to get a x2 Phase Radiance buff. Note that standing too close to another player who also has a Phase Radiance buff will cause continual damage to both players.

The team above ground will need to spend time clearing snipers and then when each player below ground has a buff, kill the Servitor. Once the Servitor dies, the generators will reset and the players below ground will need to find their same shape and melee it. After each player below ground has a Phase Radiance x2 buff, the above team will need to destroy the Servitor which removes the electricity blocking the exits.
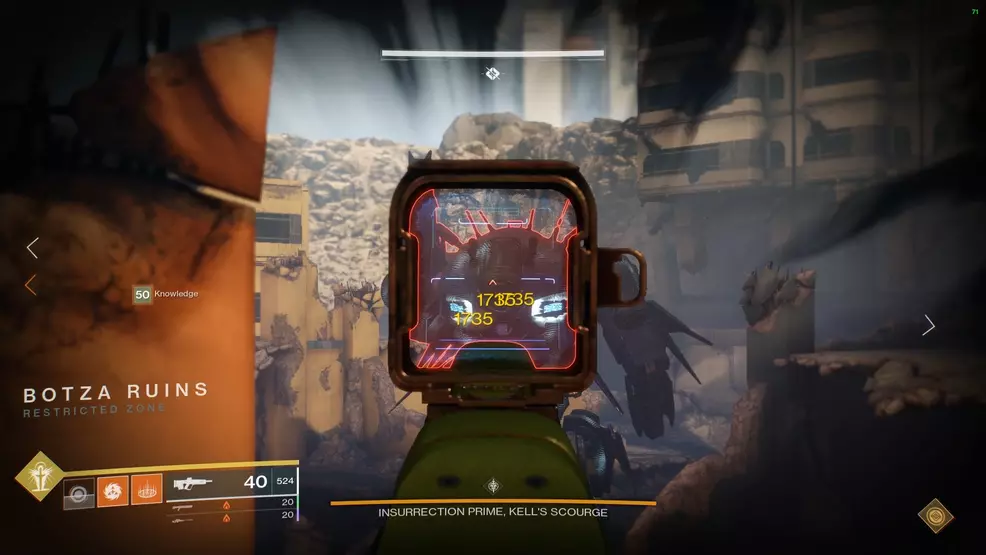
There are three generators above ground and each player with the Phase Radiance x2 buff will need to go to one generator each. Deposit the Phase Radiance buff at a generator to spawn a tank on the plate. Each player will need to get in their tank and start dealing damage to the Insurrection Prime construct in the middle of the map. The tanks have a limited pool of health and a counter down timer, the tank will explode shortly after one of these reaches zero.
While the team is shooting the center structure, the team that was above ground will now transition below ground and proceed with collecting the shapes. Once the tanks explode, the players that were piloting them will need to start killing snipers and kill the Servitor whenever the team below ground call for the generators to be reset.
Repeat this process, flipping the teams back and forth, until the Insurrection Prime construct is destroyed.
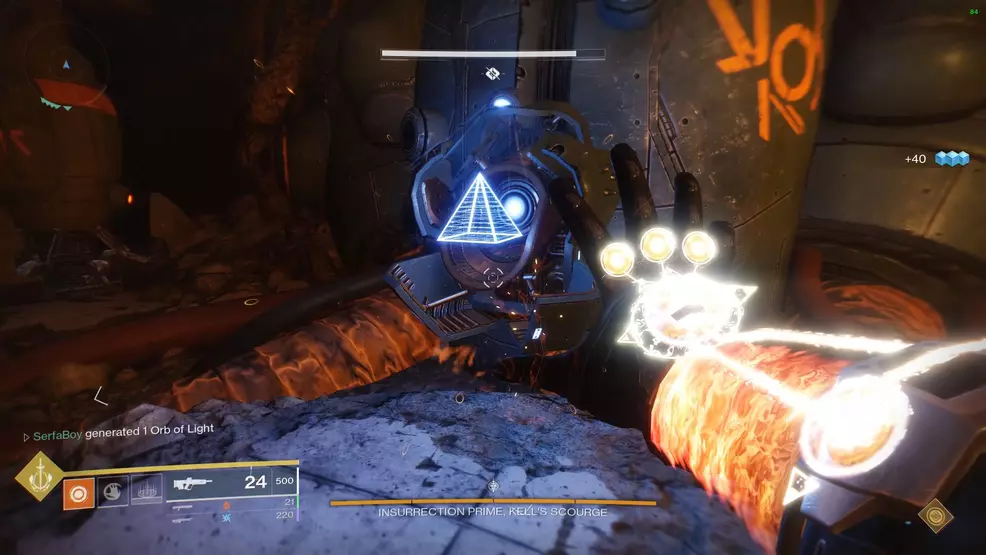
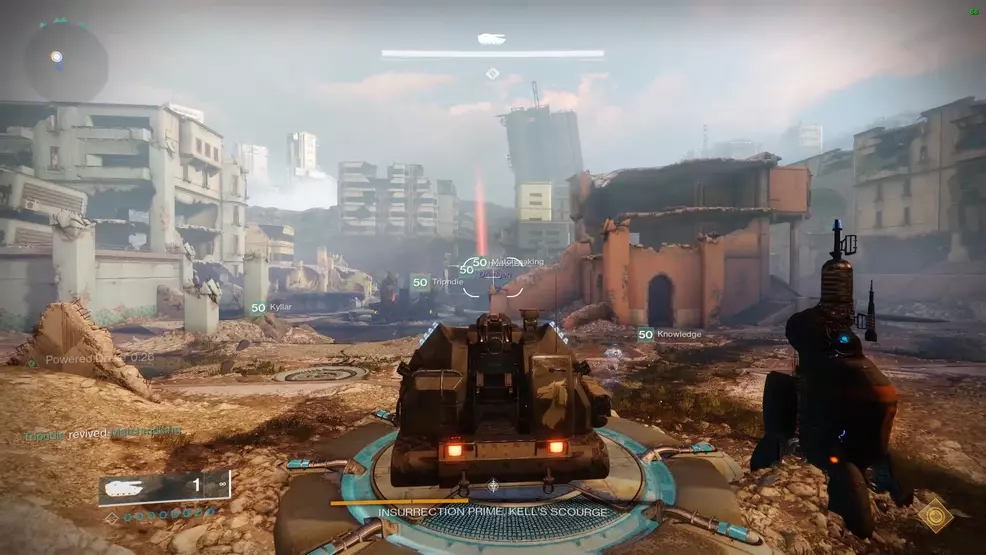
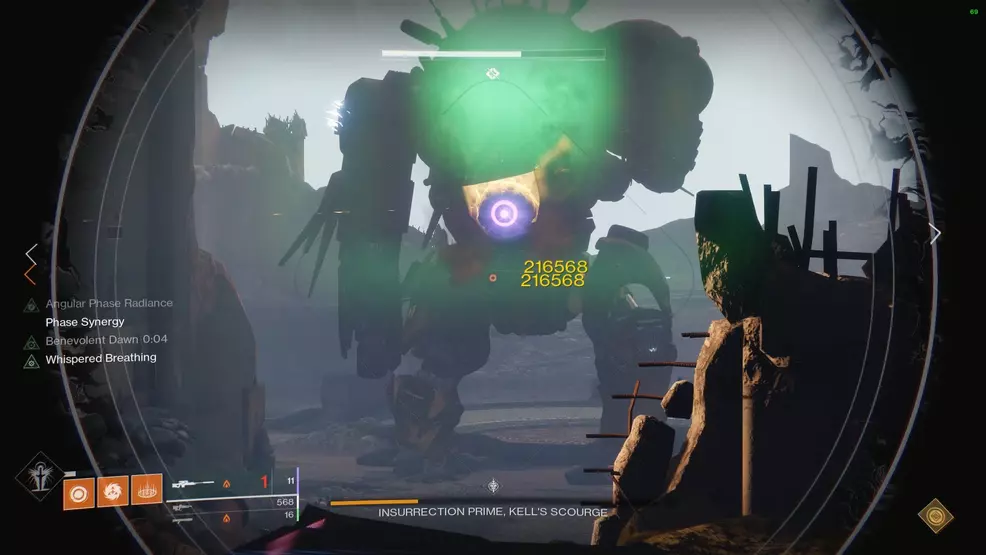
Insurrection Prime – Botza Ruins
The final fight in Scourge of the Past is against Insurrection Prime, a giant Fallen mecha Servitor. Players will need to defeat Berserkers, take batteries to generators, shoot the boss’ weak points, damage the boss, and then match up with players of similar buffs. Overall, the boss fight is relatively easy and players will be dealing an incredible amount of damage, though a lot of communication is necessary.
- Kill the Berserker and insert the battery at the spawn point to summon the map
- Send two players off to defeat the Berserker
- Other players destroy the glowing parts of Insurrection Prime
- Map reader directs battery carriers to correct generators
- Cycle roles to account for Ionized debuff
- Repeat until a tank can be acquired
- Use one tank to damage the shield-less Insurrection Prime while other players group up for damage phase
- Once blast wave comes out, group with players of the same buff (Continuous, Angular, Parallel)
- Deal damage to Insurrection Prime, regrouping whenever a blast wave comes out
- Repeat
The first part of the fight against Insurrection Prime plays out exactly like the first encounter in the raid. One player will need to man the map and call out where the correct Berserker is and then direct the battery carriers to their correct generators. This charges the plates where the Drake tanks spawn.
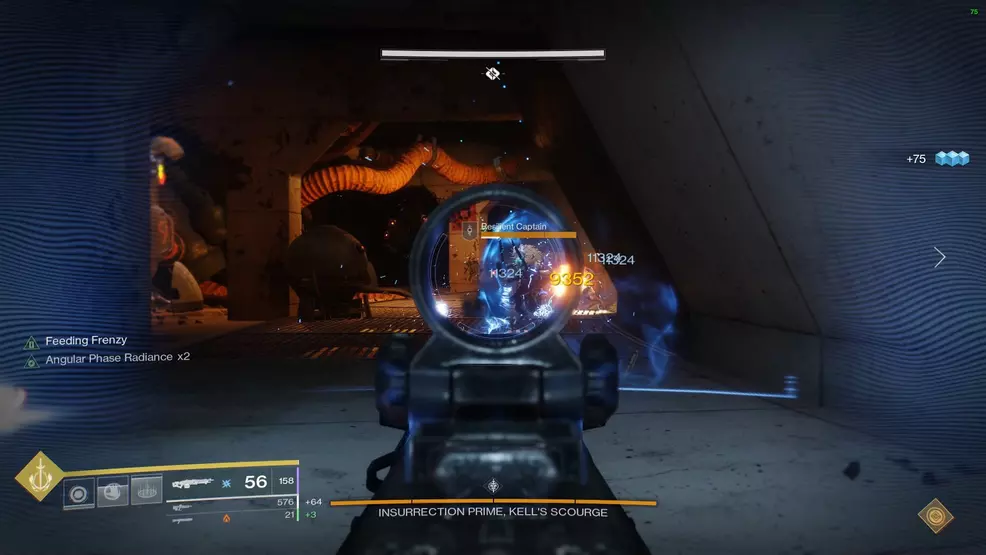
Meanwhile, players who are not collecting batteries will need to clear snipers and destroy the several glowing parts of Insurrection Prime. These parts appear on its knees, back, and sides. Once all weak points are destroyed, Insurrection Prime will lose its shield.
Players will need to cycle responsibilities to ensure that two players are always hunting down a Berserker for the Radiant Batteries. Once the generators are charged, one player should use a tank to damage Insurrection Prime while the other players group up at spawn.
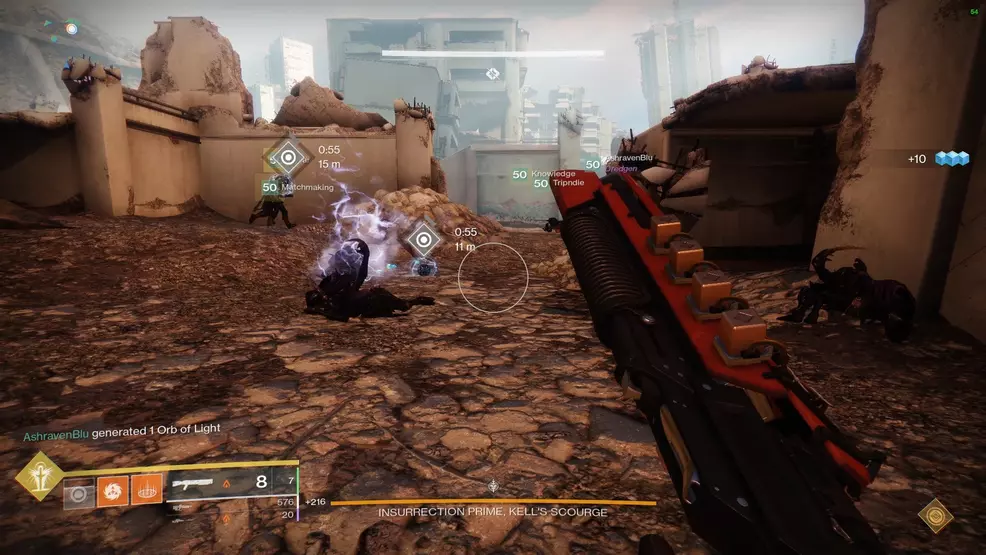
A blast wave will come out, hitting all players and giving everyone a different Phase Radiance debuff. Players will need to group up with players who have the same debuff to get a buff called Phase Synergy, greatly increasing damage output. Players will need to regroup whenever Insurrection Prime sends out a blast wave.
Using Whisper of the Worm (and ideally Well of Radiance), focus on damaging the Servitor in the center of Insurrection Prime. Repeat the above steps until Insurrection Prime is defeated.
A good strategy for organizing players during the Phase Radiance debuff section of the fight is to assign a spot near spawn for each debuff. My team had the left side reserved for Continuous, center for Angular, and right for Parallel. This method ensures that players need only see what debuff they have and then move to the appropriate spot.
Compared to the previous raid, Scourge of the Past is relatively short and far less demanding. With the right strategy, a bit of guidance, and the proper weapons, a team of players should be able to complete the Scourge of the Past raid in well under an hour. For more guides on the other raids in Destiny 2, check out the Shacknews Destiny 2 guide.

-
Shacknews

 reply
replySam Chandler posted a new article, Scourge of the Past raid guide - Destiny 2
