
Destiny 2: Season of the Lost campaign walkthrough
A step-by-step guide for the Season of the Lost campaign in Destiny 2, including Cocoon and the Wayfinder's Voyage questline.
Destiny 2: Season of the Lost introduces a new campaign for players to experience. The main story centers on Awoken Queen Mara Sov, Crow, as well as the events of the previous season with Saint-14 and Osiris. Much like previous seasons, players will be able to get a new Seasonal Artifact and increase their Power. But let’s cut to the chase and dive into the walkthrough for Season of the Lost campaign.
Last updated on October 11, 2021.
Season of the Lost campaign – Wayfinder’s Voyage
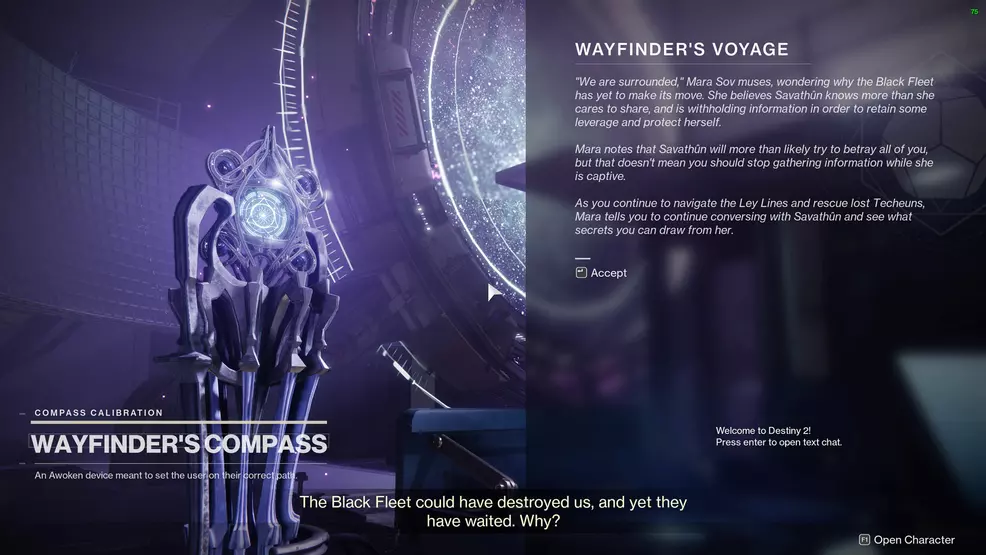
Destiny 2: Season of the Lost has a campaign that evolves over the course of several weeks with its main quest, Wayfinder’s Voyage. The campaign begins with a quest called, Mission Cocoon, which sees you tracking down Osiris, before working with Mara Sov.
Mission Cocoon
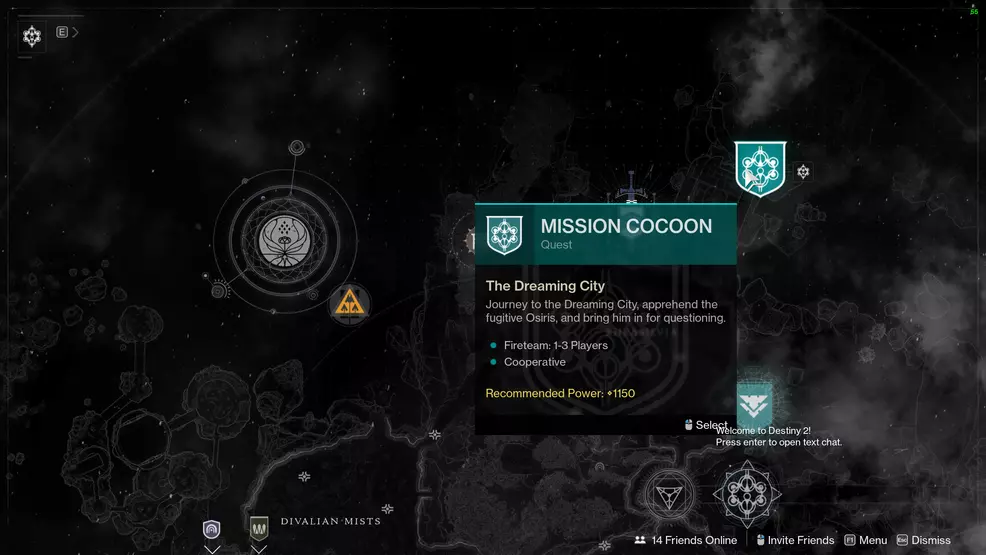
The first step in the Season of the Lost is the quest, Mission Cocoon. Players will automatically load into this mission, with Saint-14 directing you to help him find Osiris and learn the truth. Fight through the Hive and enter the Ascendant Realm and get to defeating Taken. When you meet Mara Sov, she’ll direct you to go and pick up your Seasonal Artifact, the Wayfinder’s Compass.
Return to the H.E.L.M.
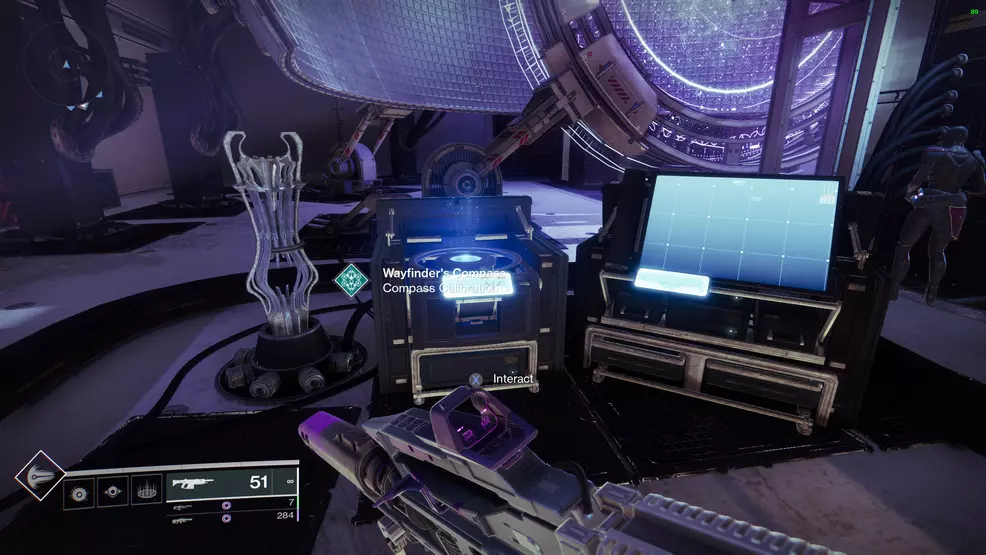
After speaking with Mara Sov, you’ll need go back to the H.E.L.M. and go to the new area on the right-hand side. Here, you will need to calibrate the Wayfinder’s Compass.
Step 1: Speak with Petra Venj

You will need to speak with Petra Venj via a terminal in the H.E.L.M. This should start automatically after the previous step. Listen to Petra and
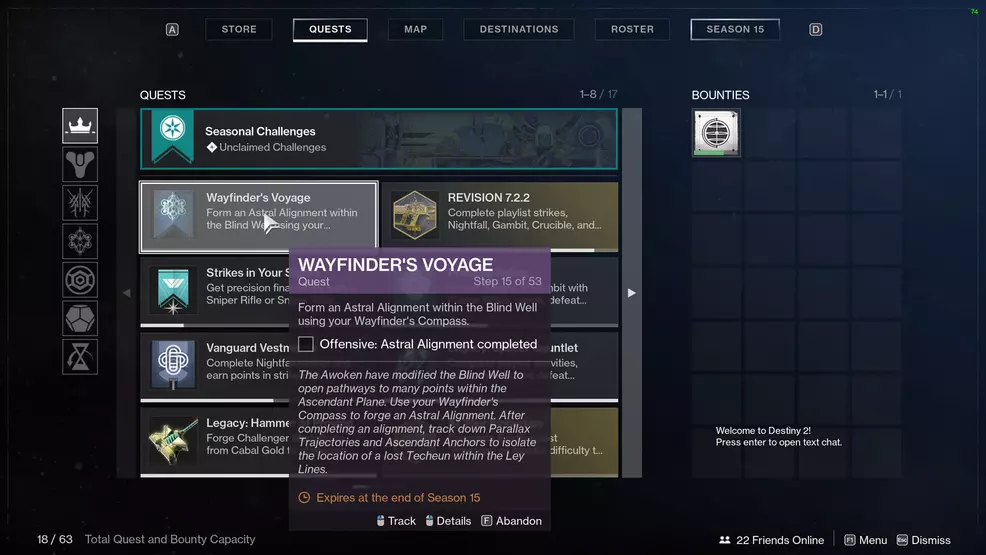
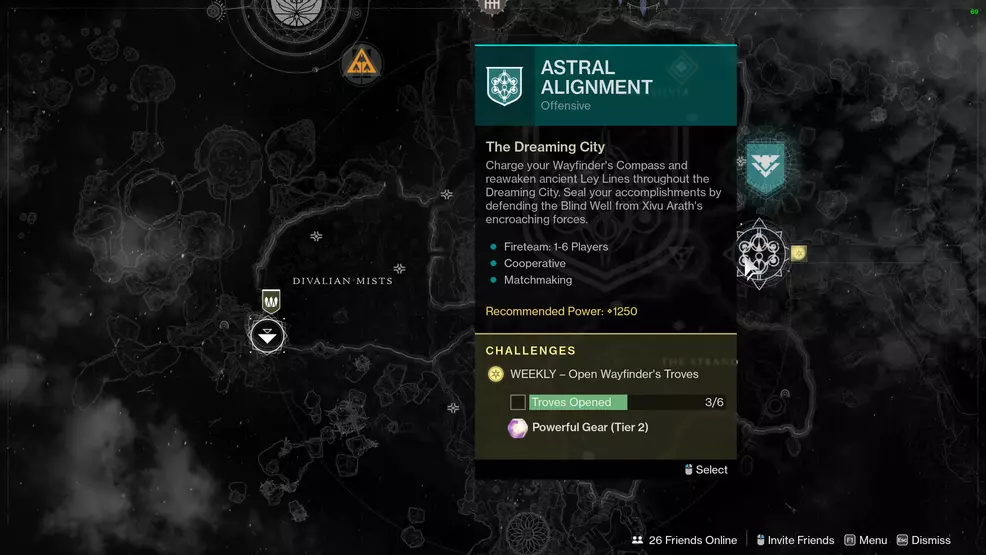
Step 2: Complete Astral Alignment
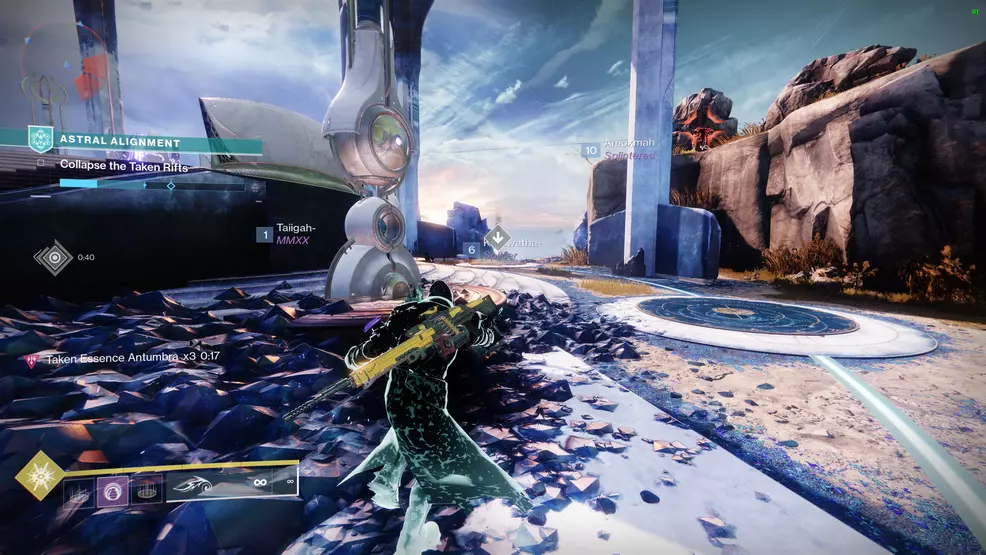
Astral Alignment is the Season of the Lost activity and this step requires you to complete a run of it before progressing. Grab the bounties from the Wayfinder’s Compass calibration stand before you continue.

The Astral Alignment activity is a mix between the Blind Well and Override. You will need to defend beacons and dunk batteries to charge them up. Dunking batteries removes the immunity shields from the Lost Knights. The final portion of the activity requires you to defeat enemies in the Blind Well and use the Taken Essence buff to remove the shield from the boss.
Step 3: Return to the H.E.L.M.
Go back and interact with the Wayfinder’s Compass in the H.E.L.M.
Wayfinder's Voyage Part 1
Now begins the actual Wayfinder's Voyage questline. This quest consists of 53 steps that are unlocked over the course of Season of the Lost. Those that don't play on a week-by-week basis or who are playing after the season ends will be able to do these all in one go. For everyone else, you will need to wait for the next part of the quest to come out each week.
Step 1: Go Trostland in the EDZ
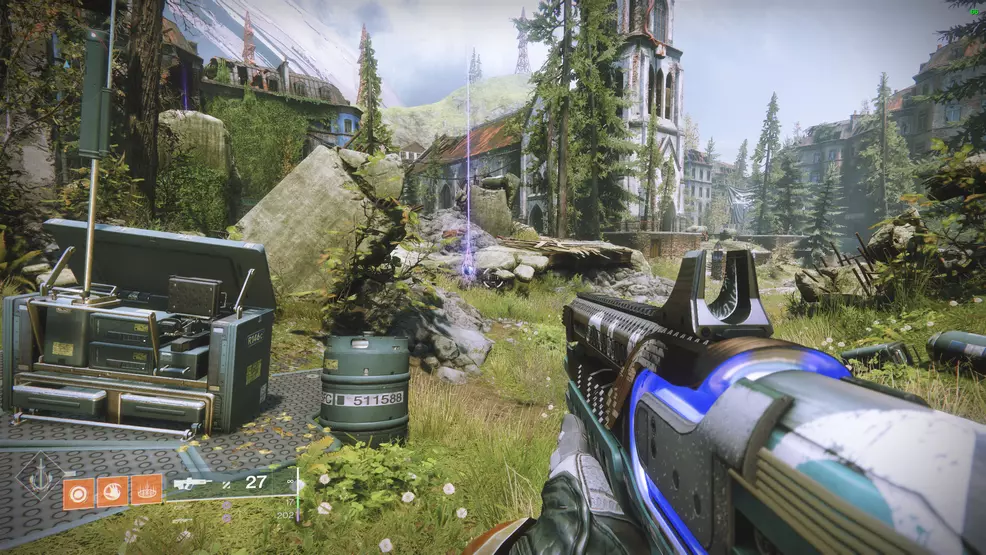
Your next step will be to head to Trostland in the EDZ and collect Parallax Trajectory. You will find an Ascendant Anchor right by the fast travel location, grab it to get some Parallax Trajectory. Search the area for more until this step is completed.
Step 2: Enter the Shattered Realm
With Parallax Trajectory collected, you’ll be able to enter the Shattered Realm to find the Techeun. You can access the Shattered Realm from the H.E.L.M. by walking through the portal.

In the Shattered Realm, you must activate beacons and defend them from waves of Taken. One beacon can be found down inside a small chapel. Another is up in the cliffs to the right. You can find them easily be looking at the sky and searching for the beam of light.
Finally, you will need to align the beacons. Work your way back down the cliff to spot a black Taken portal – jump through to teleport to the last beacon.
Interact with the beacon and then fight the Techeun. You must defeat her Hoarfrost Acolytes to lower her shields. She will move around the small arena after you remove a chunk of her health. When she’s defeated, interact with the waypoint to free her and finish this step.
Step 3: Upgrade Wayfinder’s Compass
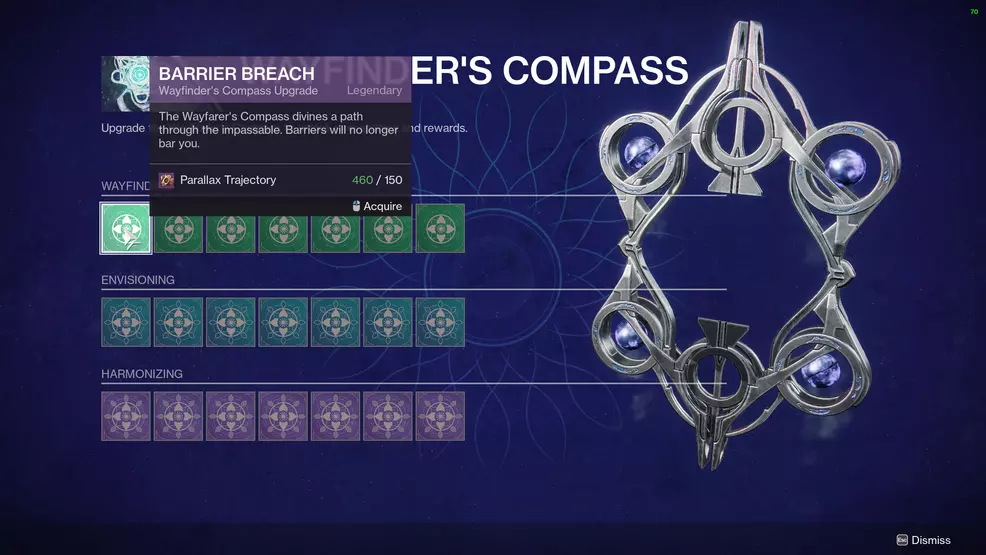
Return to the HELM and purchase the Barrier Breach upgrade to the Wayfinder’s Compass. This allows you to pass through the barriers in the Shattered Realm.
Step 4: Speak with Savathun
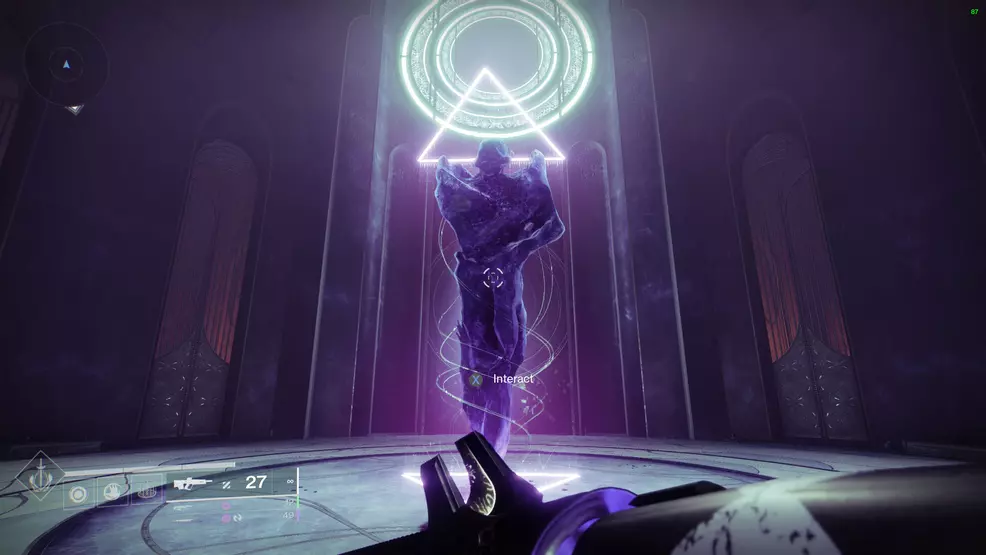
Go through the portal in the HELM to Mara Sov’s room and then to the statue. Listen to what Savathun has to say and then continue to the next step.
Step 5: Speak with Ikora

Go and speak with Ikora Rey, she’s found in the Bazaar in the Tower. This is the final step for the first week of Season of the Lost’s Wayfinder’s Voyage questline.
Step 6: Wait for Part 2
With the first part of the Wayfinder's Voyage complete, players that are playing on a weekly basis during the season must wait for Part 2 to unlock.
Wayfinder’s Voyage Part 2
Step 7: Visit the Wayfinder's Compass
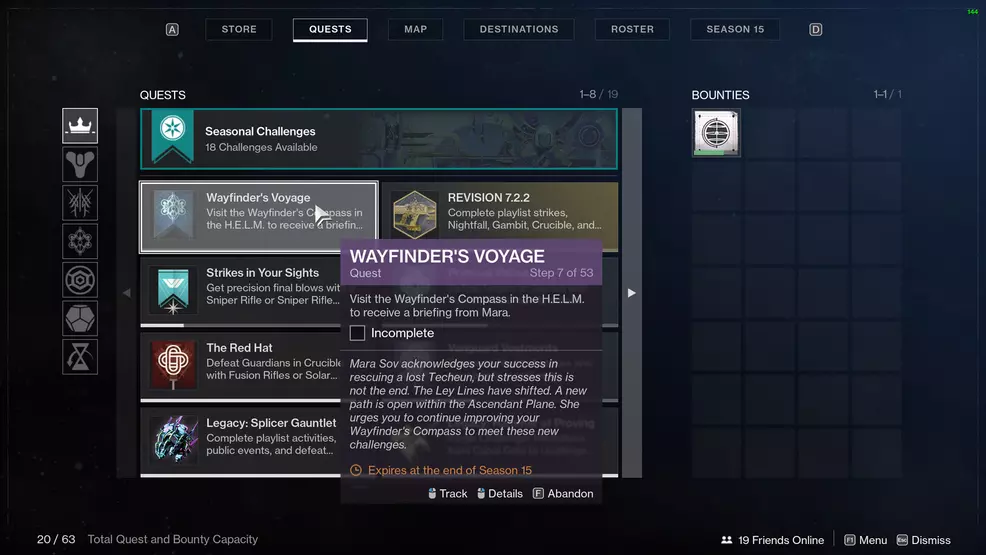
The start of the second week of Season of the Lost has players continue the Wayfinder’s Voyage mission. For this step, go to the Wayfinder’s Compass in the H.E.L.M. and listen to Mara’s briefing.
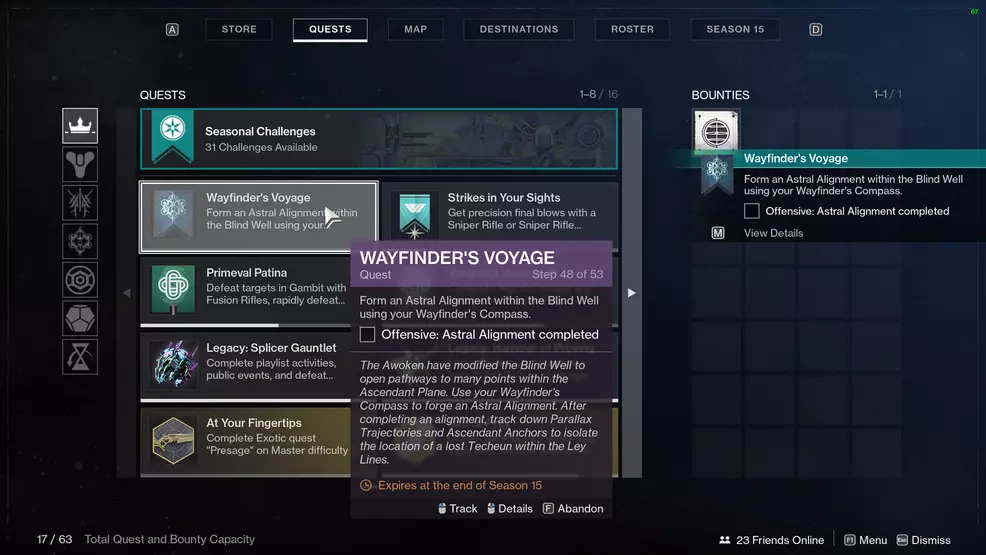
Step 8: Complete an Astral Alignment
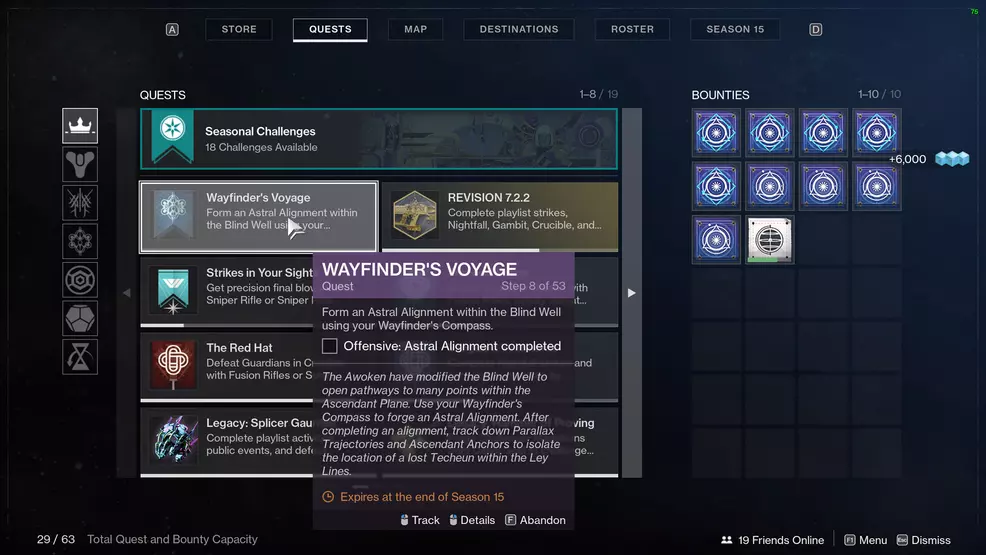
Go and do another Astral Alignment to complete this step of the quest.
Step 9: Go to the Tangled Shore
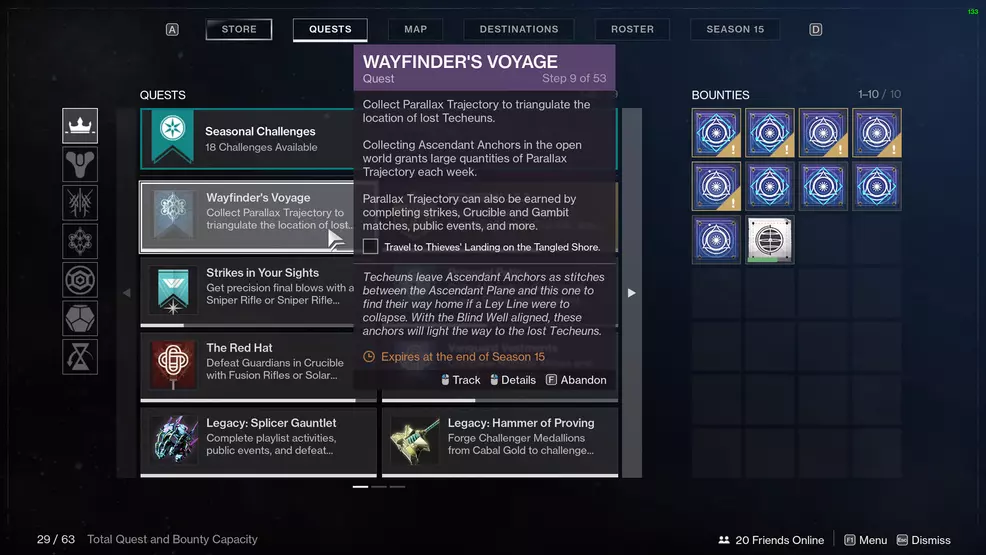
Travel to the Tangled Shore and collect Parallax Trajectory. Depending on how much Parallax Trajectory you’ve collected previously, you might need to only load into the Tangled Shore before the next step activates.
Step 10: Complete the Shattered Realm: Debris of Dreams

You’ll now need to head back to the H.E.L.M. and play through the Shattered Realm: Debris of Dreams. This activity contains both Unstoppable and Overload Champions, so come prepared with the correct mods.
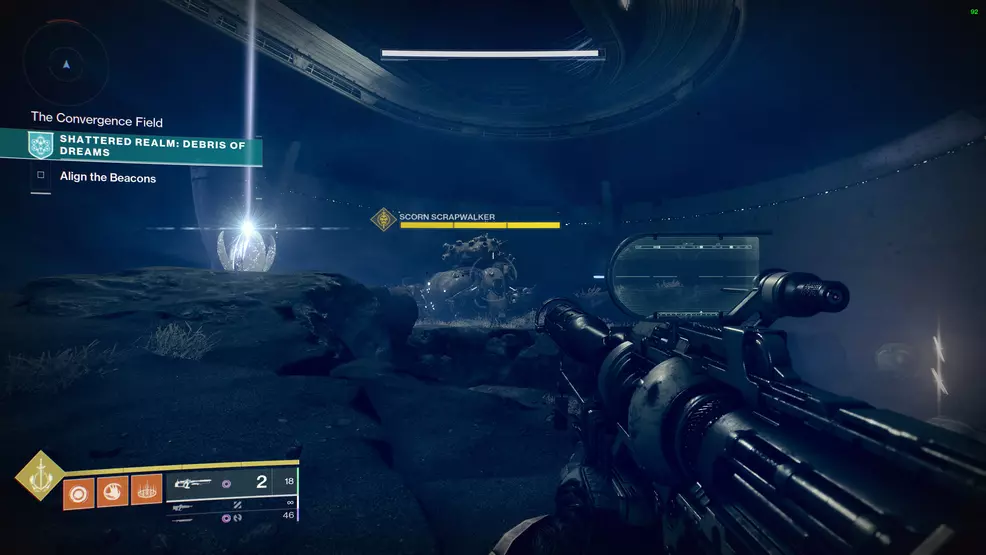
This is the same as the previous version of the Shattered Throne. Go in and look for the beacon lights in the sky to help direct you to the next location. You will need to pass through a Fallen teleportation pad to reach the boss of the area, which is a Scorn Walker.
Step 11: Upgrade your Wayfinder’s Compass
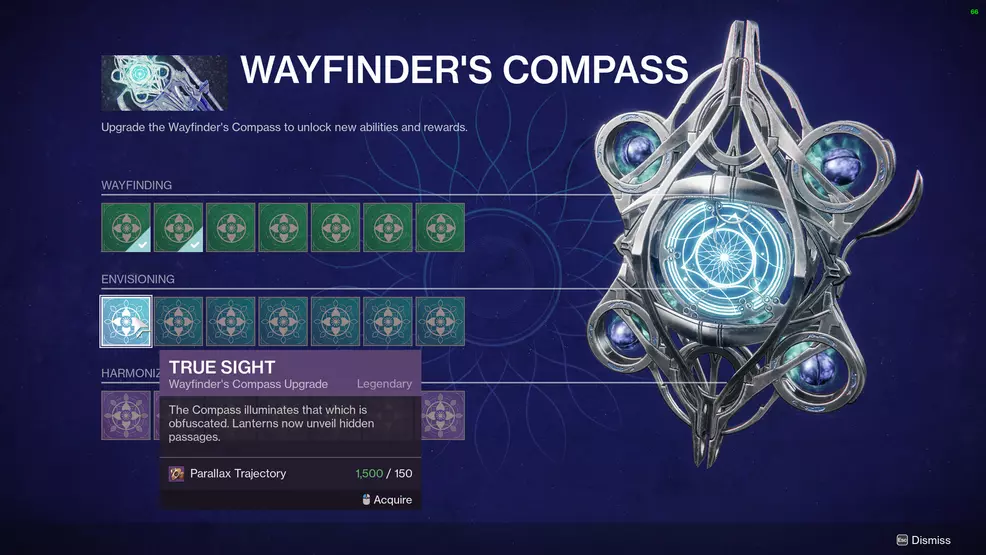
Now, return to the H.E.L.M. and upgrade the Wayfinder’s Compass. You will need to get the True Sight upgrade.
Step 12: Speak with Savathun
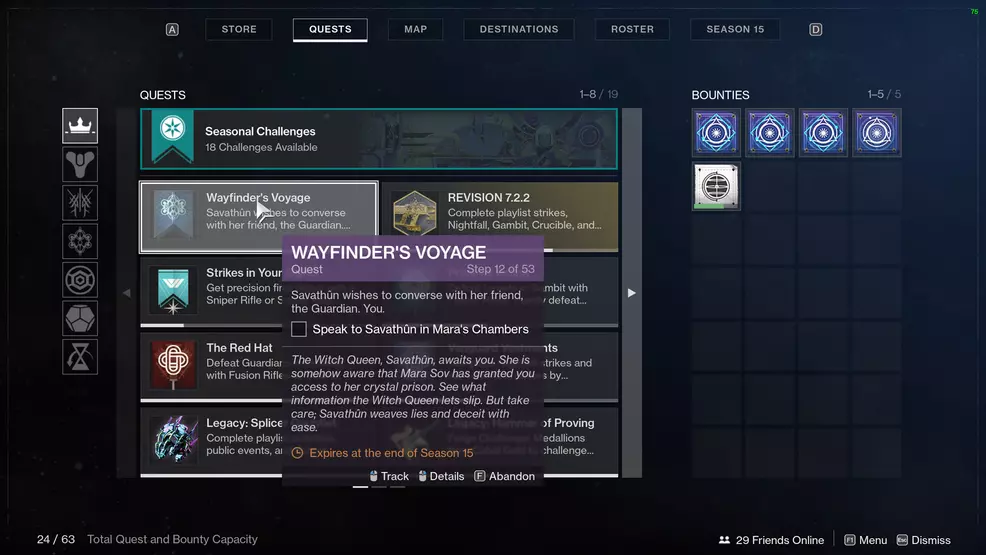
Enter Mara Sov’s chambers and speak with Savathun via the statue to complete this leg of the Wayfinder’s Voyage quest.
Step 13: Wait for Part 3
After finishing Part 2 during Season of the Lost, wait until Part 3 becomes available.
Wayfinder's Voyage Part 3
Step 14: Visit the Wayfinder’s Compass

The third week of Season of the Lost offers up Part 3 of the Wayfinder’s Voyage questline. Return to the H.E.L.M. and interact with the Wayfinder’s Compass vendor to complete this step.
Step 15: Complete an Astral Alignment
Load up another Astral Alignment activity. This is launched from the Dreaming City map in the Director.
Step 16: Go to the Moon
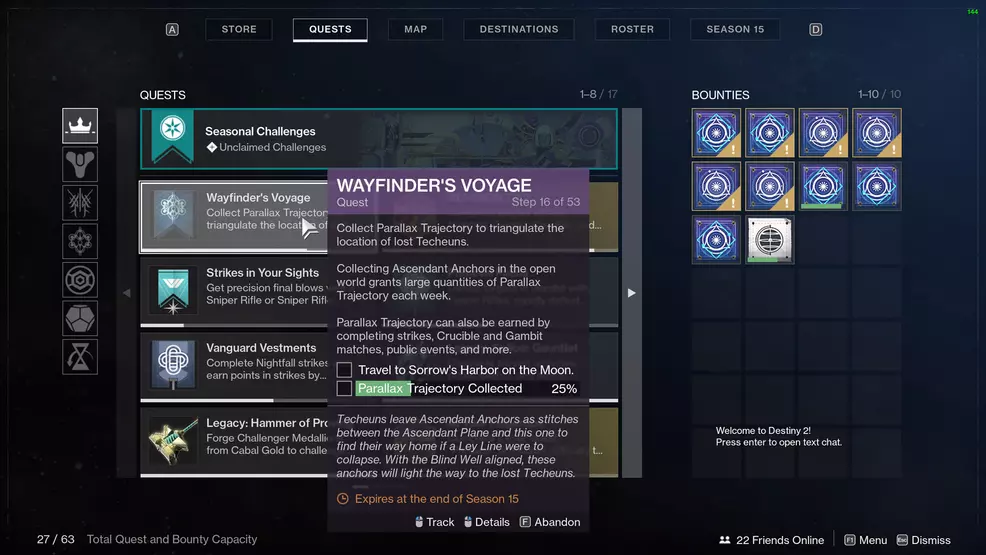
You’ll now need to head to Sorrow’s Harbor on the Moon and collect the Ascendant Anchors that are there. Sorrow’s Harbor is at the top of the map, near the Altars of Sorrow. You will also need to collect Parallax Trajectory until this step is completed.
Step 17: Complete Shattered Realm: Ruins of Wrath
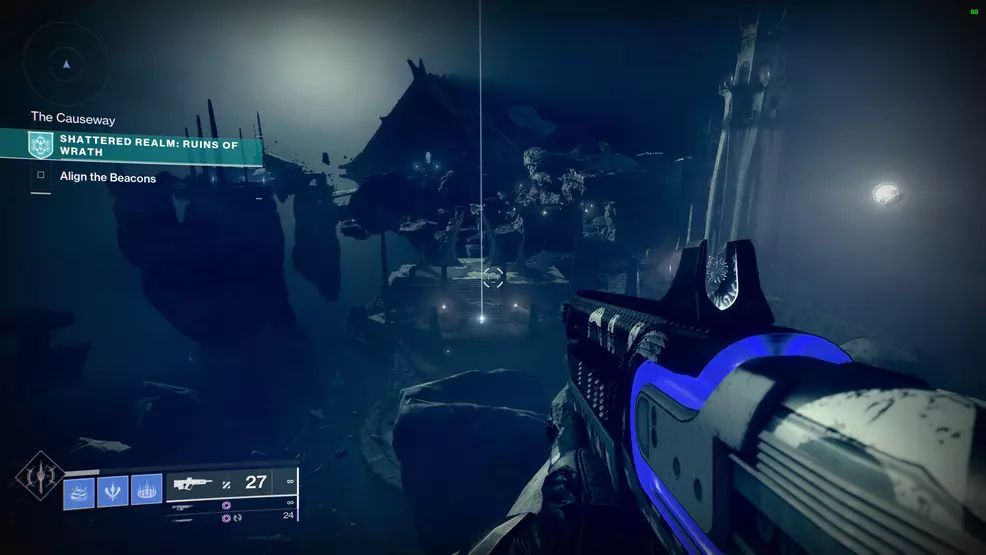
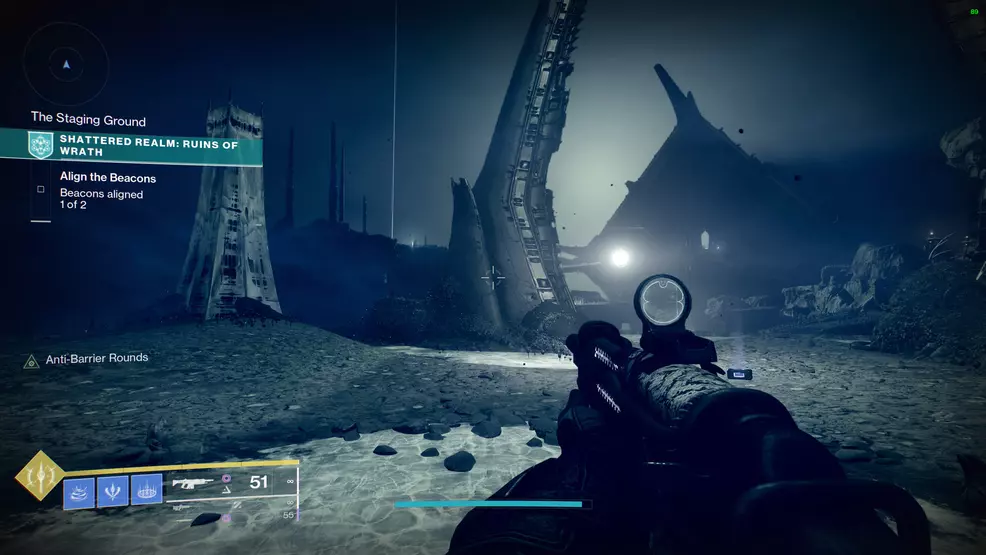
Launch the Shattered Realm activity via the H.E.L.M. and complete it to finish this step. The first beacon is directly in front of you as you enter and the second is up to the left side of the area. With the two beacons aligned, head inside the Hive Dreadnaught ship in the middle.
Step 18: Upgrade your Wayfinder’s Compass
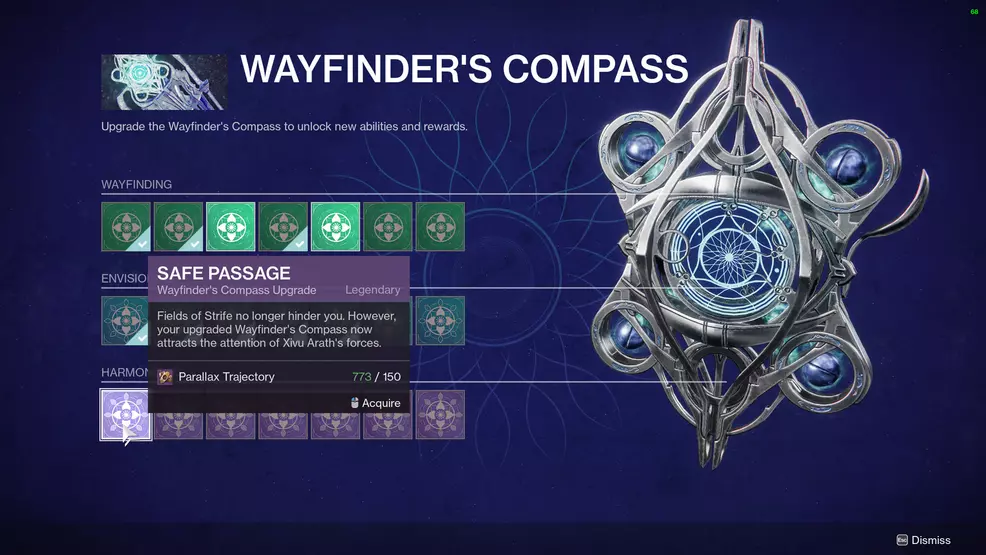
Go back to the H.E.L.M. and upgrade your Wayfinder’s Compass at the calibration station. You will need to unlock the first block on the third line for the Safe Passage ability. This one will prevent you from being slowed in the Fields of Strife, however, you will experience more enemies.
Step 19: Listen to Petra Venj and Crow
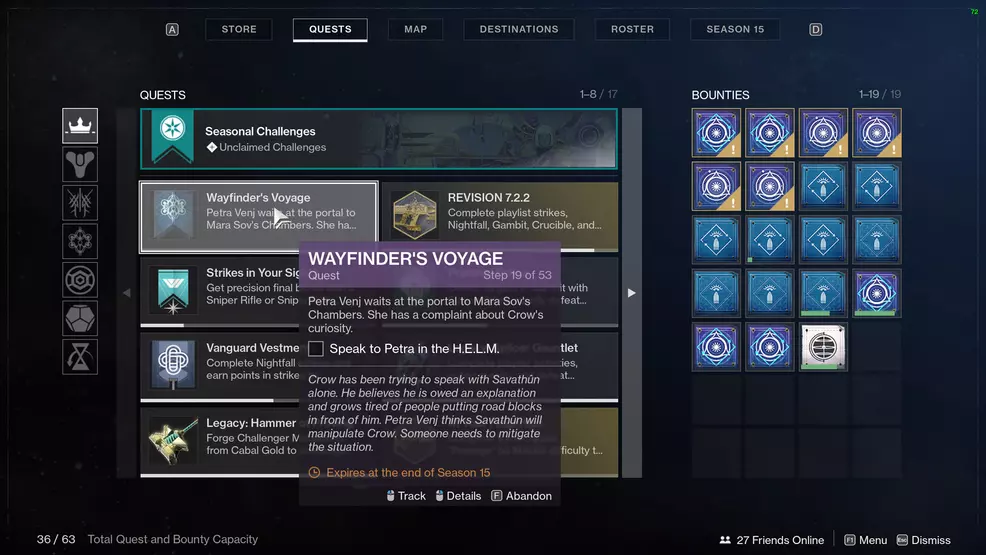
Go and listen in on the conversation between Petra and Crow, they’re standing in front of the portal to Mara Sov’s chamber in the H.E.L.M.
Step 20: Speak with Savathun
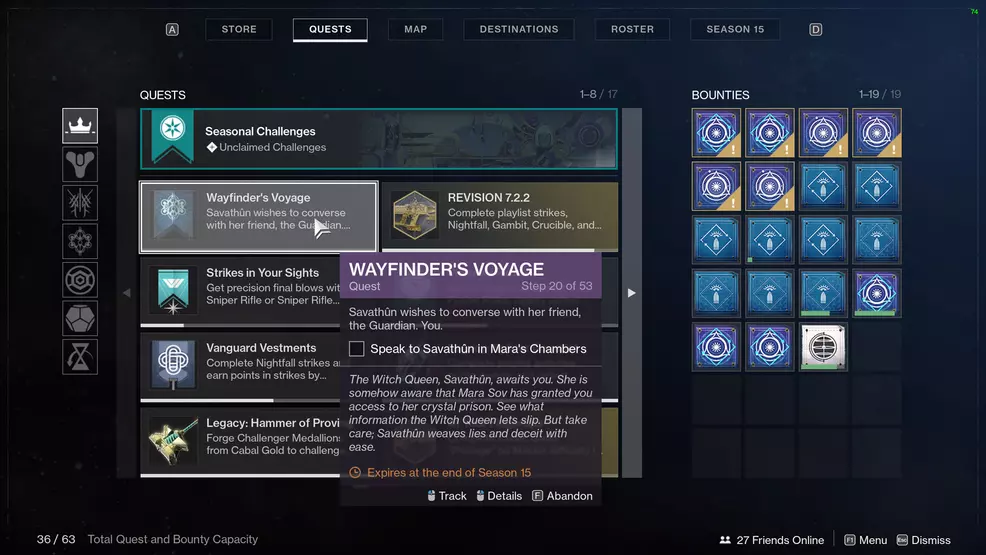
Savathun wishes to speak with you once more. Go through the portal in the H.E.L.M. to Queen Mara Sov’s chambers and interact with the crystalized form of Savathun.
Step 21: Speak with Crow
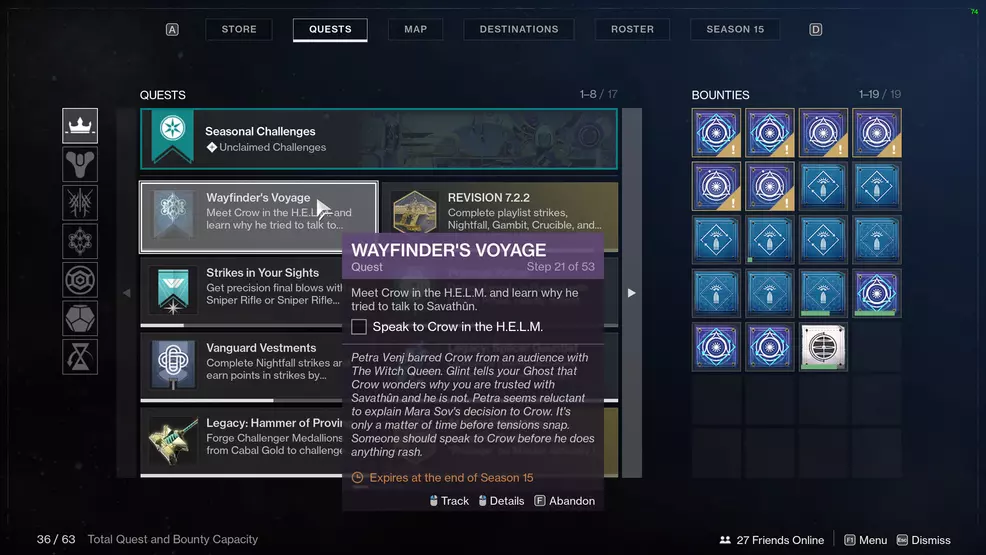
Go and speak with Crow, he’ll be waiting for you in the H.E.L.M. below the stairs.
Step 22: Speak with Petra

Run back to the Awoken wing of the H.E.L.M. and chat with Petra Venj by interacting with the Wayfinder’s Compass station.
Step 23: Wait for Part 4
Now you just need to wait for Part 4 to become available.
Wayfinder’s Voyage Part 4
Step 24: Visit the Wayfinder’s Compass station
Go and use the Wayfinder’s Compass station in the H.E.L.M. and listen to what Mara has to say.
Step 25: Complete an Astral Alignment
Complete a run of the Astral Alignment activity. This is launched from the Dreaming City map. Before you start, make sure you’ve picked up the Ager’s Scepter Exotic quest. This will let you kill two birds with one stone – so to speak. Keep in mind, you must have completed Part 3 of Tracing the Stars.
Step 26: Collect Parallax Trajectory
This step might skip depending on how much Parallax Trajectory you’ve collected over the course of the season.
Step 27: Complete a run of the Shattered Realm
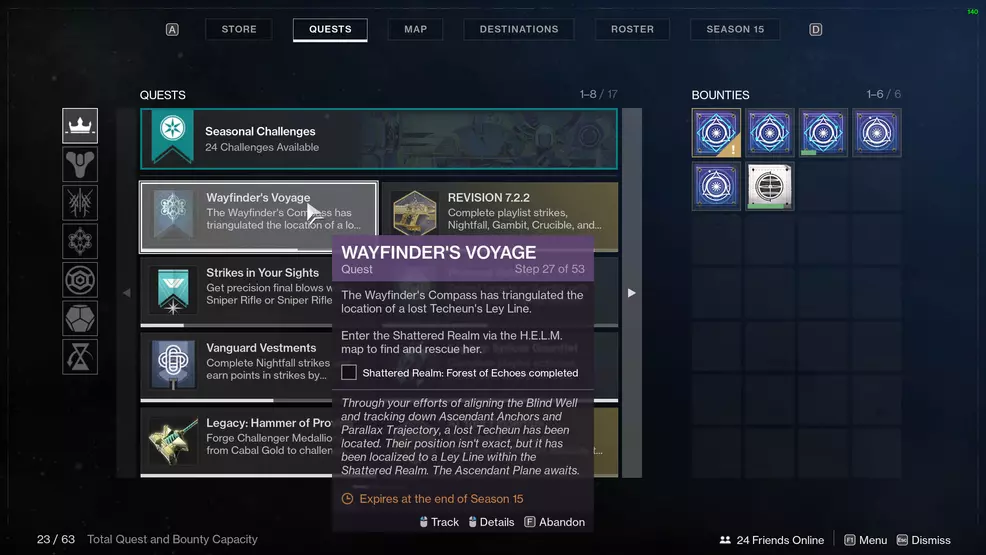
Launch the Shattered Realm via the H.E.L.M. and complete it to finish this step. As with the previous times you’ve fought through here, find the beacons, activate them, defend against the enemies, and track down the boss of the area.
Step 28: Unlock the Barrier: Enhanced Breach
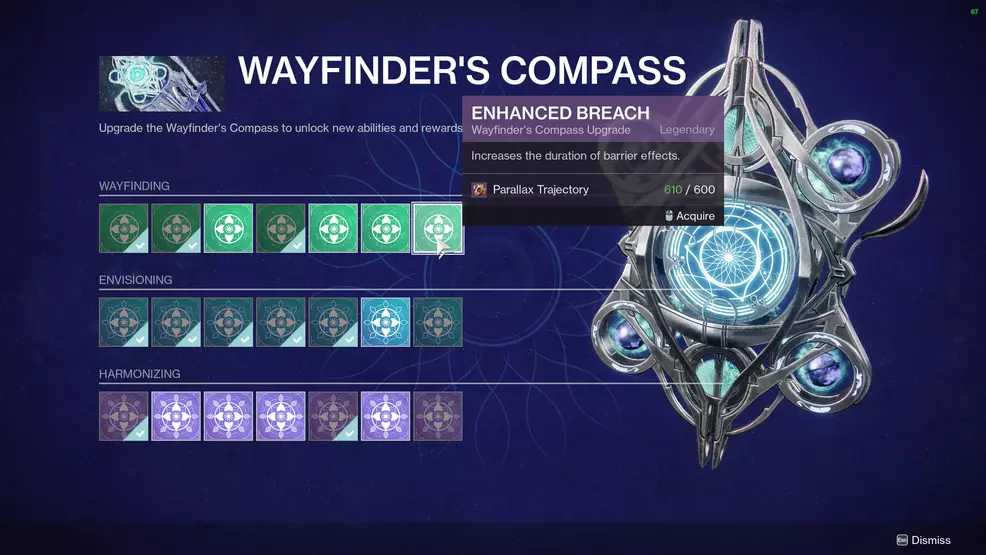
With the Techeun saved, return to the H.E.L.M. and purchase the Barrier: Enhanced Breach upgrade from the Wayfinder’s Compass vendor.
Step 29: Speak with Savathun
Head through the portal in the H.E.L.M. and speak with Savathun.
Step 30: Wait
With Part 4 completed, you must now wait until Wayfinder’s Voyage Part 5 is unlocked.
Wayfinder’s Voyage Part 5
Step 31: Go to the Wayfinder’s Compass in the H.E.L.M.
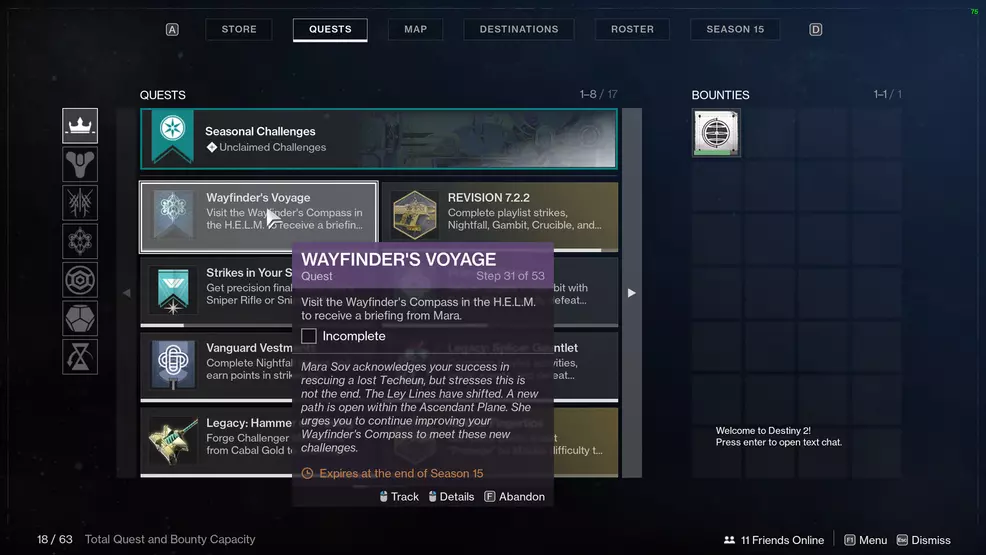
To start the Wayfinder’s Voyage Part 5, head to the H.E.L.M. and interact with the Wayfinder’s Compass near the portal.
Step 32: Complete an Astral Alignment
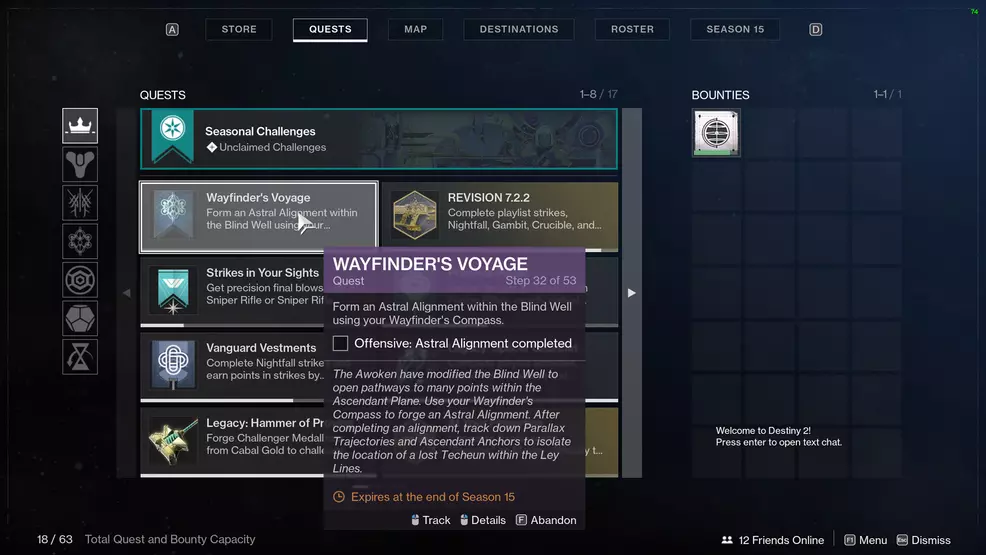
Launch the Astral Alignment activity from the Dreaming City map and complete a run. Once this is done, you can continue to the next step. Remember to pick up some bounties while you’re at the Wayfinder’s Compass.
Step 33: Collect Parallax Trajectory

This step requires you to collect Parallax Trajectory. This drops from several different activities, so go out there are start chipping away. All the playlists (Strikes, Crucible, and Gambit) all reward Parallax Trajectory as does collecting the Ascendant Anchors tucked away in various areas.
Step 34: Complete the Shattered Realm
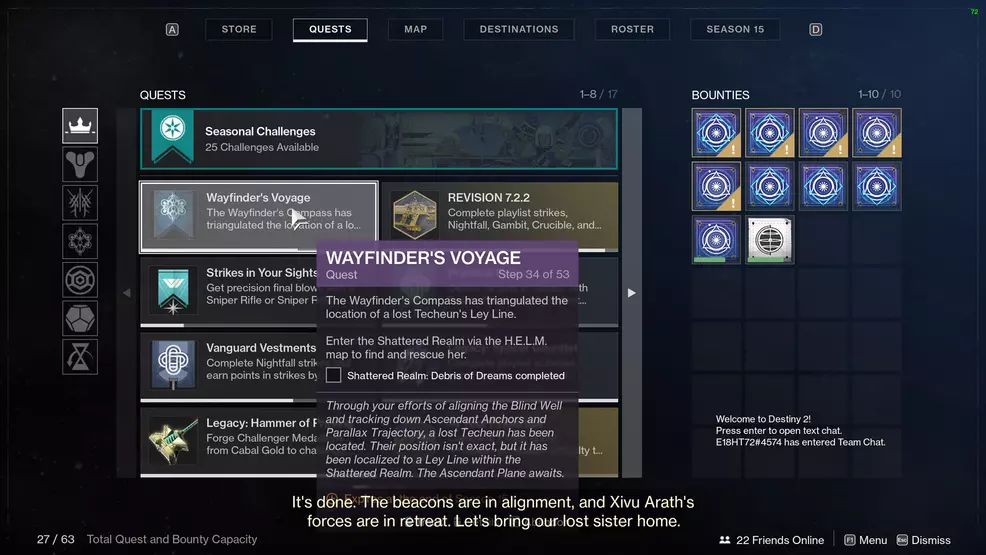
Launch the Shattered Realm from the map of the H.E.L.M. Much like previous weeks, fight through the realm, align the two beacons, and then go and defeat the boss.
Step 35: Unlock Sight: Frequency Echoes
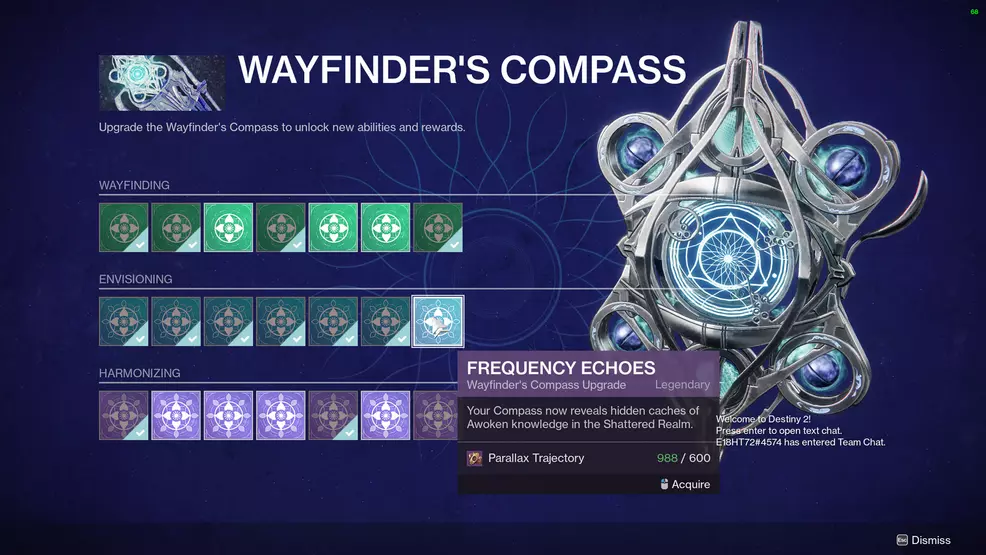
Go back to the H.E.L.M. and unlock the upgrade, Frequency Echoes. This is available from the Wayfinder’s Compass station and is the last upgrade on the Envisioning line.
Step 36: Speak with Savathun
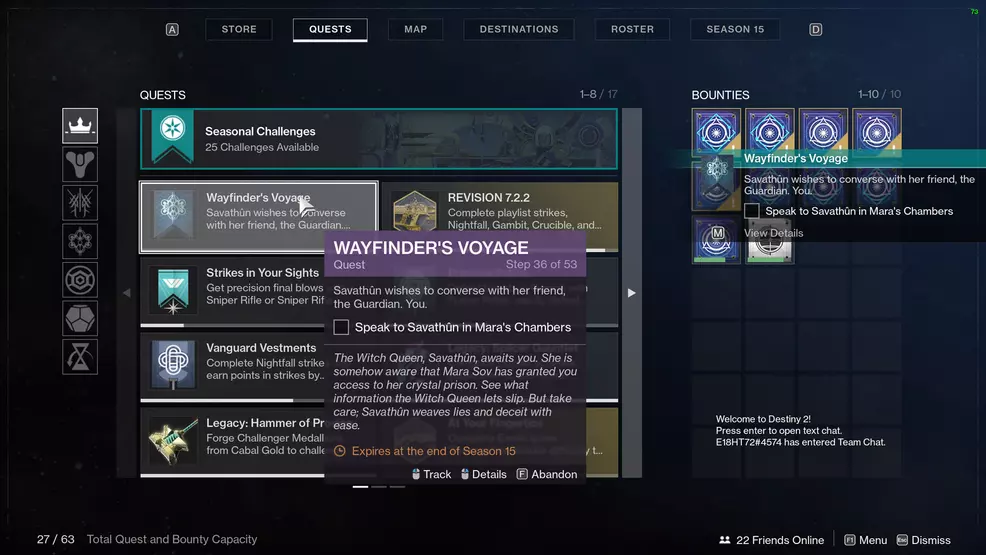
Step through the portal in the H.E.L.M. and speak with Savathun.
Step 37: Wait
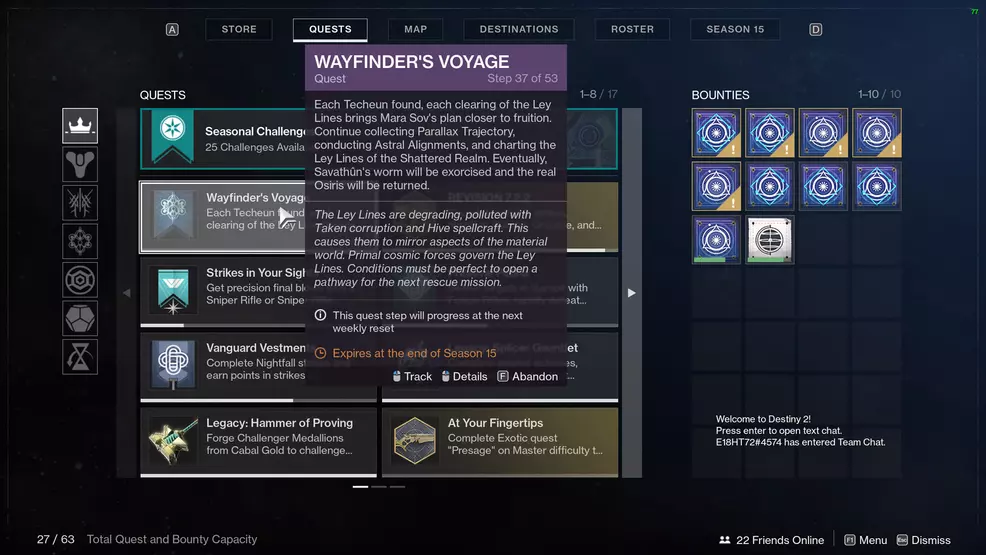
After speaking with Savathun, you will need to wait until the next part of the Wayfinder’s Voyage begins. Those playing later in the season will likely be able to continue on.
Wayfinder’s Voyage Part 6
The Wayfinder’s Voyage Part 6 started on September 28, 2021. This part of the questline follows the exact same steps as previous weeks.
Step 38: Go to the Wayfinder’s Compass in the H.E.L.M.
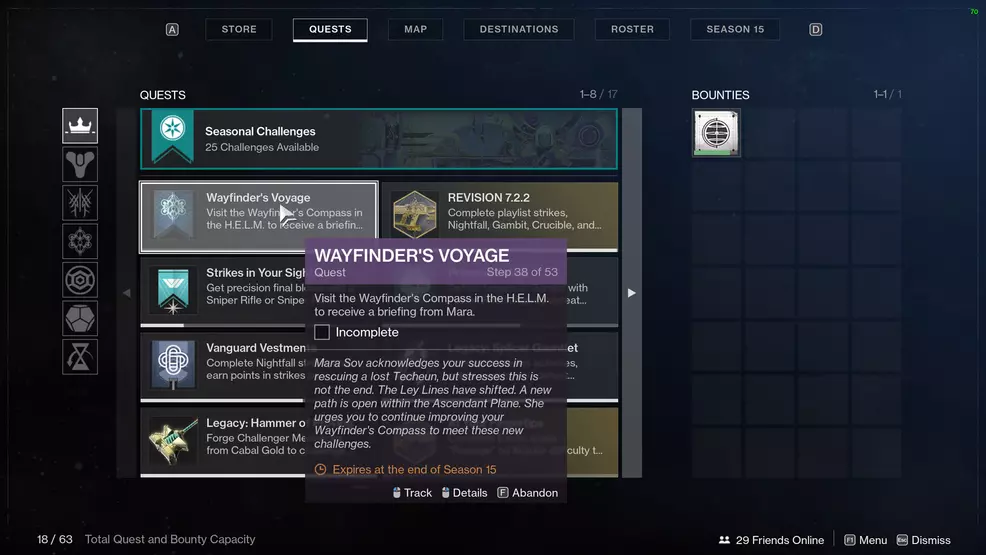
Head to the H.E.L.M. and interact with the Wayfinder’s Compass station to hear a message from Mara Sov and activate the next step.
Step 39: Complete an Astral Alignment
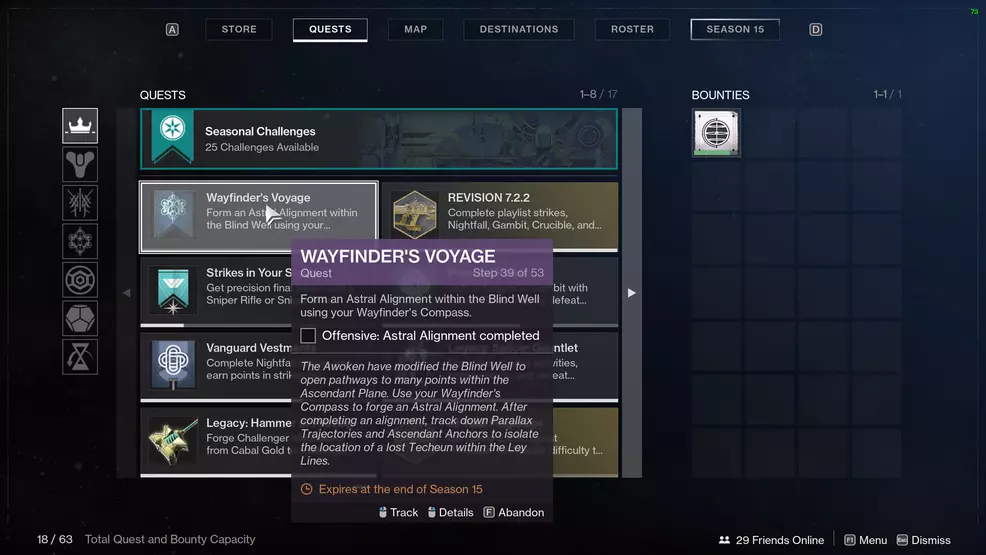
Launch the Astral Alignment activity from the Dreaming City map via the Director. Complete the run to advance to the next step.
Step 40: Collect Parallax Trajectory
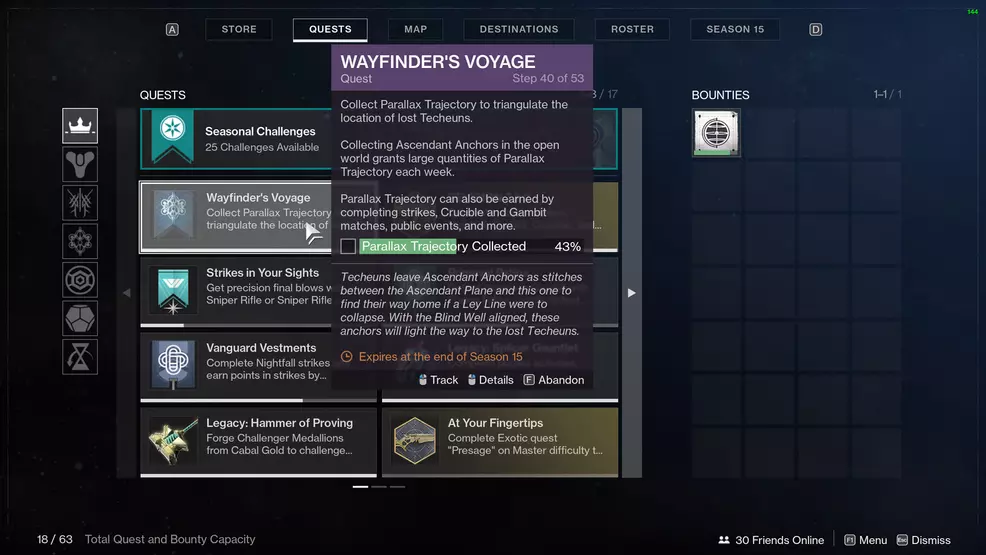
The next step is to collect Parallax Trajectory. Go ahead and completing your Pinnacle challenges, collect Ascendant Anchors, and go about completing tasks until this is finished.
Step 41: Complete the Shattered Realm

After collecting the Parallax Trajectory, you will need to complete a run of the Shattered Realm. This is the usual fair of aligning the two beacons and then defeating the boss at the end.
Step 42: Unlock Safe Passage: Astral Attunement
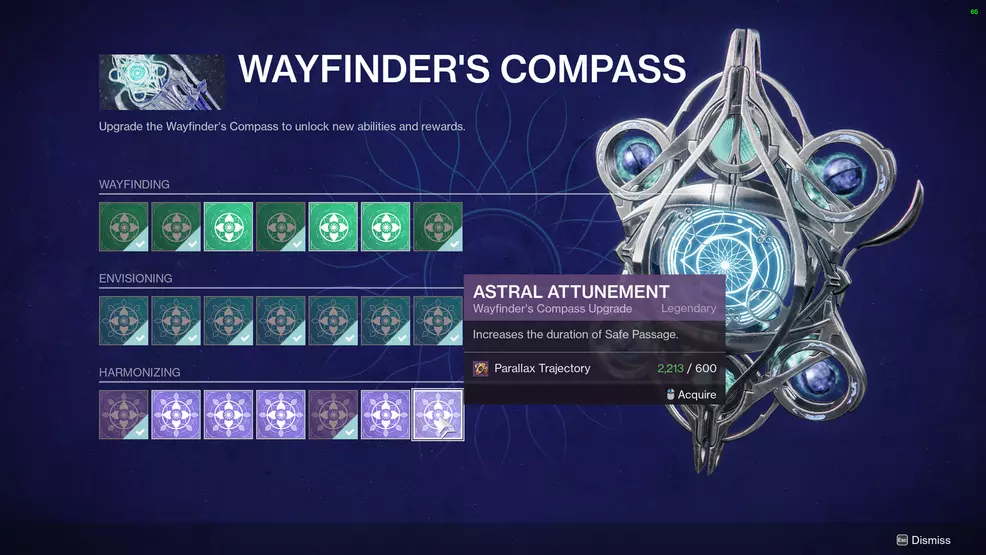
Go back to the H.E.L.M. and unlock the Safe Passage upgrade, Astral Attunement, at the Wayfinder’s Compass station. This upgrade is on the Harmonizing row, on the very right.
Step 43: Listen to Crow and Savathun

Go through the portal in the H.E.L.M. to Mara Sov’s chambers. Head to Savathun and listen to Crow as he talks with her.
Step 44: Speak with Savathun
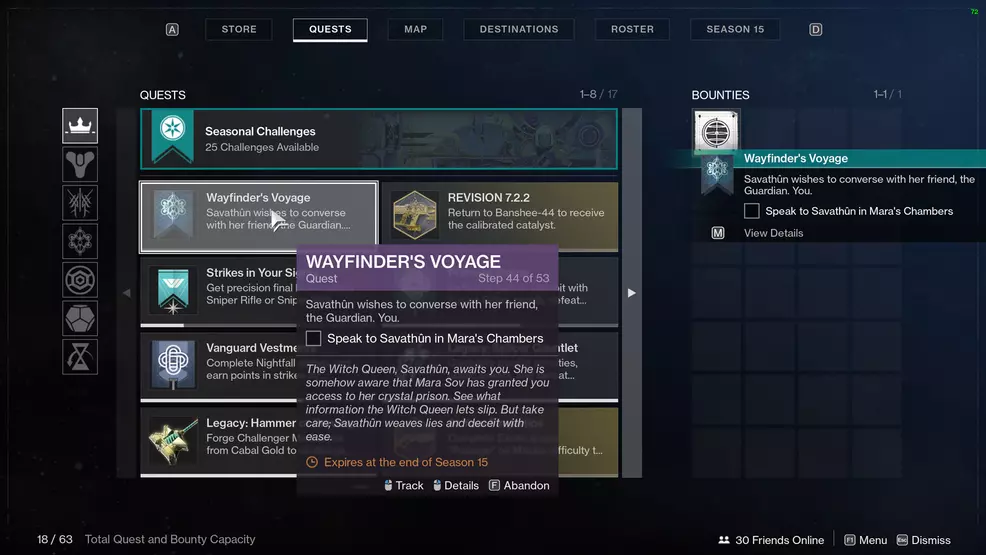
Once Crow leaves, speak with Savathun.
Step 45: Talk with Crow
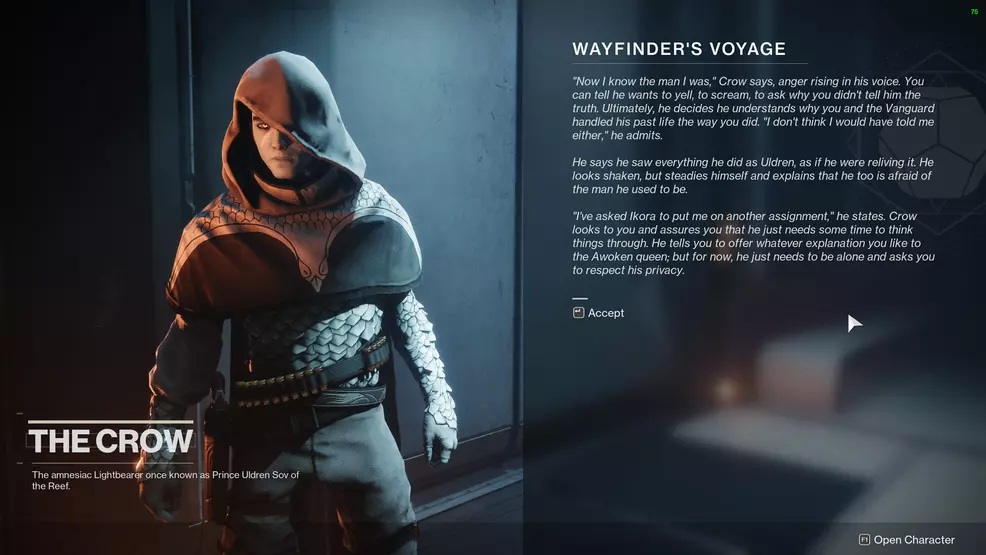
Head back to the H.E.L.M. and talk with Crow about his chat with Savathun.
Step 46: Wait
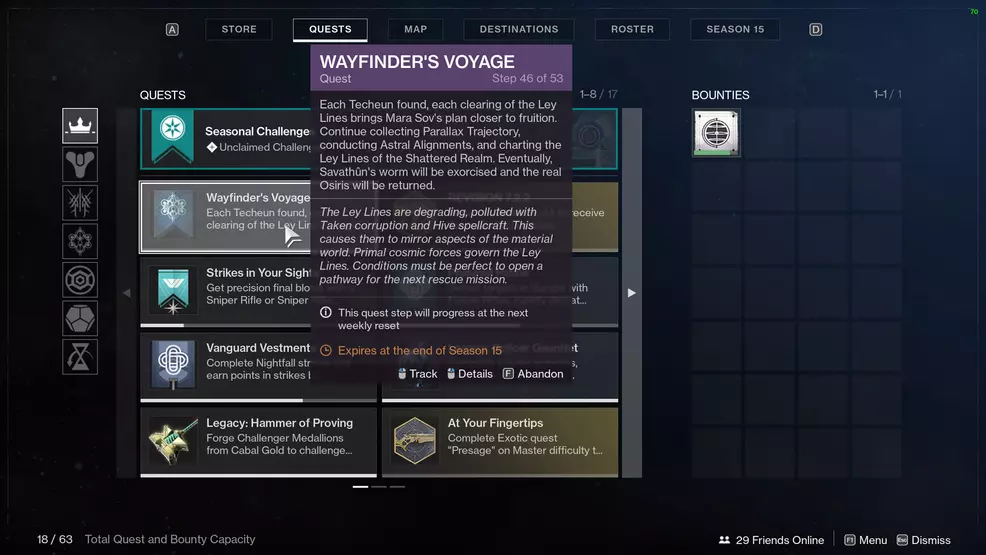
With the previous step done, the Wayfinder’s Voyage Part 6 quest will be completed. If you’re playing during Season of the Lost, you will need to wait until Part 7 is active. If you’re playing after the season ends, you can likely continue on without waiting.
Wayfinder’s Voyage Part 7
The Wayfinder’s Voyage Part 7 started on October 5, 2021 during Season of the Lost.
Step 47: Go to the Wayfinder’s Compass station in the H.E.L.M.
Go to the H.E.L.M. and interact with the Wayfinder’s Compass station to hear a message from Mara Sov. Accept the message to activate the next step.
Step 48: Complete an Astral Alignment
Launch the Astral Alignment activity from the Dreaming City and complete a run to complete this step.
Step 49: Collect Parallax Trajectory
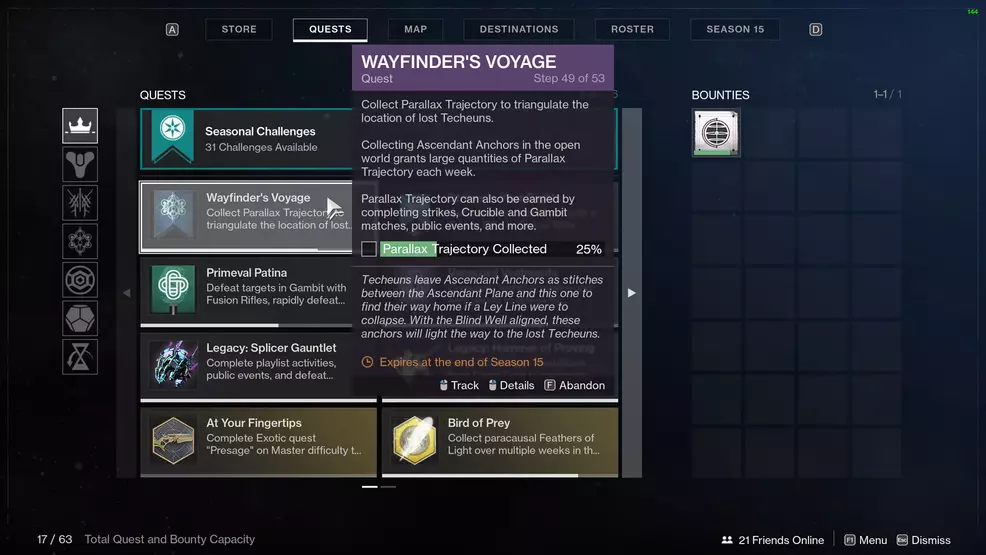
You will now need to collect Parallax Trajectory. You can do this by engaging in various playlists or by collecting Ascendant Anchors. Once you collect enough, you can move on.
Step 50: Complete the Shattered Realm
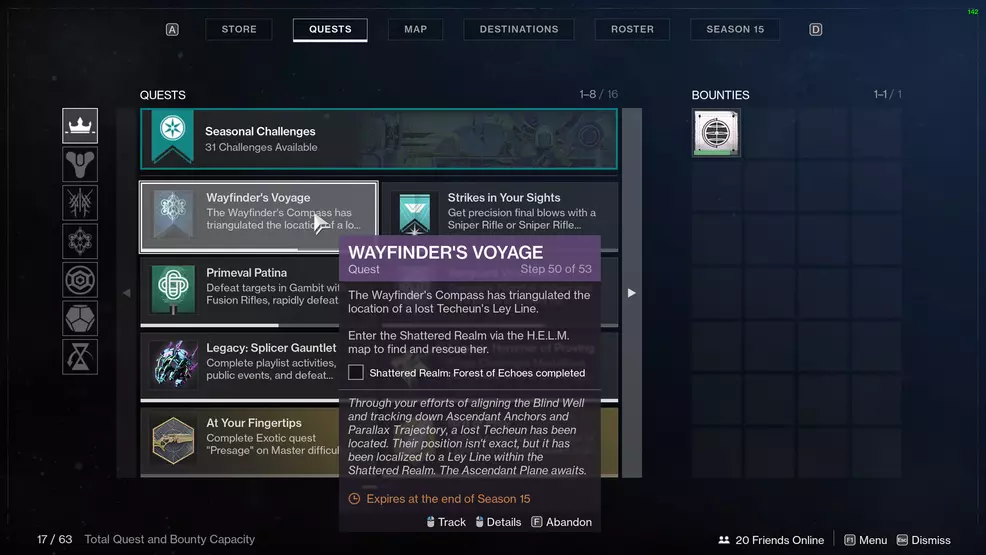
Launch the Shattered Realm activity from the map of the H.E.L.M., align the two beacons, and defeat the final boss to save the Techeun and advance to the next step.
Step 51: Speak with Petra Venj
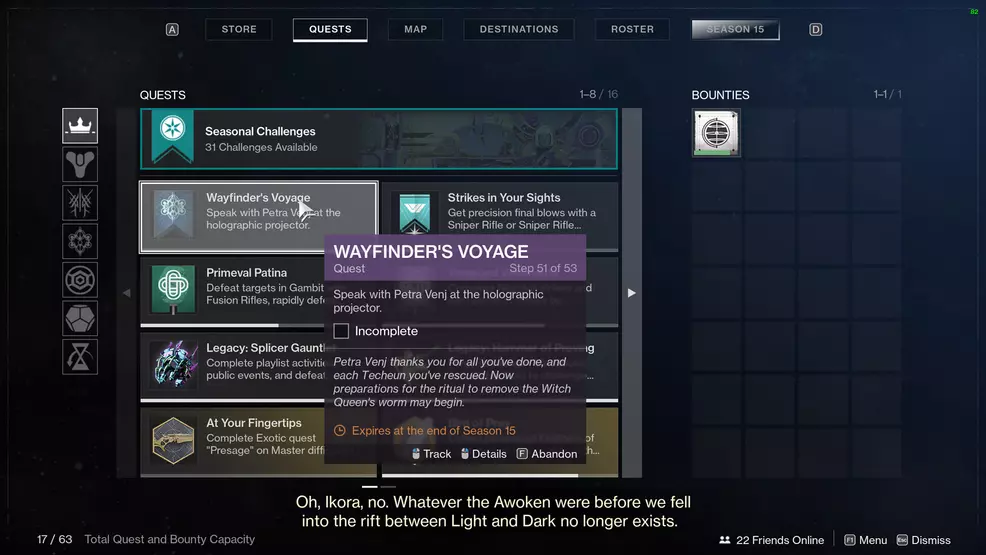
Return to the H.E.L.M. and speak with Petra Venj via the Wayfinder’s Compass station.
Step 52: Go and speak with Savathun
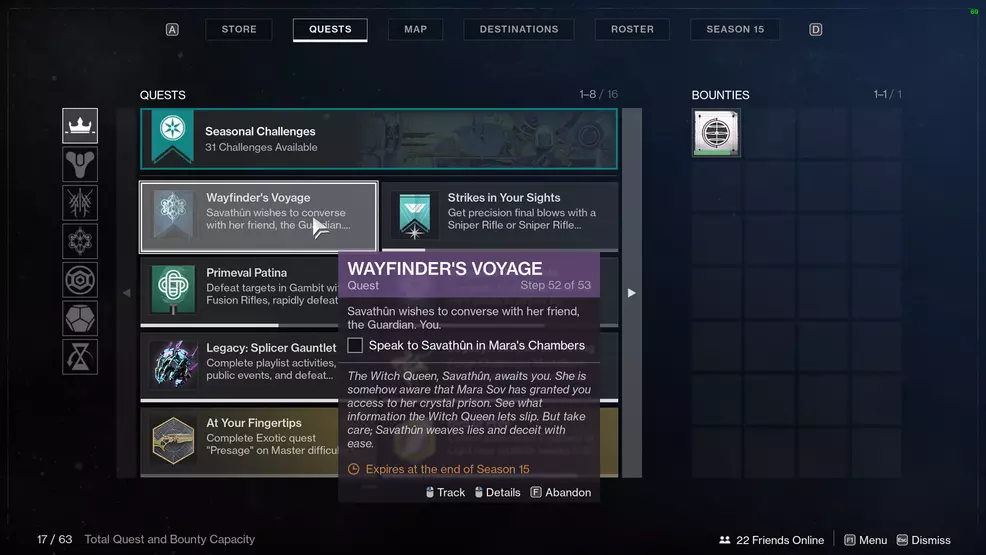
Use the portal in the H.E.L.M. to pay Savathun a visit.
Step 53: Listen to Mara Sov’s message
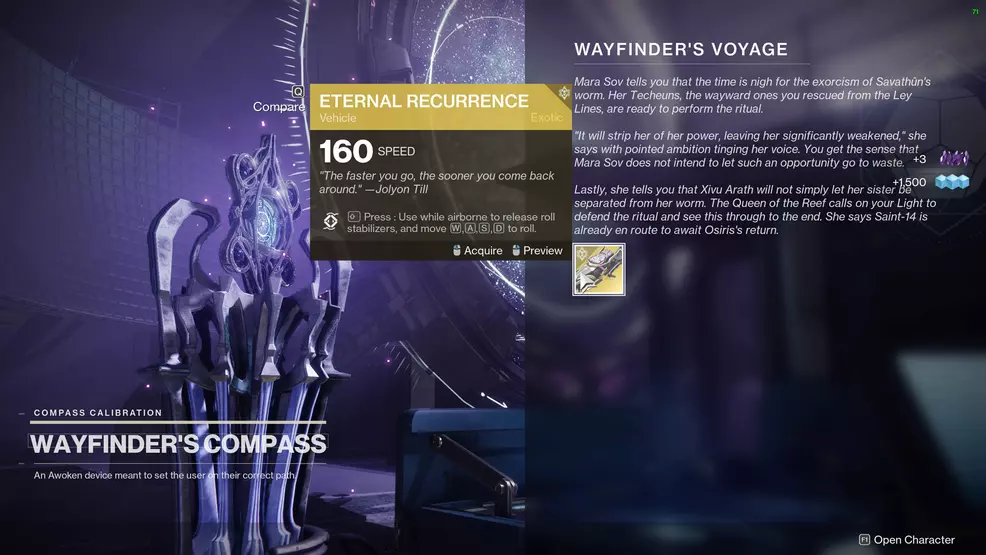
Go back into the HELM and listen to Mara Sov’s message that she’s left for you on the Wayfinder’s Compass station. Ensure there is space in your inventory for another Sparrow as you will need to claim one in order to complete this step of the quest.
With the Season of the Lost campaign finished in Destiny 2, you can continue farming top-tier gear, pushing through to max Power for the season, and preparing for the weekly continuation of the story. Be sure to stop by the Shacknews Destiny 2 Guide for more helpful articles to get you through this season and to prepare you for The Witch Queen.

-
Shacknews

 reply
replySam Chandler posted a new article, Destiny 2: Season of the Lost campaign walkthrough
