
Salvation's Grip Exotic Grenade Launcher - Destiny 2
Unlock Salvation's Grip, a new Exotic Grenade Launcher in Destiny 2, by completing the quest The Stasis Prototype.
Salvation’s Grip is a new Exotic Grenade Launcher added to Destiny 2 with the release of Beyond Light. Unlocking Salvation’s Grip is going to take a bit of work but it is worth the effort for its unique attack type and the fact it’s needed to unlock the season’s Triumphs. It all begins with a quest called The Stasis Prototype.
How to unlock Salvation’s Grip – The Stasis Prototype
The steps to unlock Salvation’s Grip in Destiny 2 are rather straight forward. For some parts, though, there is a need to farm enemy kills. Depending on how much you want the weapon, there are some good places to do this. It’s worth noting that Salvation’s Grip is required in destroying the Entropic Shards, which relate to one of the Beyond Light Triumphs.
Here’s an overview of The Stasis Prototype, the quest to unlock Salvation’s Grip:
- Complete Beyond Light campaign
- Speak with Drifter in the Tower for The Stasis Prototype quest
- Kill Servitors and Captains on Europa
- Complete an Empire Hunt
- Kill enemies with Stasis
- Complete the Concealed Void Lost Sector
- Complete the Stealing Stasis mission
Step 1: Finish Beyond Light campaign
The first step in unlocking Salvation’s Grip is to finish the Beyond Light campaign. This is a reasonably fast task. If you can team up with some other players, you can smash through it in a matter of hours.
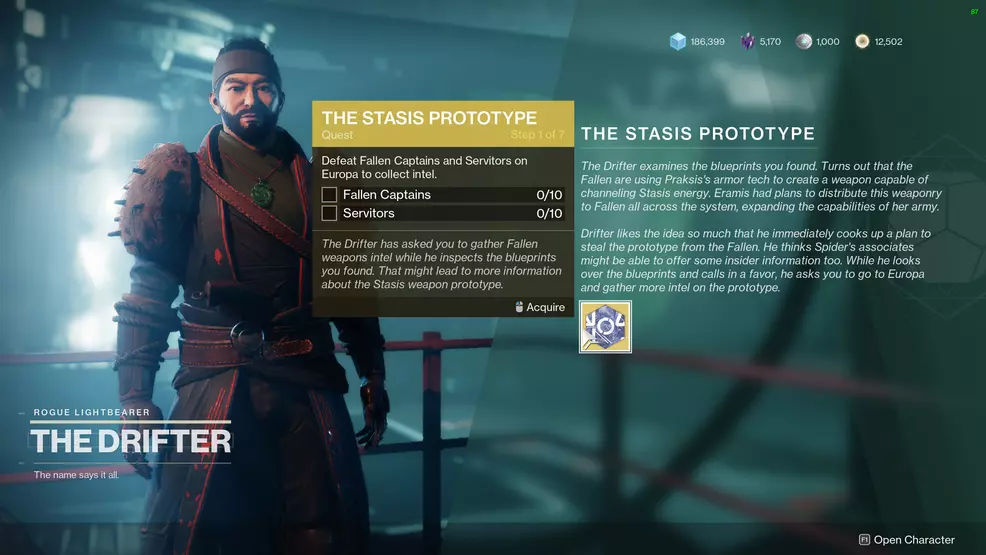
Step 2: The Stasis Prototype
Visit Drifter in the Tower to collect The Stasis Prototype quest. This is the quest that rewards you with Salvation’s Grip.
Step 3: Defeat Captains & Servitors
The next step in unlocking Salvation’s Grip is to defeat Captains and Servitors on Europa. Head to the Concealed Void Lost Sector in Asterion Abyss to get these kills quickly. While you can farm them elsewhere, you may be competing with other players.
Step 4: Locating the Prototype
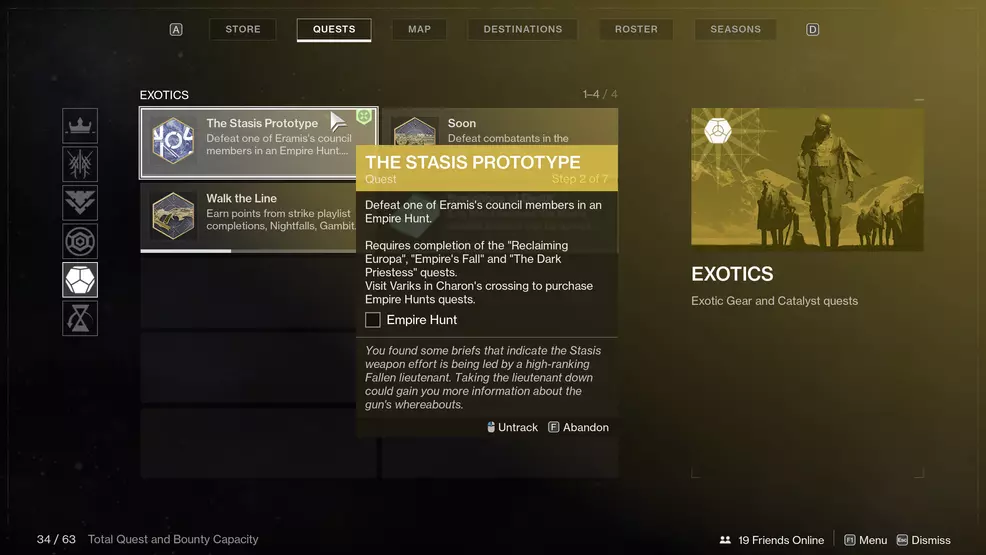
This step requires you to complete an Empire Hunt, but first you need to complete a couple of other quests before this one unlocks. You must finish the following:
Depending on the order you complete things, you might get away with just doing Variks’ three quests as the last one (The Dark Priestess) will give you the item you need. If you had already finished Variks’ quests before reaching this step you may need to purchase an Empire Hunt from him using Herealways Pieces.
Step 5: Defeat Stasis-afflicted enemies

This step requires you use Stasis abilities on enemies. As the quest step puts it, “eliminate combatants with, or affected by, your Stasis abilities”. A good place to farm this step is the Kingship Dock Lost Sector in the Tangled Shore as it’s so short, but really, any one will do. Equip Monte Carlo so that you can get your charged melee Stasis ability back sooner. You should finish this step in about five or so clears. Just make sure you're killing enemies with your Stasis abilities or those that are clearly frozen.
Step 6: Enter the Concealed Void Lost Sector
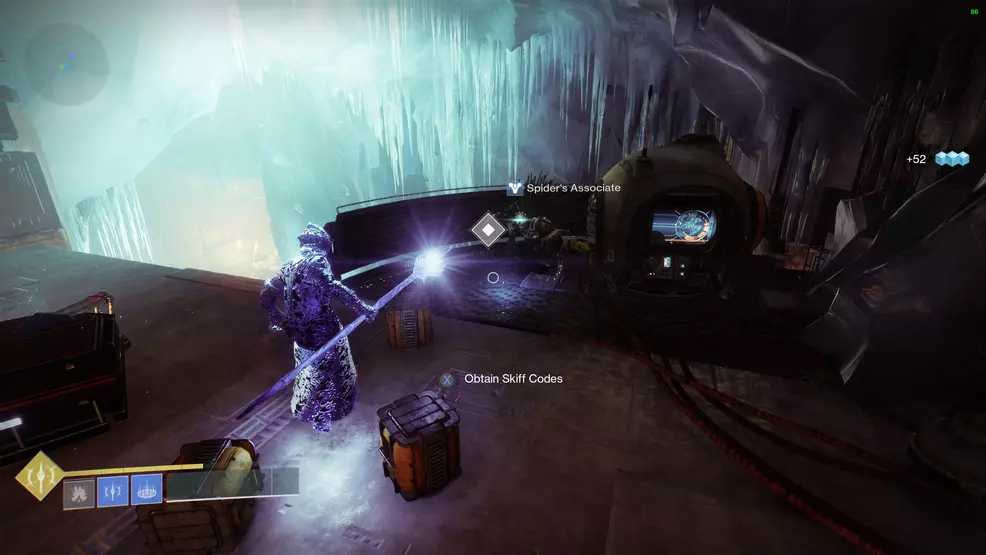
The Concealed Void Lost Sector on Europa is your next target. It’s here you’ll rendezvous with Spider’s associate and acquire some Skiff codes. Spider’s associate is at the end of the Lost Sector. Kill the boss and clear the enemies to cause the barrier to drop, revealing a Fallen crouching next to the terminal.
Step 7: Speak with the Drifter
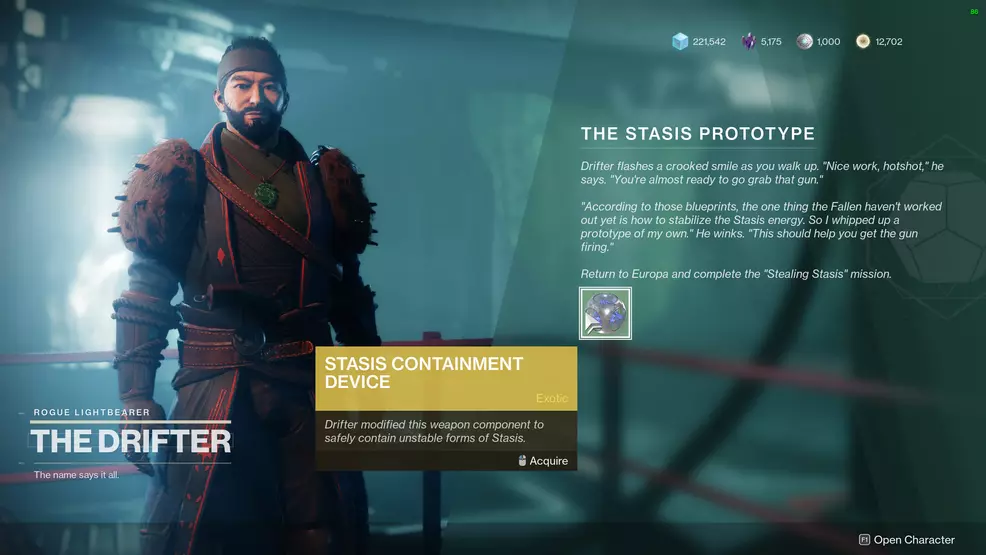
Talk to the Drifter in the Tower to move to the next step in unlocking Salvation’s Grip. He will give you the Stasis Containment Device used to safely contain unstable forms of Stasis.
Step 8: Complete the Stealing Stasis mission
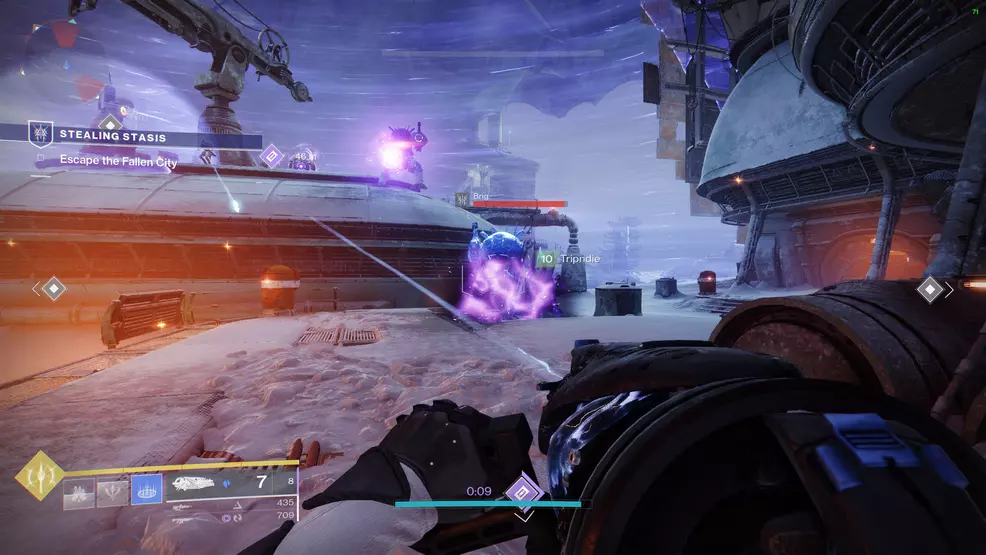
After chatting with Drifter, there will be a new mission called Stealing Stasis on Europa. Head to the Charon’s Crossing and interact with the banner to start the mission. This is a pretty stellar mission, so I won’t go into too much detail. Simply destroy the Ether tanks, fight your way through to where the weapon is held, hack the terminals to release the shielding and then escape. In the final arena, defeat the Servitors near the shields to lower the barriers and then shoot the Ether tanks to destroy the generators.
Step 9: Speak with the Drifter
The last step is to go and speak with Drifter in the Tower Annex. He would very much like to take a look at Salvation’s Grip, now that you’ve managed to unlock it.
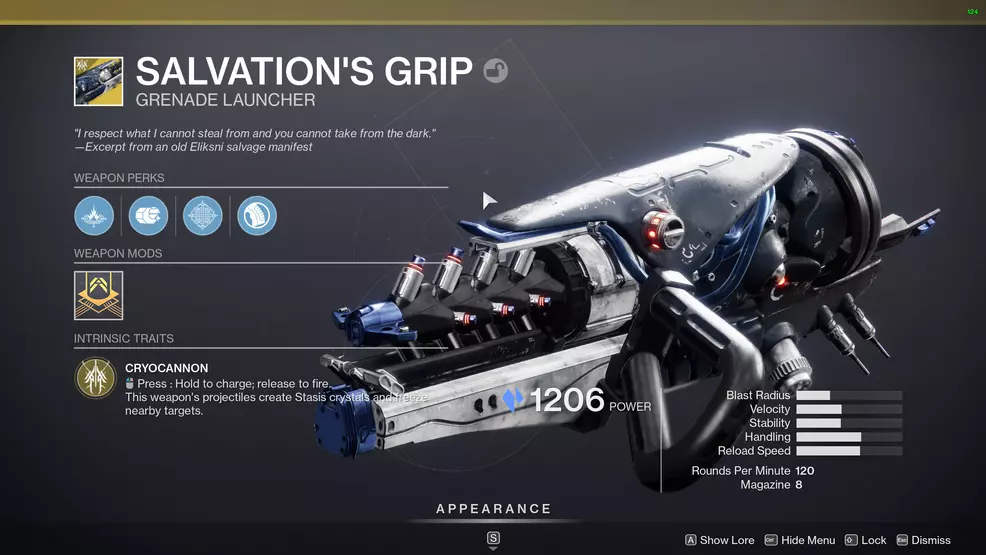
Salvation’s Grips perks

Salvation’s Grip might not have the highest DPS of all the heavy weapons on offer, but what it lacks in raw damage it makes up for in synergy. It provides this synergy by creating Stasis crystals and freezing nearby targets.
- Cryocannon – Hold Shoot to charge; release to fire. This weapon’s projectiles create Stasis crystals and freeze nearby targets.
- Flash Freeze – Charging this weapon increases the freeze radius and amount of Stasis crystals created.
After completing The Stasis Prototype and unlocking Salvation’s Grip, you’ll be one step closer to acquiring all the new Exotics and completing the various Triumphs in Beyond Light. Now go and find those Entropic Shards and be sure to check out the Shacknews Destiny 2 guide for even more info about this latest season.

-
Shacknews

 reply
replySam Chandler posted a new article, Salvation's Grip Exotic Grenade Launcher - Destiny 2
