
Pit of Heresy guide - Destiny 2
A complete walkthrough of the Pit of Heresy dungeon included with Destiny 2: Shadowkeep.
The Pit of Heresy is Destiny 2’s Hive-themed dungeon. This latest 3-person activity challenges players to dive below the surface of the Moon and take down an ancient evil. Our Pit of Heresy guide will cover each encounter in detail.
Pit of Heresy guide
The Pit of Heresy is one of Destiny 2’s most challenging pieces of content. There are a lot of encounters, each with unique mechanics that build upon one another culminating in the final fight. Though it is possible to solo flawlessly, most players are no doubt more interested in first understanding how to complete the dungeon.
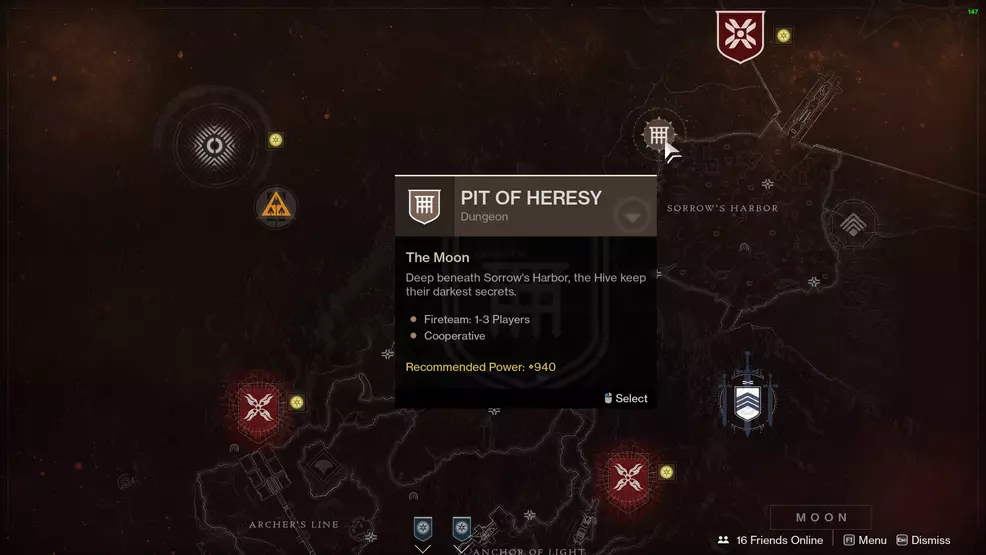
First thing’s first, you will need to unlock the Pit of Heresy dungeon. To do this, you will need to complete a short quest given to you by Eris Morn. Once this is completed, you can move on to actually starting the activity.
Before you start the Pit of Heresy, it’s a good idea your fireteam is at least Power 950. The later encounters reach 980 Power which can prove to be a challenge if underprepared. In terms of weapon loadout, Divinity and Izanagi’s Burden are two excellent options. It's also worth doing the Xenophage Exotic Machine Gun quest before you begin, so you can complete it while you're in the dungeon.
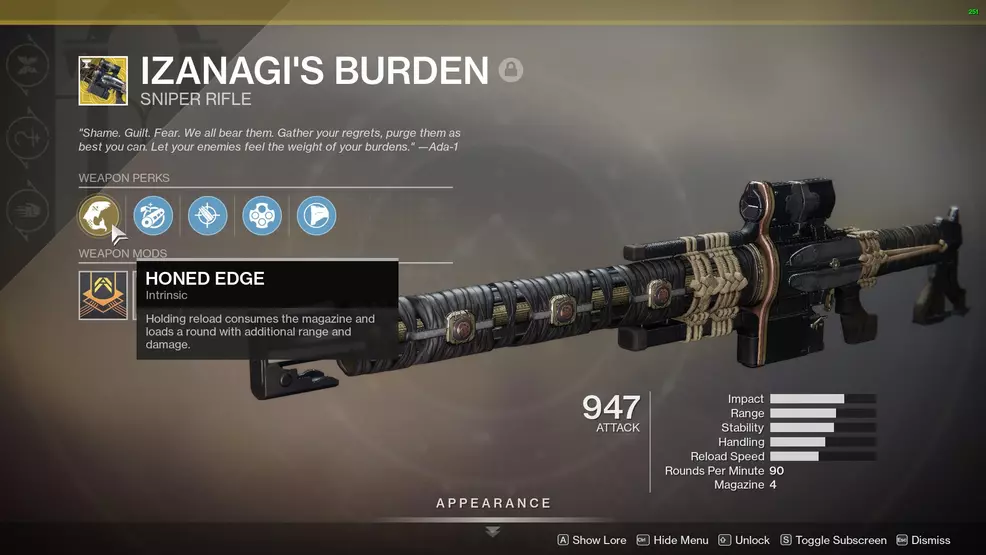
Izanagi’s Burden will be able to rip through the final boss’ health. Have one player switch to Divinity when you run out of ammo (or have it already equipped) and then use a Grenade Launcher to deal a lot of damage.
Before you begin, it’s a good idea to ensure your fireteam is at least Power 950. Some of the later encounters approach 980 Power, which can be a challenge to face if underleveled. Consider doing some of the Powerful gear tier activities if you’re not quite up to the appropriate Power.
Necropolis
The first encounter in the Pit of Heresy dungeon takes place in the Necropolis. This is a giant city-like structure on the side of a cliff. This encounter is pretty easy to understand, it just requires a bit of running around:
- Go into a room and look at the symbols on the chain
- Head outside and find these three symbols as giant holograms
- Enter each of these three rooms and defeat the minibosses within
The only way to damage each miniboss is by using a Hive Relic sword. These swords are dropped by the giant Knights patrolling the area. Be aware, these Knights are sometimes with an Ogre.
The Relic sword has three different moves: a light attack, a heavy attack that shoots out an energy blast, and a shield that deflects attacks. You will need to use each move to deal damage to the miniboss:
- Defeat the Knight with the light attack
- Defeat the Wizard with the ranged heavy attack
- Defeat the Shrieker with the guard
When all three minibosses are defeated, each of the chains will break, and you can progress to the next area. Head out of the room you are in and look for the beam of light, it marks the way forward.
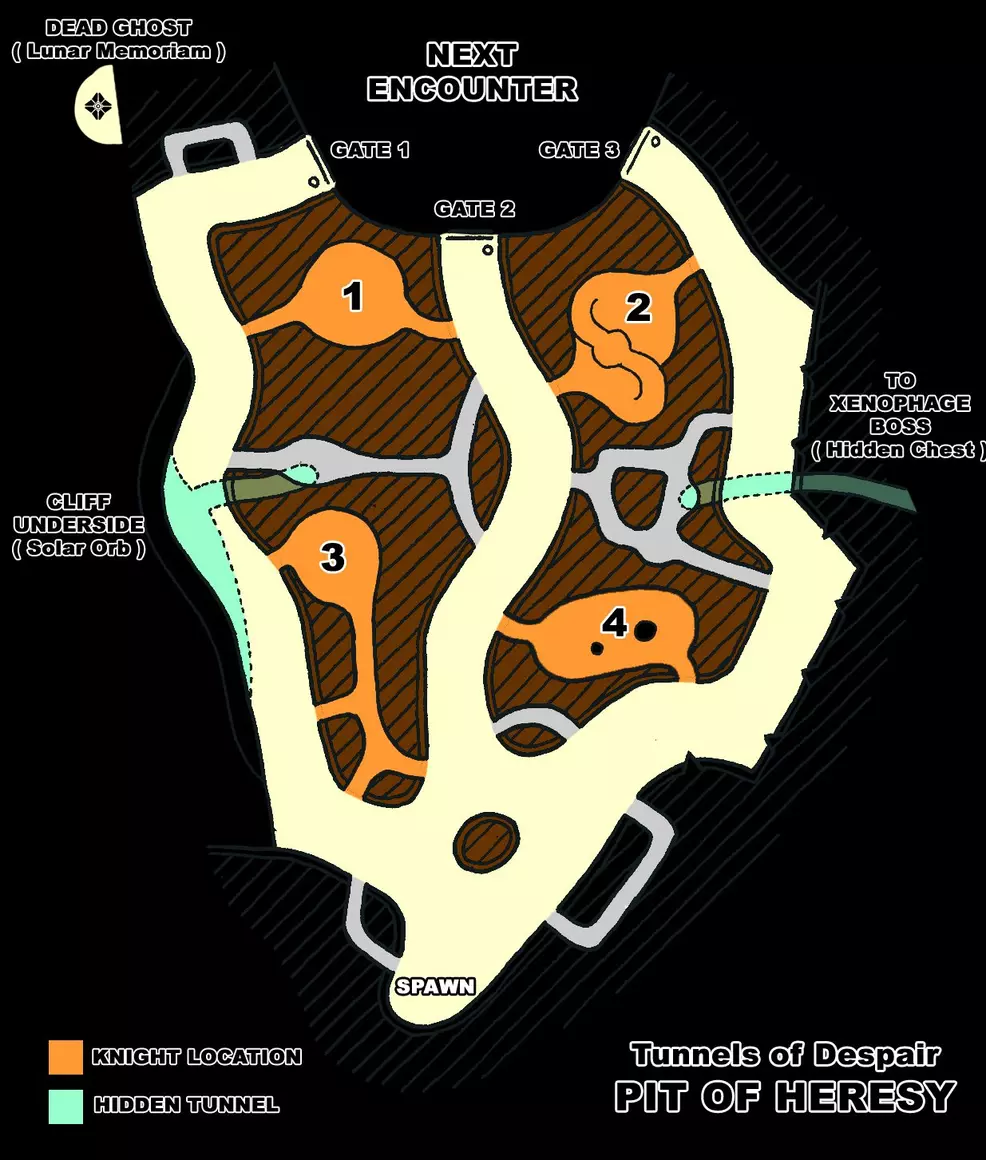
Tunnels of Despair
The Tunnels of Despair in the Pit of Heresy dungeon is a small encounter that has players running through small caves, killing Knights, and opening doors with orbs. The steps to complete this encounter are as follows:
- Enter the caves by shooting the webbing blocking the way
- Defeat the Heretical Knights in the caves and take its orb
- Use the orb to extinguish each of the three doors
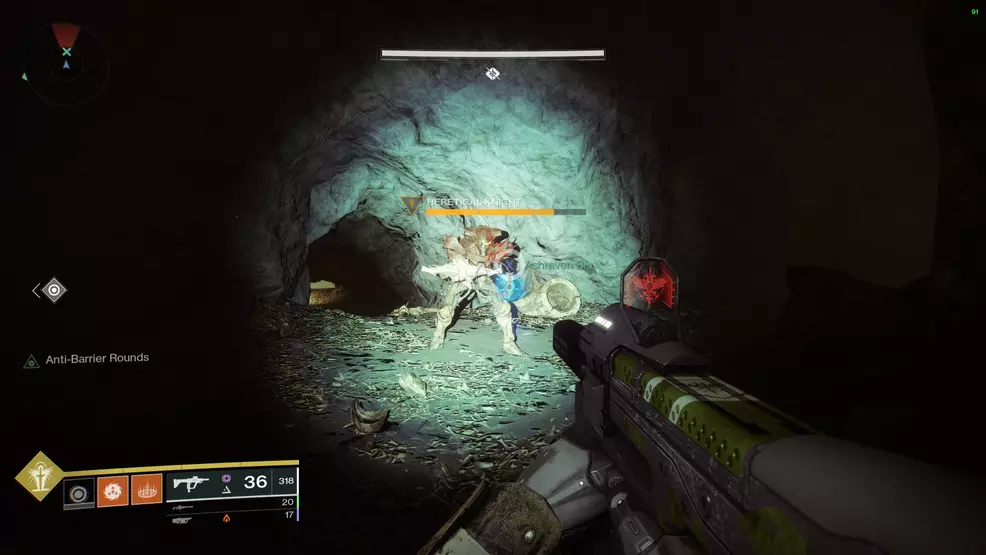
While killing the Knights and taking their orbs is easy enough, the challenge comes from avoiding the Harrowing Pariah Ogres. Three of these Ogres patrol the main tunnels, deal a lot of damage, and are entirely invincible.
You will need to sneak around them or kite them away from your friends. Each of the tunnels the Ogres patrol end with a door. Extinguish each of the three doors to gain access to the next encounter.
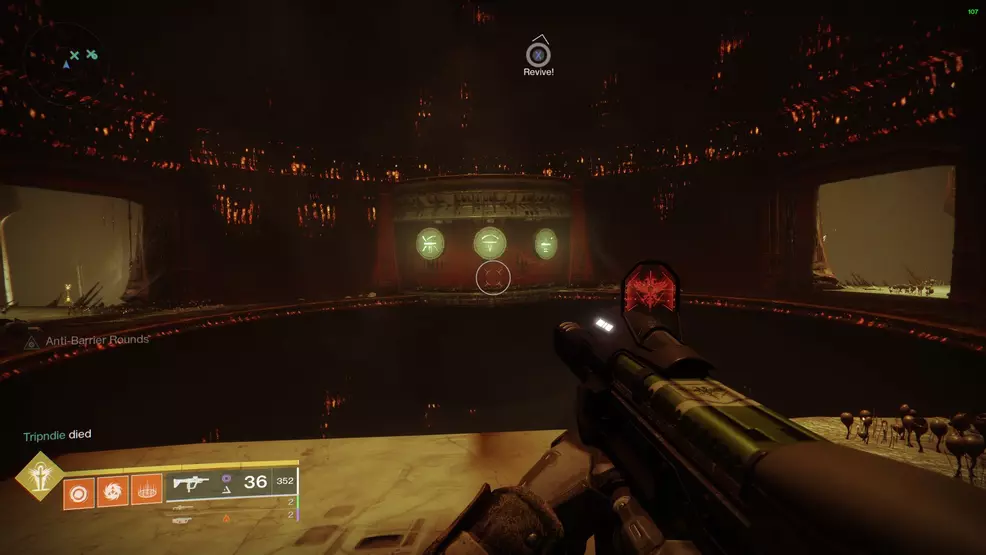
Chamber of Suffering
The Chamber of Suffering fight in the Pit of Heresy dungeon will likely be the first real step up in difficulty. For this encounter, speed is of the essence as the longer you stay, the more damage you will take. The actual mechanics are rather simple:
- Stand on the plate below the Annihilator Totem to prevent it from killing your team
- Defeat the Heretical Knights that spawn and take their orbs
- Use six orbs to extinguish the door behind the Annihilator Totem

While it is easy enough to kill the Knights and general enemies, the challenge comes from having to stand in one spot, drawing their attention. The player on the Annihilator Totem will need assistance in defeating the enemies and can also benefit from a Warlock’s Well of Radiance for extra health.
Progressing through the encounter causes Knights to spawn up high. These Knights should be focused immediately, as they will bombard the plate. You should also use your Supers liberally to clear any excess enemies.
As mentioned above, time is of the essence. The longer you stay, the more stacks of the Curse of Suffering debuff you will accrue. Each stack increase the amount of damage enemies will deal to you. At 5x Curse of Suffering, you will be just about one-shot by most enemies.
The Harrow
The Harrow encounter in the Pit of Heresy dungeon is similar in nature to the first encounter in the Necropolis. You must locate specific symbols around the map and defeat the enemies you find there.
- Locate the three symbols at the entrance of the area
- Find these symbols around the labyrinth
- Defeat the Malevolent Ritualist Wizard near the symbol to break a lock
- Break all three locks to complete the encounter
As you enter the area, you will see three symbols stuck to the side of the wall. These are the three symbols you must find in The Harrow. Use the map below to easily find where these symbols are located.
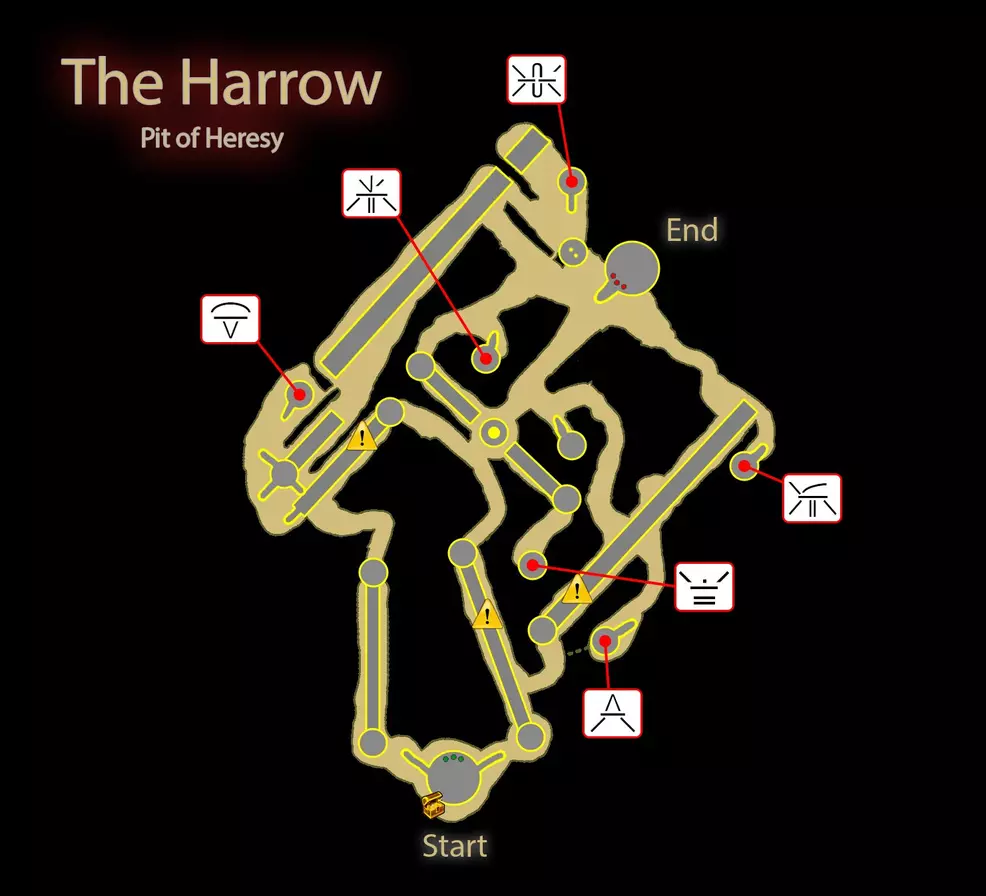
The real challenge of The Harrow will be avoiding the gauntlet of traps and not falling to your death. It’s also worth being careful around the Wizards, they can dish out a lot of damage very quickly.
Zulmak, Instrument of Torment - Cradle of Damnation
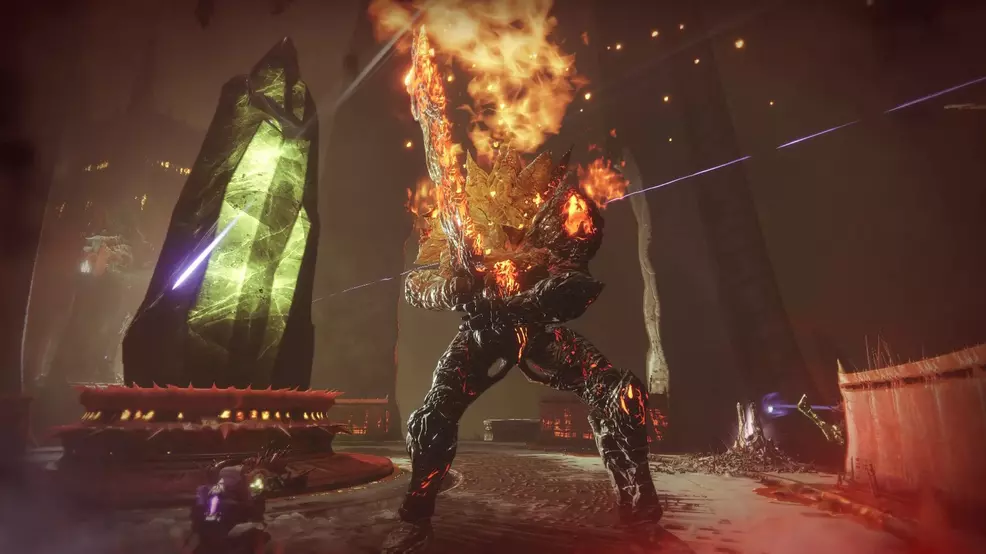
The Cradle of Damnation is the final area in the Pit of Heresy dungeon. This encounter is a fight against Zulmak, Instrument of Torment. You will need to apply everything you’ve done so far to this encounter in order to complete it:
- Defeat the Knights around the center and take their Relic swords
- Use the swords to defeat the three minibosses on the outside (Knight, Wizard, Shrieker)
- Take the three orbs to the center and extinguish the pedestal
- Stand in the center area and deal damage to Zulmak
- Leave the center area as Zulmak kneels to charge the crystal
Much like the first encounter, start the fight against Zulmak, Instrument of Torment by defeating a Knight and taking his sword. Use this sword to defeat one of the minibosses in the towers around the arena. You must use the correct sword move to defeat it:
- Defeat the Knight with the light attack
- Defeat the Wizard with the ranged heavy attack
- Defeat the Shrieker with the guard
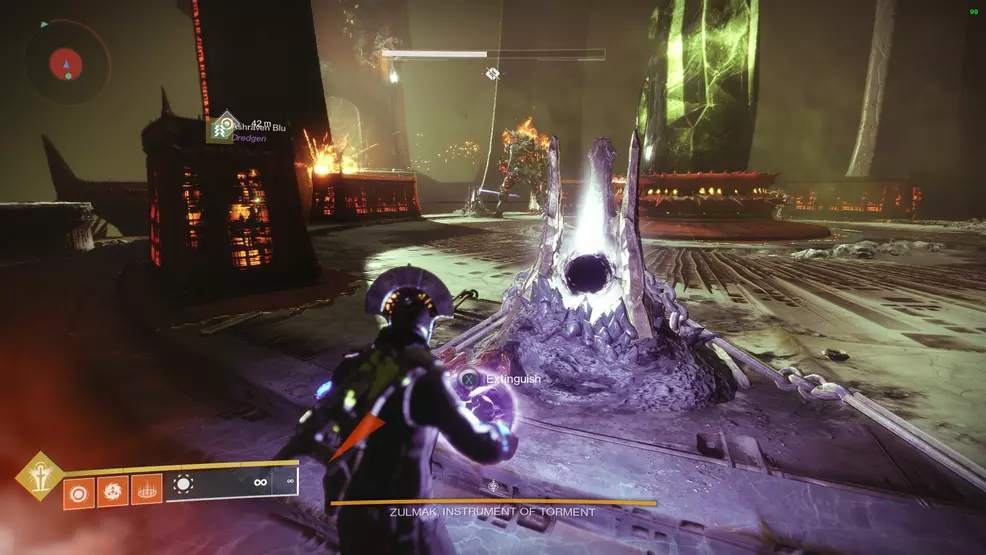
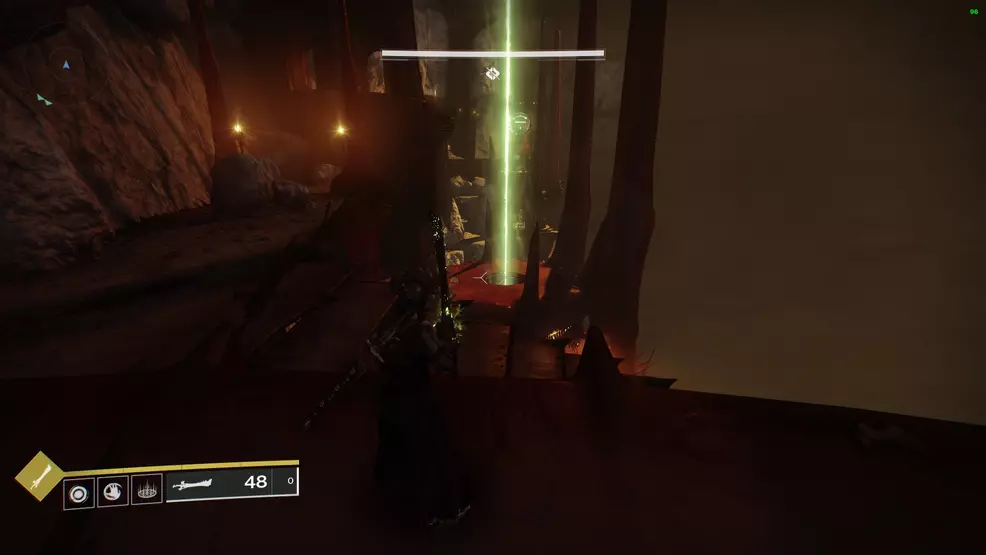
When the miniboss is defeated, take the orb and use it to extinguish the pedestal in the center. Once all three orbs have been used, the damage phase will begin.
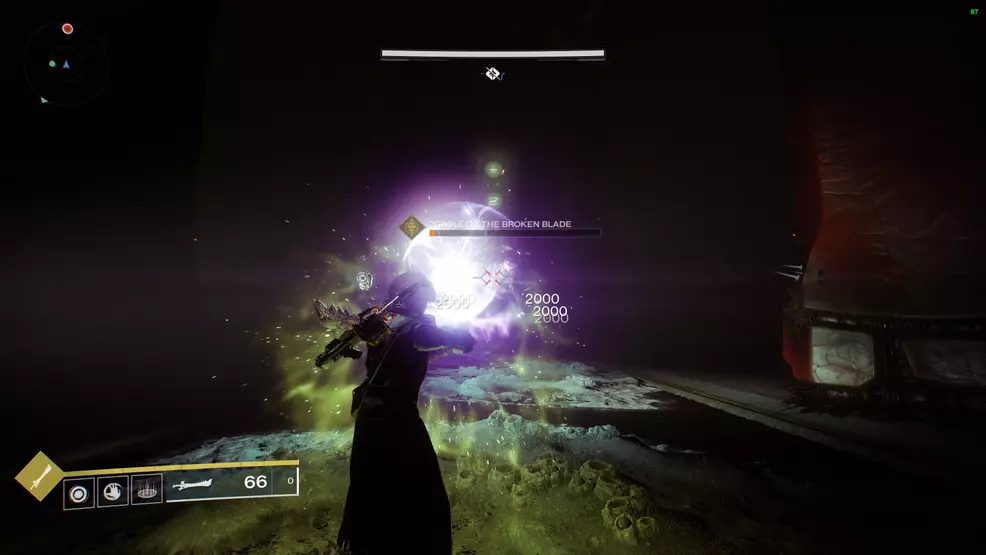
You can only deal damage to Zulmak when standing in the center arena. After the damage phase ends, Zulmak will kneel and begin charging the crystal. When the crystal is fully charged, it will send out a blast of fire, killing anyone still in the arena. Simply step outside of the circle before this happens.
Dealing damage to Zulmak will require a bit of coordination with your team. Ensure everyone is in the right spot before the final charge is extinguished. From here, group up and use Izanagi’s Burden for a lot of damage, as well as the Oppressive Darkness grenade buff from the Gate Lord’s Eye artifact. Another option is for one player to use Divinity while the other two use Grenade Launchers.
During the damage phase, Zulmak will still move around and attack. This boss has an extremely powerful ranged move that should be avoided. A line of fire will erupt outward, ending in a circle of continual fire damage. Relocate if this move hits you.
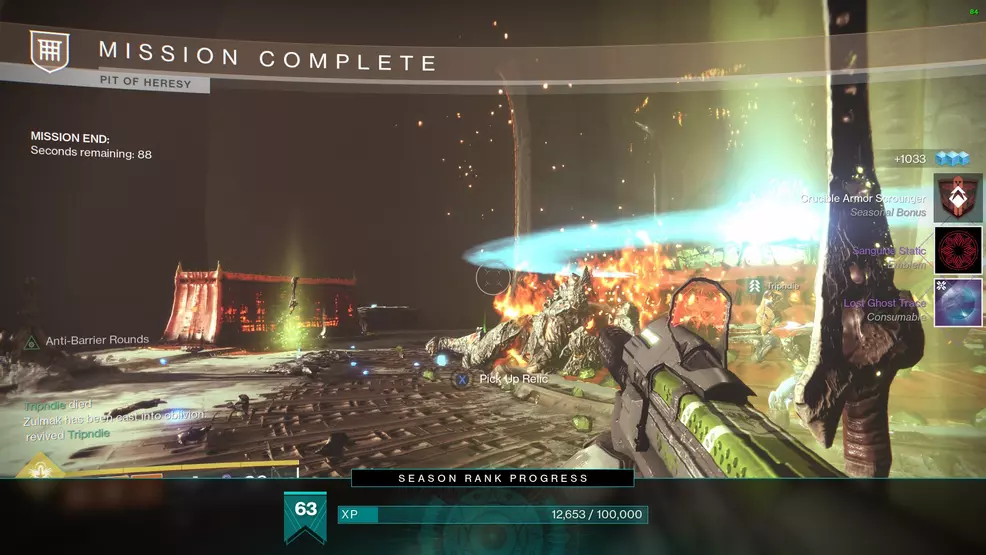
Repeat the whole process until Zulmak, Instrument of Torment is defeated. Claim your rewards from the chest, check out your stats, and then go to Orbit. Congratulations, you’ve just completed the Pit of Heresy dungeon!
Our Pit of Heresy guide will be updated over time as new strategies are found. For now though, it appears to be an easier dungeon to face than the Shattered Throne. Take a moment to look over the Shacknews Destiny 2 complete strategy guide for even more end-game content walkthroughs and weapon tips.

-
Shacknews

 reply
replySam Chandler posted a new article, Pit of Heresy guide - Destiny 2
