
Outbreak Perfected Exotic quest, Zero Hour guide - Destiny 2
How to unlock Outbreak Perfected by completing the Zero Hour Exotic mission in Destiny 2.
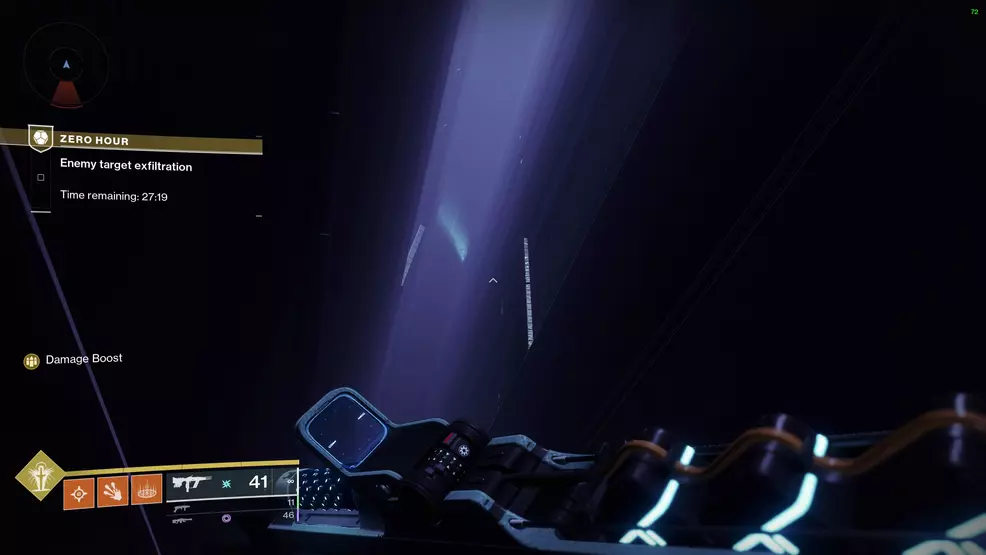
Zero Hour returns to Destiny 2, giving players another means of acquiring Outbreak Perfected. This time, this Exotic Pulse Rifle can be crafted with new perks, but it’s not just the gun with changes, the Exotic mission has also received an update. Completing this will be no easy feat, so either come prepared for a tough solo experience or load up with a good fireteam.
Check out our guide on the Outbreak Refined quests so you can unlock the extra Outbreak Perfected perks when crafting the gun. There's also our Vault Puzzle solutions for the Vaulted Obstacles Triumph, which unlocks the Exotic ship and the intrinsic trait boost for this Exotic Pulse Rifle.
How to unlock Outbreak Perfected
Outbreak Perfected is unlocked by completing the Zero Hour Exotic mission. This is similar to the Whisper Exotic mission that rewards Whisper of the Worm. You will have 40 minutes to complete this mission, which has you fighting through the Tower and solving some puzzles. You must collect the quest, Asset Protection, from Ada-1 before you can launch the activity.
Zero Hour guide
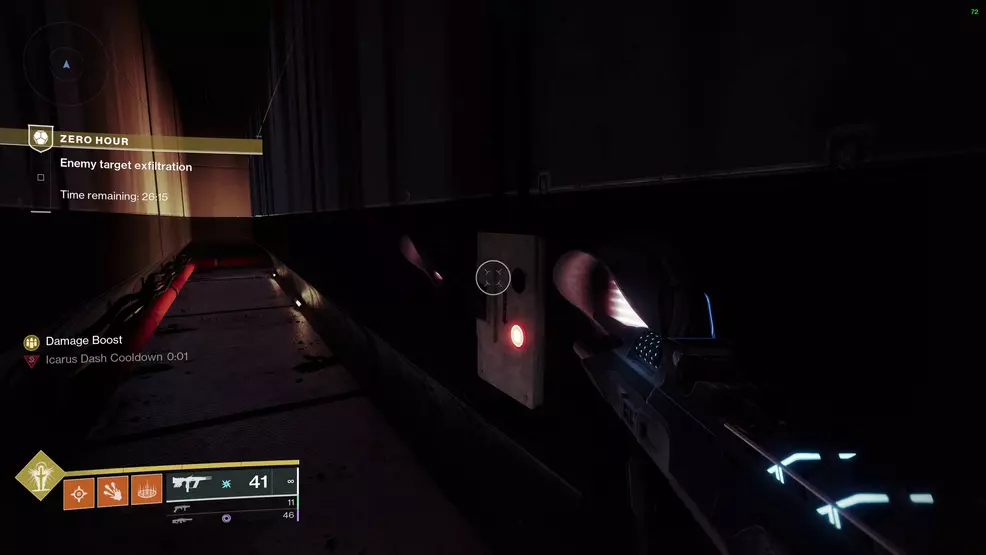
Zero Hour can be launched via the Into the Light node on the Director after you have collected Asset Protection from Ada-1 in the Tower. This mission has a 40 minute time limit on Normal and a 20 minute time limit on Legend. Given the high number of Fallen enemies, it's a good idea to use Riskrunner throughout the mission to avoid taking unnecessary Arc damage. Whisper of the Worm still performs well, especially in the first phase of the Siriks fight.
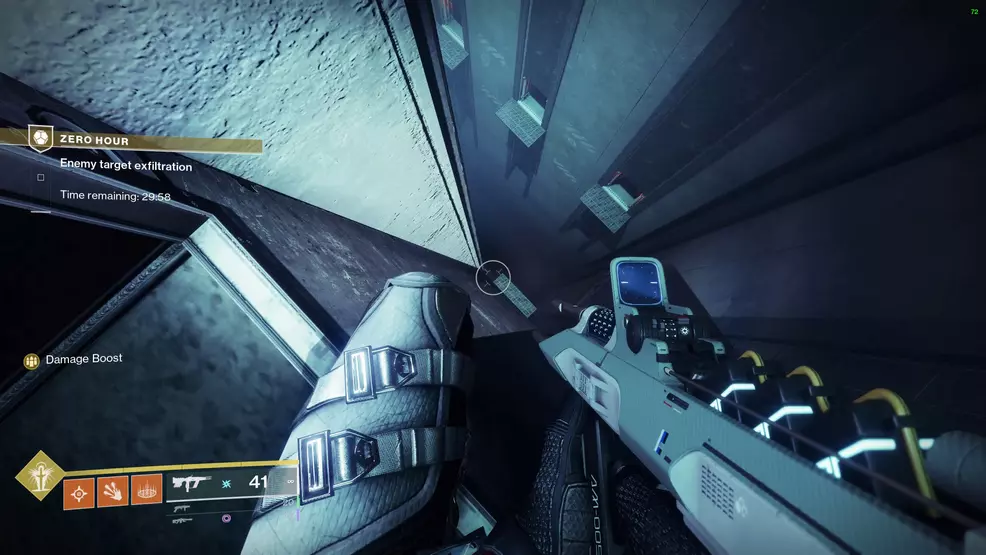
Tower North
Source: Shacknews
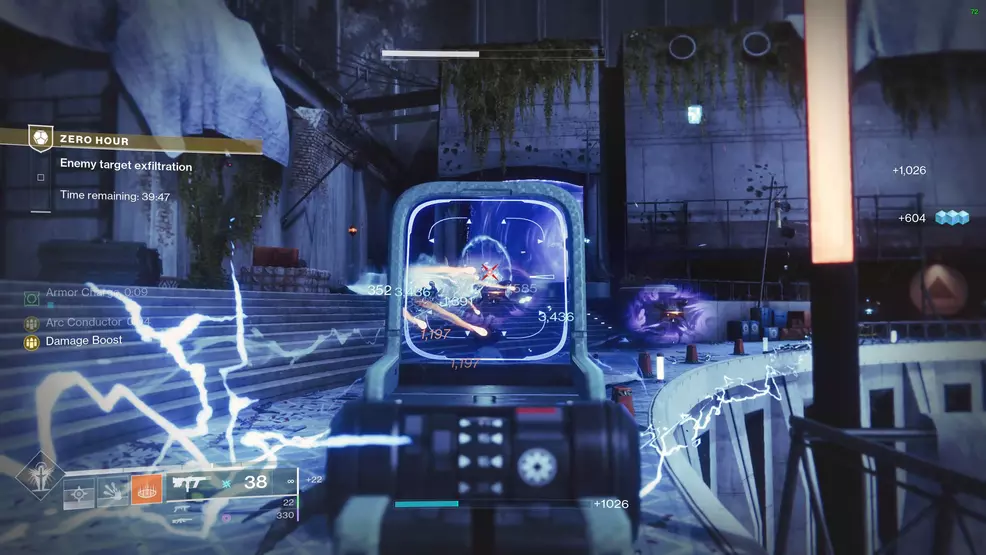
As soon as you land, begin running through the doors and head into the vent on the right. When out in the open, stay back and use the left side of the wall for cover. There will be several Captains and Shanks with elemental shields to take down. Clear them all out to lower the shield at the far side of the area.

Source: Shacknews
Go through the hallway into the main area of the Tower where the vaults used to be. Here you will need to dispatch three Heavy Shanks, several Arc-shielded Shanks, a scattering of Sniper Shanks up high, some Vandals, and now a Brig. Use the stairs and the little hut near where you entered as cover. Across from where you entered is the pathway leading to the Hangar.
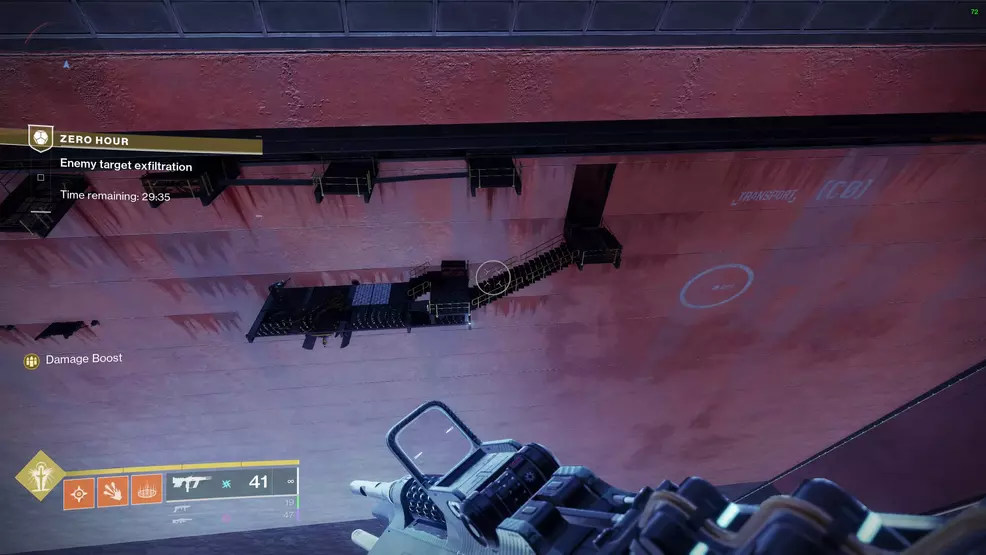
Tower Hangar
Source: Shacknews
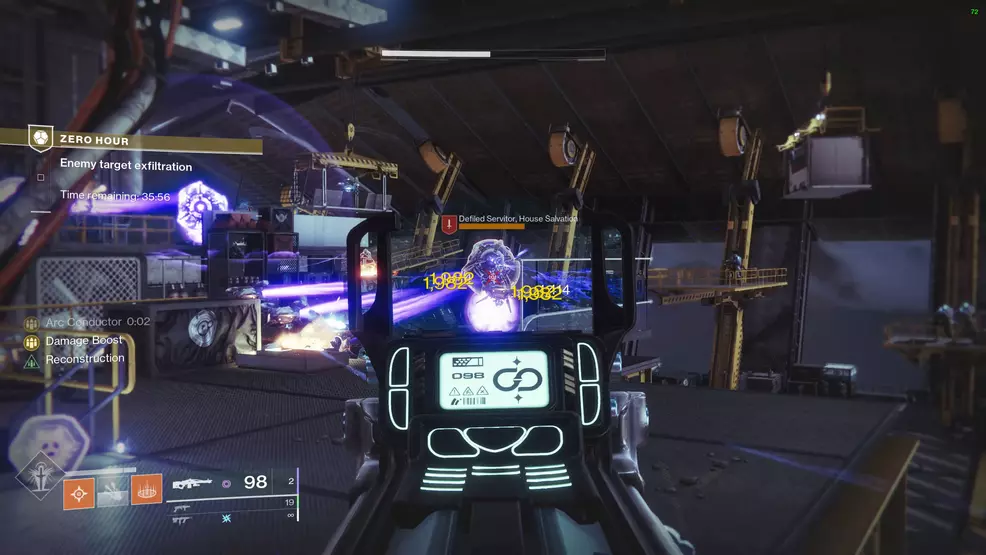
Focus on taking out the snipers on the walkways over the Hangar while another player uses their Super to clear the enemies on the left or Solar elements to pop the Shank shields and cause a cascading explosion. Ensure you take out the Servitors first to stop them from shielding the other enemies. With the upper level clear, shift to killing the enemies down below. This is where you will encounter the first Spider tank. Pop its legs, damage its core, and then move on when it's defeated.
Source: Shacknews
Run up the stairs behind the Spider tank and clear the group of Vandals and the Captain. Continue through the halls, killing all the enemies in your path. You'll encounter Dregs, Vandals, and another Heavy Shank in the hallways.
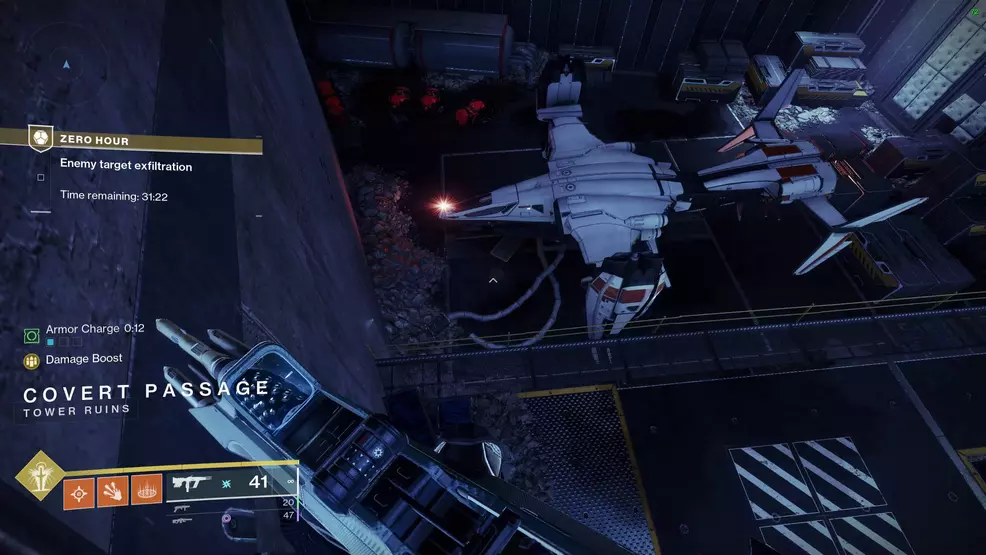
Covert Passage
Source: Shacknews
You will exit the hallways into a large outdoor area where the floor has been destroyed. Jump across to the walkway with the letter M painted on the wall. Slide under the roller door and drop down the elevator shaft. Crouch through the vent and drop down into the next area where a large plane is sitting on the ground. Go under the nose of the plane to find a tunnel leading to the next section.

Source: Shacknews
Source: Shacknews
Go under the plane and through the open vent at the end. Drop down into the hallway, jump up through the hole in the wall and immediately turn left. There will be a small vent behind a tool chest. Go through the vent and take your first right. Drop down to the vent directly below you - all other vents lead to death.

Source: Shacknews
Source: Shacknews
Go through the vent to reach the Tower wall where you'll find a several hanging objects. At this point, either work your way down the wall, jumping from platform to platform or you can jump toward the wall and maneuver your way below the outcropping. This jump might be difficult on Hunters and Titans unless you're using a Sword with Eager Edge. There is a switch on the catwalk that extends a platform for other players.
Source: Shacknews
When you do reach the switch, the next path is directly above you. Climb up to the higher catwalks and look for the open vent. Jump into the vent and follow the path into another elevator shaft. Climb the sides of the shaft to the top and then shoot the grates off the vent. The correct vent will hook to the left, the other is a deadend.
Source: Shacknews
At the vertical fan section, you must drop down the sides of the ventilation shaft. The sides will have red lights and provide just enough room to slip by the fans. Stand on the center of the fans to avoid being chopped up, just avoid the new exploder Shanks.
Source: Shacknews
Shoot off the grate and go into the next area which is a slanted and extremely long corridor. You must jump onto the white ledges that run along the wall. Make your way to the far side of the room, jump down the slope and pull the lever to activate more jumping platforms for your team. Go through the vents to enter the next area, Arc Subsystem.
Arc Subsystem
As you drop down into Arc Subsystem, you will be facing a window with a monitor on your left (the monitor shows the layout of the area below you). Go to the right to find a vent to crawl through that will drop you into the maze. To continue, you must activate four levers in the maze which unlock the exit. Two levers are along the left side and two are along the right. They are found by following the main path and then going down a little side alleyway. Split your party left and right to cover more ground.
Source: Shacknews
There is a patrolling robot called Trevor that screams through the area. It will kill you in one hit, so don’t get hit. You can avoid it by hiding in the little side vents that you must crouch to enter or by slipping down one of the side areas where a lever can be found.
Each lever that is pulled will activate electrical fields. These barriers will shock you on contact and will flicker on and off every few seconds. Wait for them to disappear and then continue around the maze to the exit. The exit is directly opposite where you dropped in and can be found by following the exit signs.

Passing through the exit door will reveal a room with four elevators. Jump on the platforms and activate them to start a bumpy trip to the top. As the elevator gets close to the walkway, jump onto the catwalk as soon as possible. These elevators are prone to simply dropping all the way back down to the bottom. You can also climb up the beams that line the walls of the shaft.
Once at the top, shoot off the grate and slide down to the next area. Go through the door at the bottom and crouch through the vent found at the top of the stairs.
Vanguard Vault
Source: Shacknews
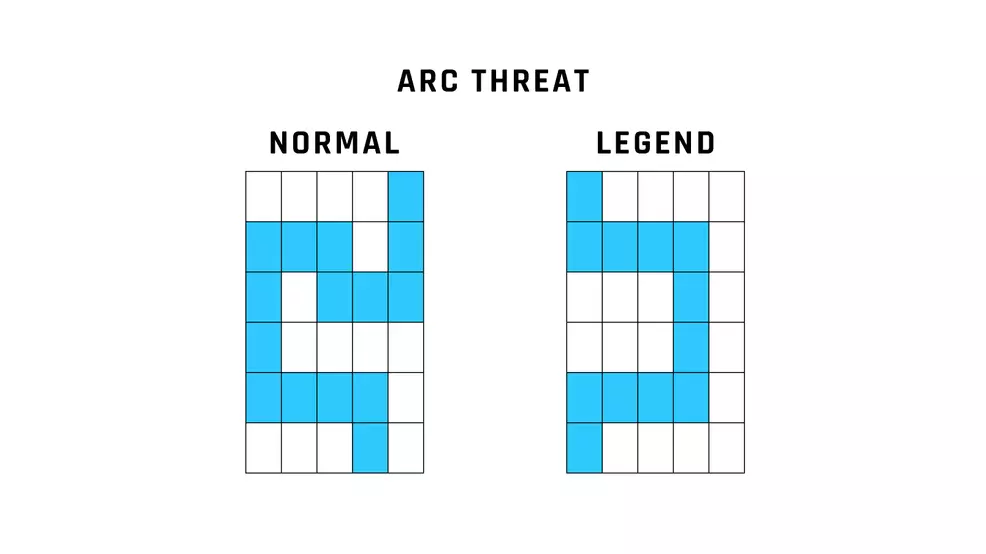
Drop down into the Vanguard Vault and turn around. Look for the Cryptarch symbol next to some pipes on a wall. Approach the symbol or run into it to make the wall swing open, revealing a hidden vault. The correct route through the tiles is hidden in one of the vault rooms, but we've supplied the routes just below.
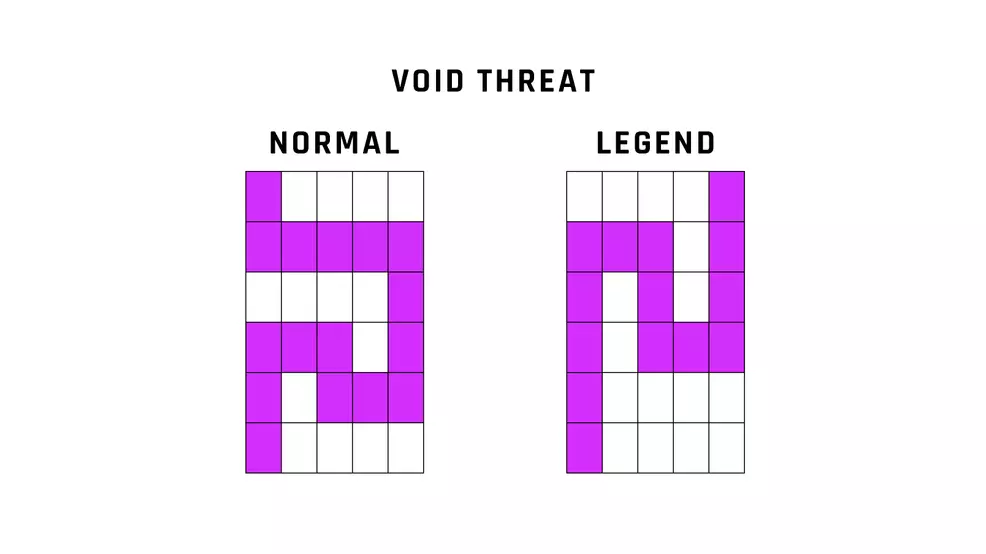
The route across the titles changes based on the current Threat and whether you're on Normal or Legend. Refer to the following images to find the correct route through.
Arc Threat tile route
Source: Shacknews
Void Threat tile route
Source: Shacknews
Solar Threat tile route

Source: Shacknews
Run across the room to the pedestal at the back and then turn right. Enter this side room and drop down the hole in the floor. Run straight through the next area, up the stairs and around the corner. Before you jump up to the vent, use the Rally Banner spot to fill up on ammo and recharge your Super. When you're ready, jump up, go through the vent, and drop down to the boss fight.
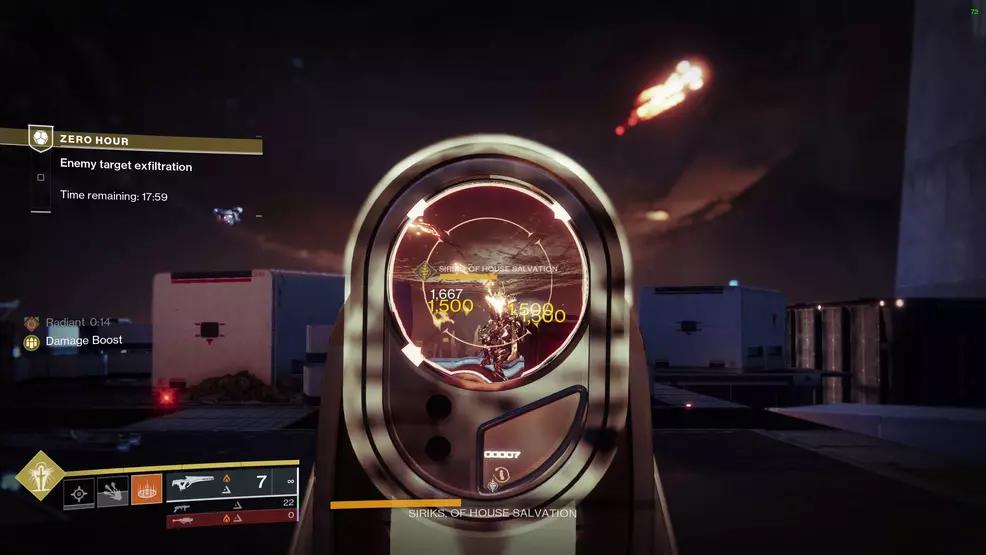
Siriks, of House Salvation – Tower Ruins
Source: Shacknews
The Tower Ruins is where you will fight the final boss, Siriks, of House Salvation. This fight is straightforward as there are no tricks or mechanics. However, there are three major Servitors that spawn throughout the fight, two Spider tanks, dozens of shielded-Shanks, and several Dregs and Vandals. There is a key difference with this new version too, Siriks will come back in a Brig (as a Brig?) with full health.
The vent will drop you straight into the middle of the room, you should immediately retreat to the rear. Stay as far away from Siriks and the other enemies as you can. Being at the rear means you are out of the range of most enemies in the beginning. Use this moment to land as many Whisper of the Worm shots as you can (if you unlocked the gun, else use other meta weapons!).

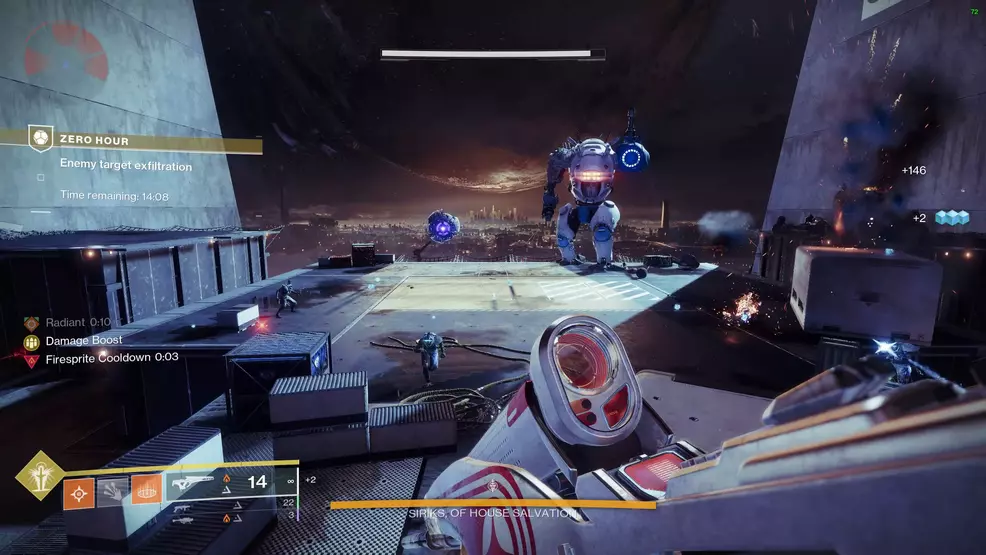
After Siriks takes some damage, a major Servitor will spawn, along with a handful of Shanks. Defeating the Servitor will be important, as it can very easily protect Siriks if he gets close. Two more of these major Servitors will enter the fight as Siriks loses more health.
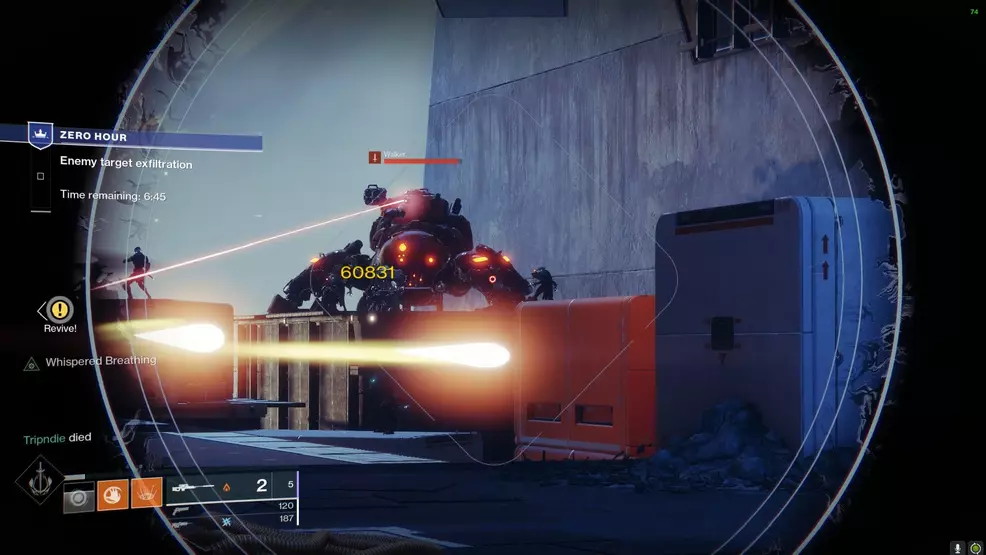
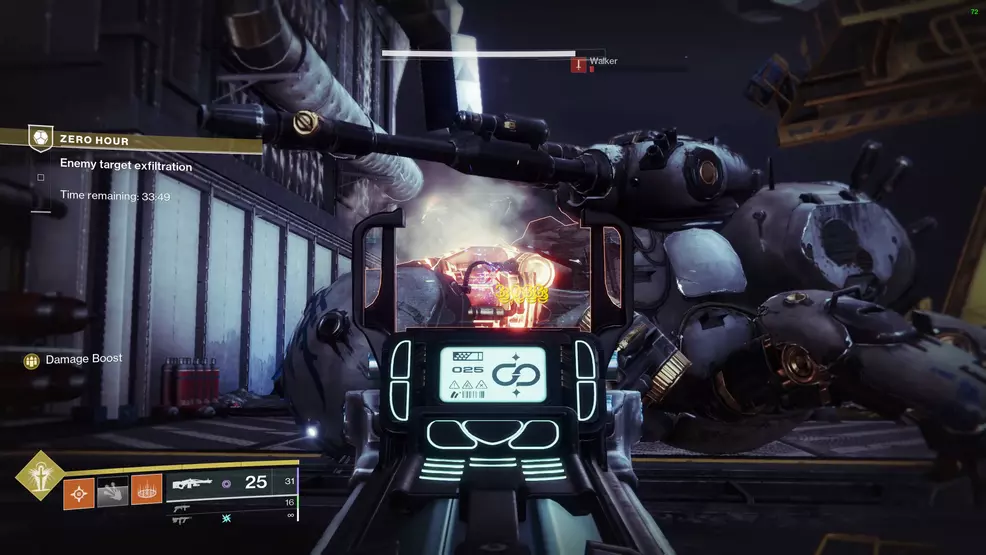
A shift in the fight will occur once Siriks' health gets low (about 25 percent remaining). He will leave the fight and two Spider tanks will spawn in at the far side of the room. Use whatever you can to take them down, just keep in mind ammo is scarce during the fight and you might need to save some for Brig Siriks.
Source: Shacknews
When the Spider tanks are down, Siriks will return in a Brig and will be joined by a Servitor and more enemies. Do your best to knock the Brig's health down, which will cause the front to fall off, allowing you to deal critical hits. Keep moving during this part, as the Brig will bombard you with orbital blasts as well as bombs from the cannon.
Once Siriks is dead, the fight is not over. The mission will only complete once everything is defeated. However, once the Brig is gone, no other enemies join the fight, making it much easier to eke out safe areas and control the room.
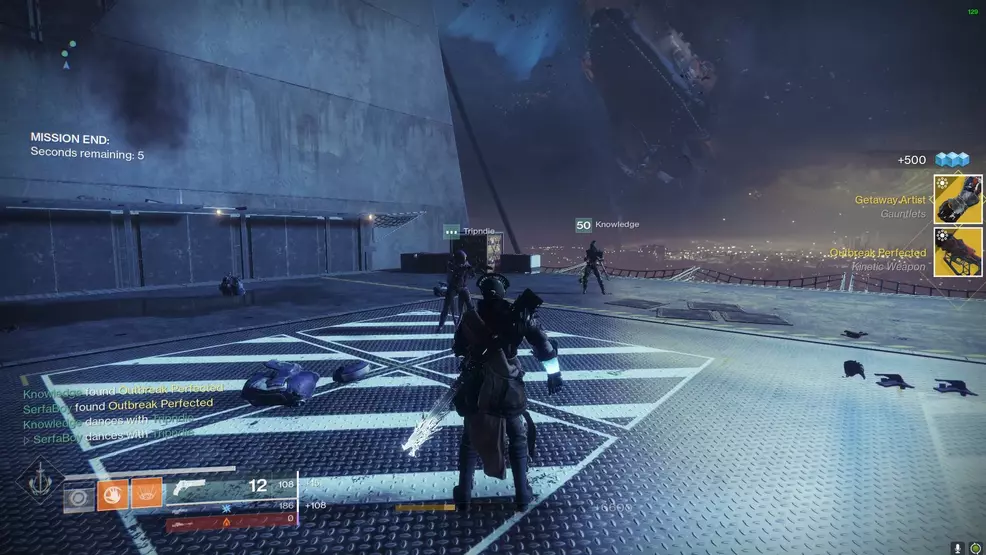
Once Siriks and all the enemies are defeated, the Zero Hour mission will complete and you will have unlocked Outbreak Perfected in Destiny 2. For more helpful articles, check out the Shacknews Destiny 2 complete strategy guide!

-
Shacknews

 reply
replySam Chandler posted a new article, Zero Hour mission guide - Destiny 2
