
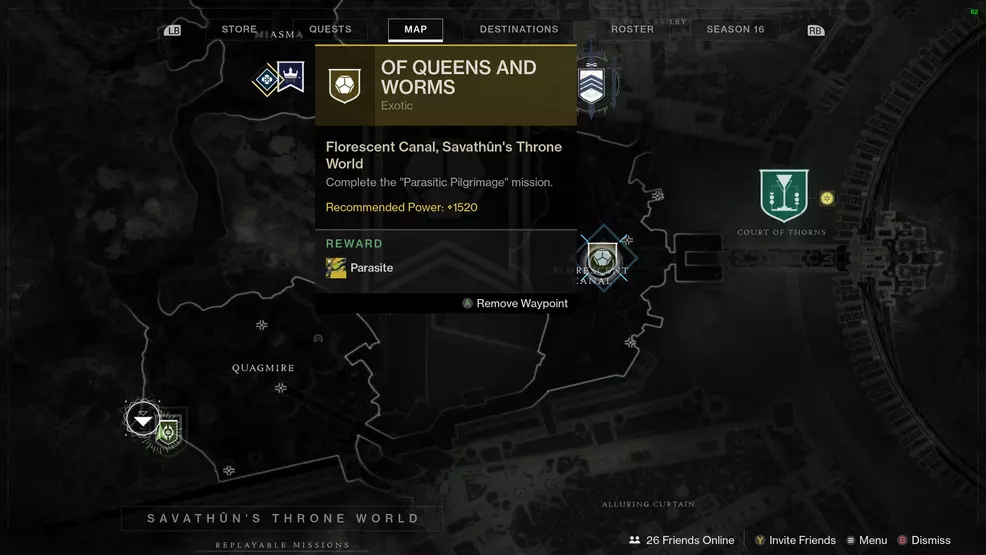
How to get Parasite, Of Queens and Worms quest - Destiny 2
Complete the Of Queens and Worms quest in Destiny 2 to unlock Parasite, the Exotic Grenade Launcher.
The Parasite Exotic Grenade Launcher can be unlocked in Destiny 2 by completing the quest, Of Queens and Worms. This quest is available after completing the Witch Queen campaign and involves finding incubators in Lost Sectors and chatting with the new vendor, Fynch. Anyone that's looking to do a lot of damage to a boss in the shortest amount of time (looking at you, Atraks-1), will want to unlock this Parasite as soon as possible.
Unlock Parasite, Of Queens and Worms quest
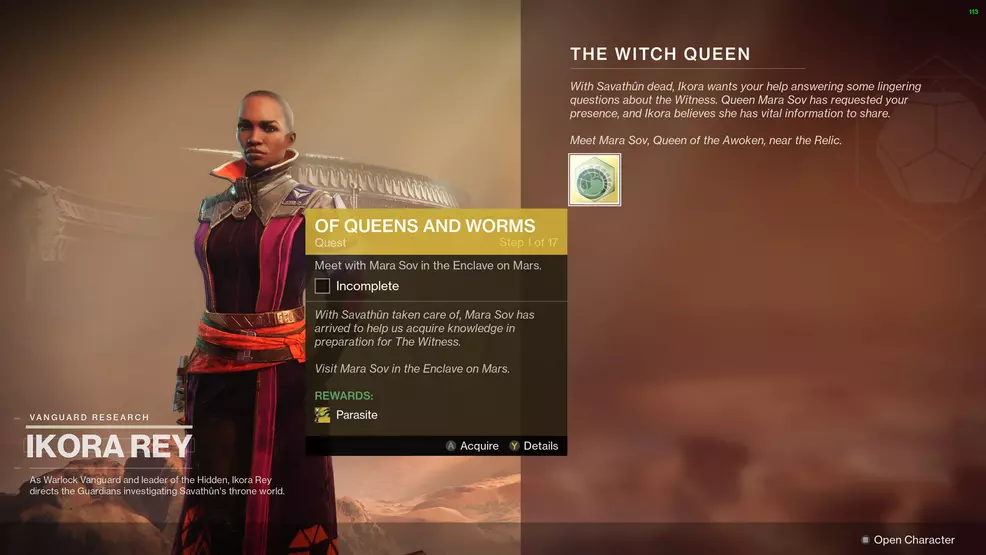
To unlock Parasite, complete the Of Queens and Worms quest, which is given to you by Ikora after you finish the Witch Queen campaign. This is an extremely strong Exotic Grenade Launcher that can deal an insane amount of damage in a single shot. This makes it ideal at dealing damage to bosses that have extremely small damage windows. Here is a broad look at the quest steps to unlock Parasite:
- Complete the Witch Queen campaign
- Speak with Mara Sov in the Enclave on Mars
- Complete Birthplace of the Vile
- Visit Fynch
- Head to the Temple of Cunning
- Defeat Scorn in Savathun's Throne World
- Complete the Sepulcher Lost Sector and collect the larvae incubator
- Do a bunch of Patrols
- Go to the Queen's Bailey to find another cryptoglyph
- Complete the Metamorphosis Lost Sector and collect the larvae incubator
- Head to the Alluring Curtain, ignite some lanterns, and open a chest
- Complete the Extraction Lost Sector and collect the larvae incubator
- Speak with Fynch to get the Hive Casing
- Complete the Parasitic Pilgrimage mission
Step 1: Meet Mara in the Enclave
Visit the Enclave and speak with Mara Sov.
Step 2: Birthplace of the Vile
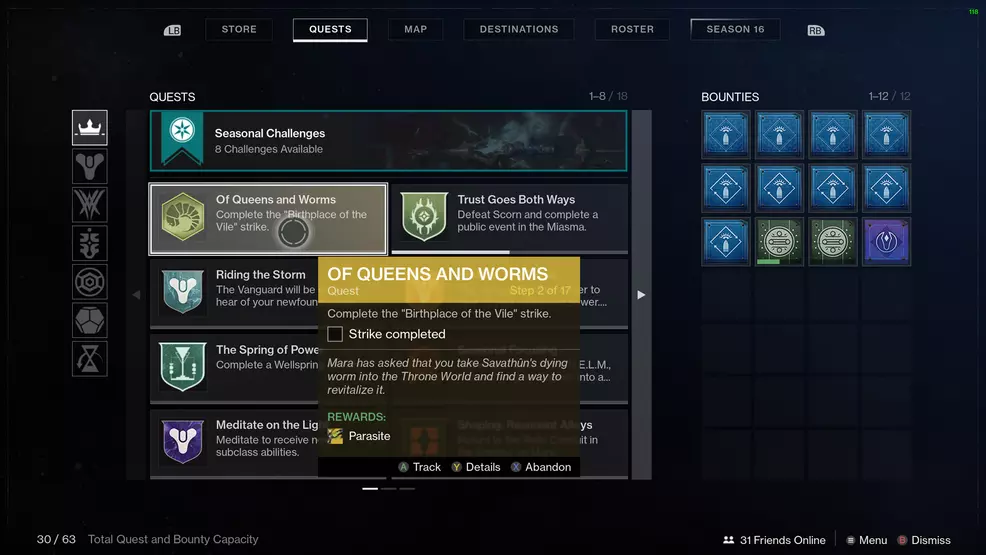
Complete the Strike, Birthplace of the Vile. This can be launched directly from the Savathun’s Throne World map.
Step 3: Visit Fynch
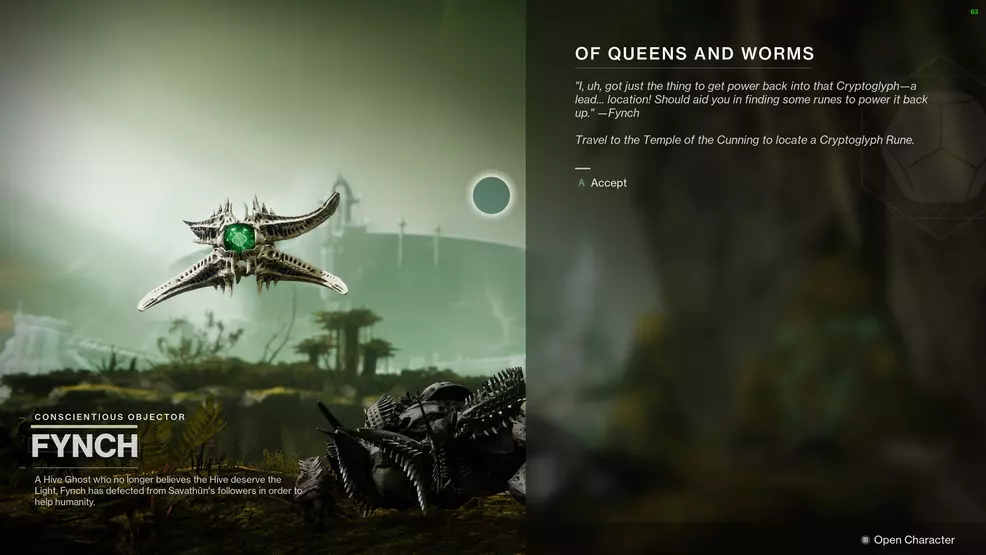
Go back to Fynch and have a chat to him.
Step 4: Head into the Temple of Cunning

You will now need to head into the Temple of Cunning to find a Cryptoglyph rune. Open the map of the Throne World and highlight the quest icon to make it easier to reach it.
Step 5: Defeat Scorn

With the rune in hand, go around the Throne World and kill 100 Scorn. A good place is simply right near Fynch. As you’re doing this, consider using the Osteo Striga to level it up, allowing for further crafting at the Relic.
Step 6: Sepulcher Lost Sector
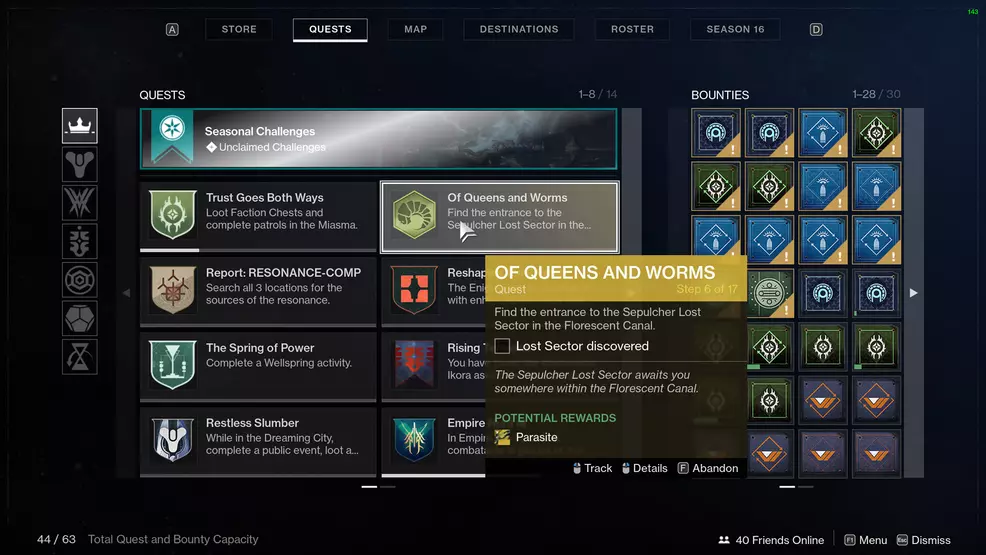
Head to the Florescent Canal in the Throne World and complete the Sepulcher Lost Sector.
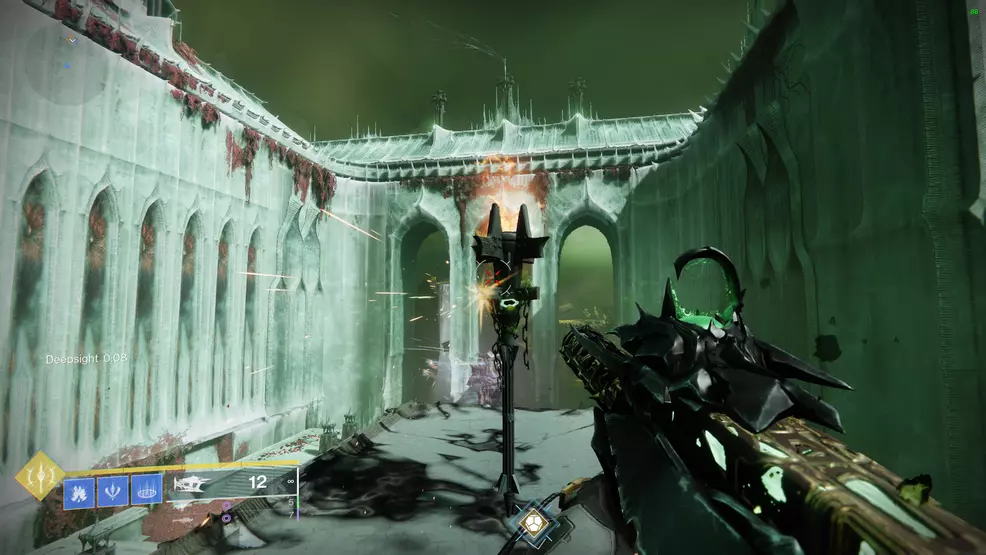
Step 7: Sepulcher’s larvae incubator

You must now locate a larvae incubator at the end of the Sepulcher Lost Sector. When you reach the end, use the Deepsight ability to reveal a platform that grants access to a little window.
Step 8: Complete Patrols
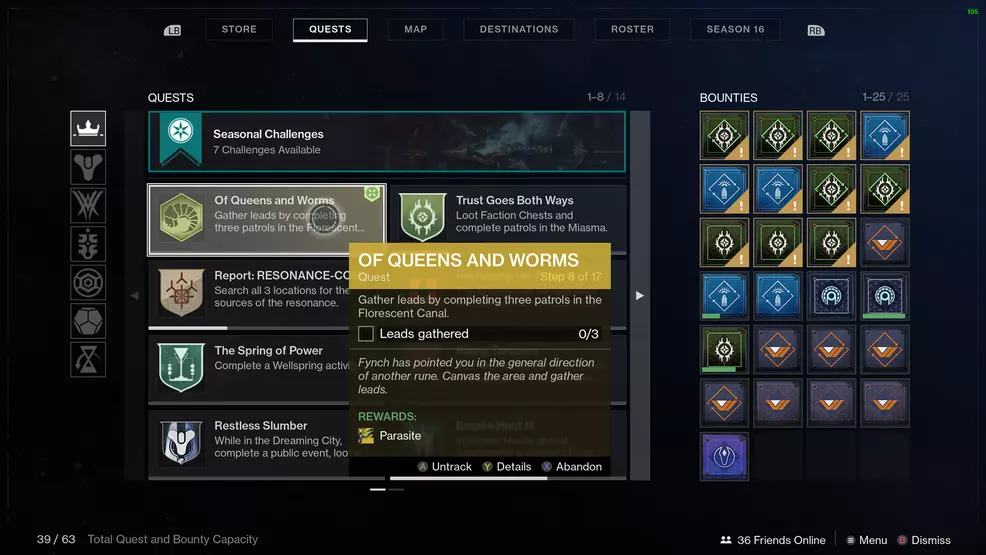
Exit the Sepulcher Lost Sector and stay in the Florescent Canal. You must now complete three Patrol mission in that area. Bring up your Ghost to see the little Patrol icons on your HUD.
Step 9: Head to Queen’s Bailey
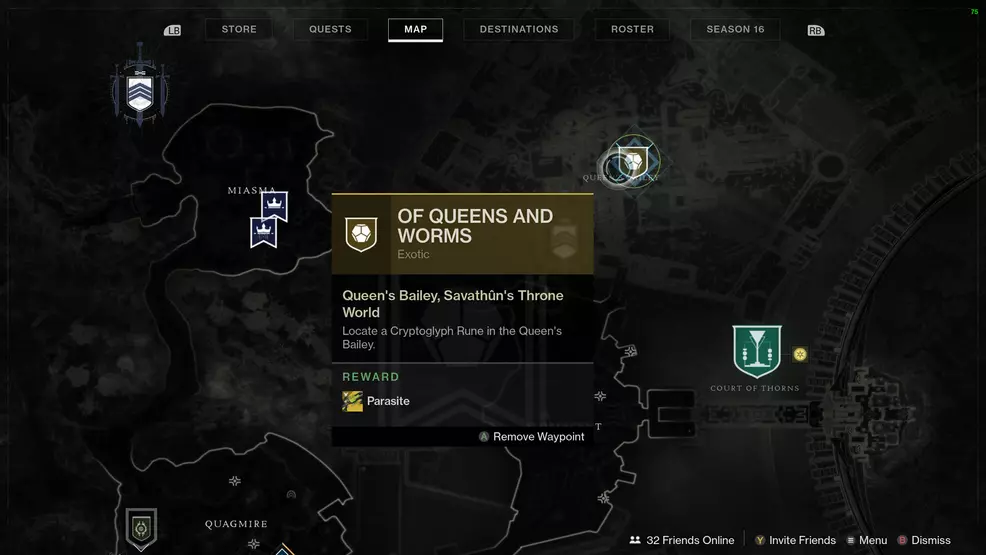
Like the fourth step, this step requires you to go off the beaten track and into the Queen’s Bailey to find another Cryptoglyph rune. Open the map, highlight the Exotic quest icon, and follow the marker to make this a bit easier.
Step 10: Metamorphosis Lost Sector
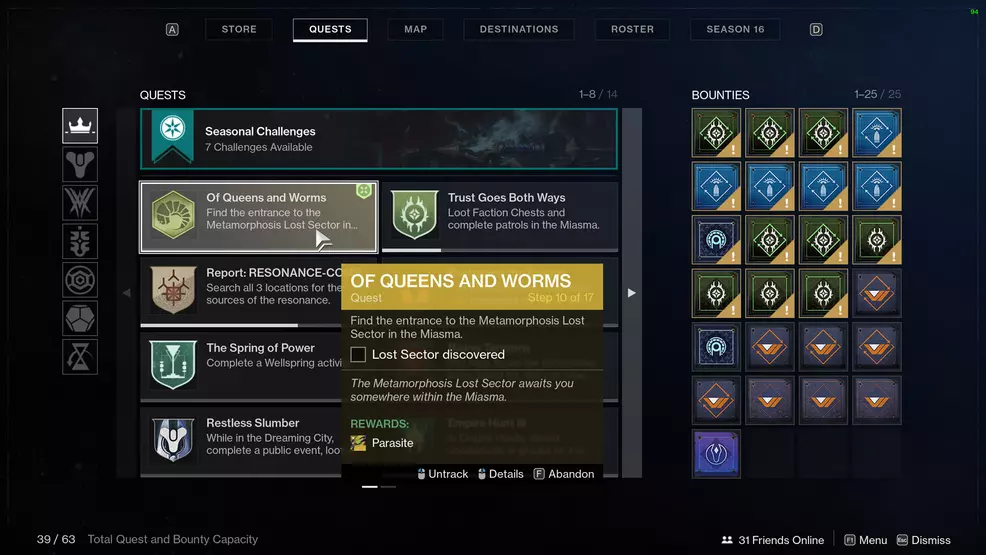
Go to the Miasma area of the Throne World and complete the Metamorphosis Lost Sector.
Step 11: Metamorphosis’ larvae incubator
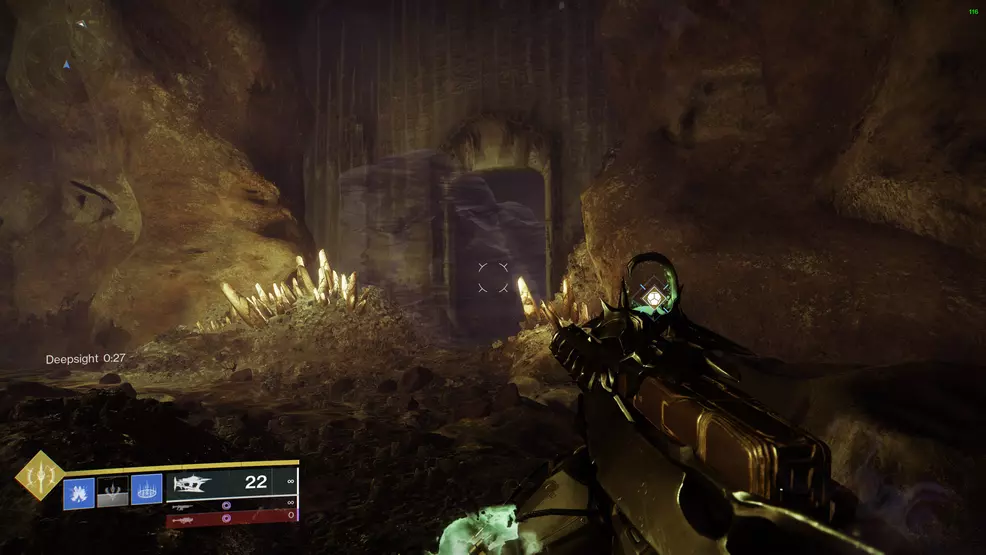
At the end of the Metamorphosis Lost Sector will be another larvae incubator. Like the last one, use the Deepsight at the end of the Lost Sector to reveal a door behind a rock. Go through and place the worm on the incubator.
Step 12: Head to the Alluring Curtain
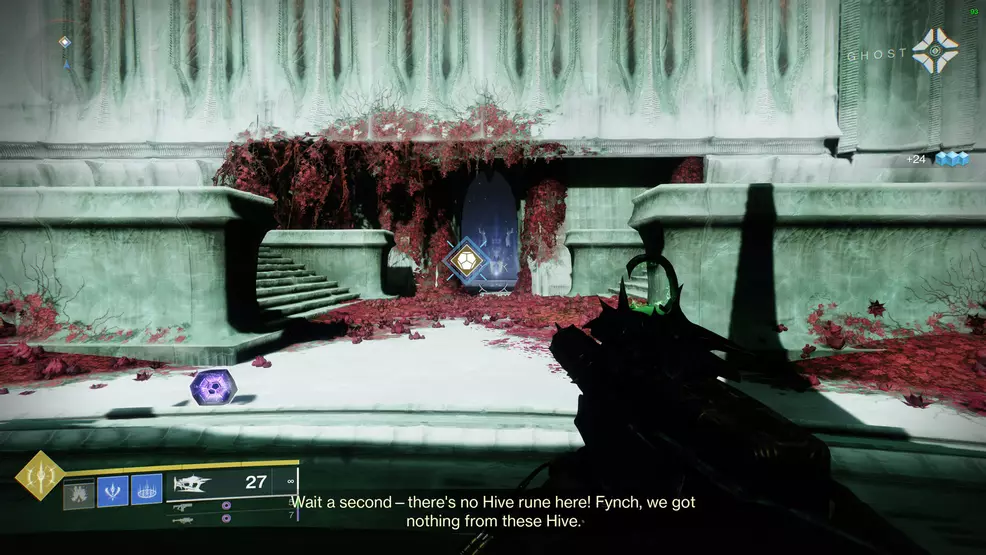
Next up on your journey to unlock Parasite is to head to the Alluring Curtain. When you reach the area, the object will appear to be missing – don’t leave the area.
Step 13: Deepsight cache
While you’re still in the Alluring Curtain, use the nearby Deepsight to reveal platforms. Climb these platforms and shoot the three lamps to ignite them. When all are ignited, a chest will appear down on the ground. Open it up to claim your reward.
Step 14: Extraction Lost Sector

Go to the Quagmire area and find the entrance to the Extraction Lost Sector. This is the final Lost Sector, and much like the previous two, you will need to get to the end to find what you need.
Step 15: Extraction larvae incubator
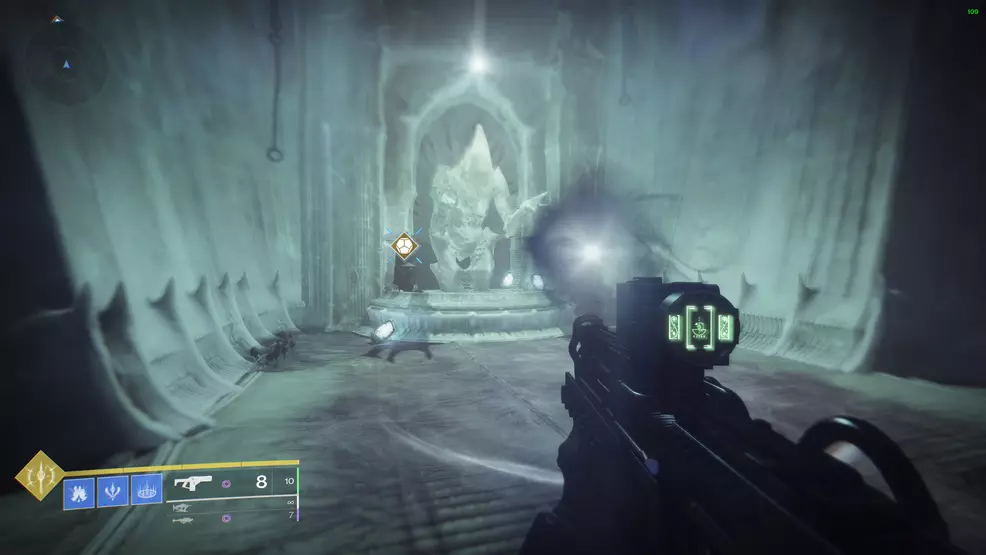
Fight through the Extraction Lost Sector to the end and use the Deepsight to reveal a path near the Hive statue. Place the worm on the incubator Grab your reward and head on out.
Step 16: Speak with Fynch

Have a chat with Fynch to complete this step. You will receive an item called the Hive Casing, which will take up a slot in your Power weapon space – so make sure you’ve got room.
Step 17: Complete Parasitic Pilgrimage
The final step in your quest to unlock Parasite is to complete the mission, Parasitic Pilgrimage. This is the last part for Of Queens and Worms and can be quite a tough mission.
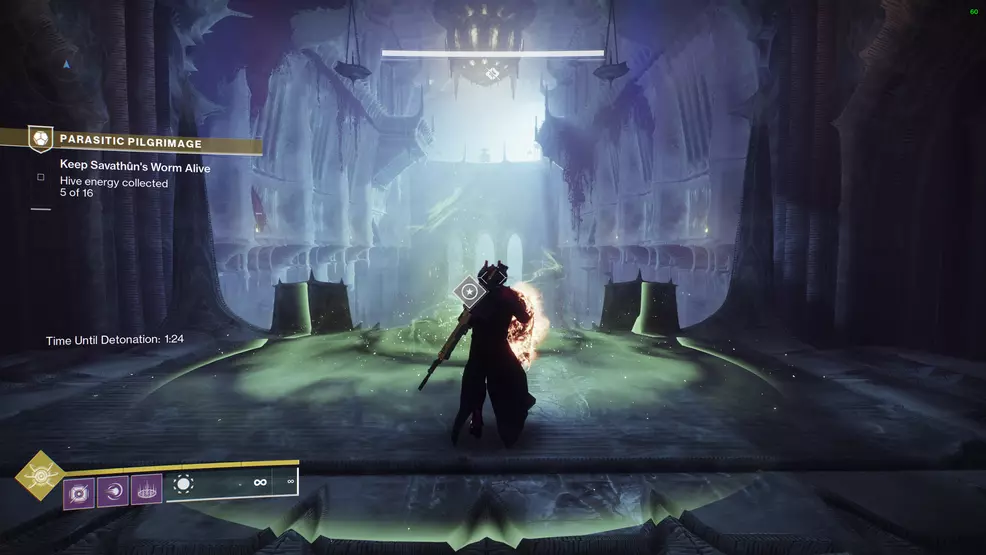
For this final step, you will need to carry the worm through 16 Hive energy pools. You must move through all of them before the worm explodes. The strategy is to basically keep moving. Don’t stop and fight unless you absolutely have to, and even then it should only be done to give yourself enough room to keep running.
The main challenge will be trying to get the pools that are obstructed by moving Hive obstacles. It’s all about timing. Try jumping into the puddle and then immediately jumping out again as opposed to running.
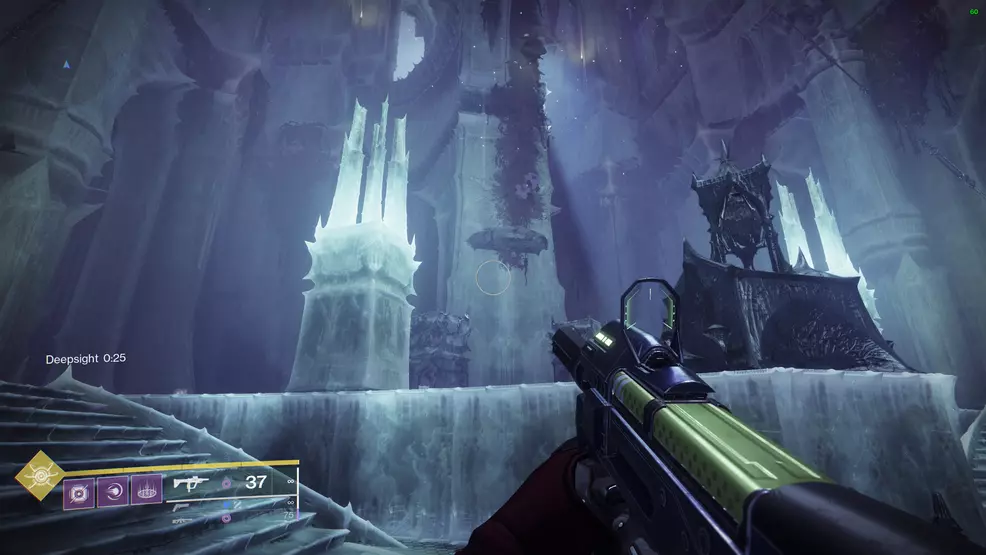
As for the secret passage, look for the Deepsight and interact with it. Look at the floor to spot footprints that lead up the wall to a series of platforms that will get you to the next area.
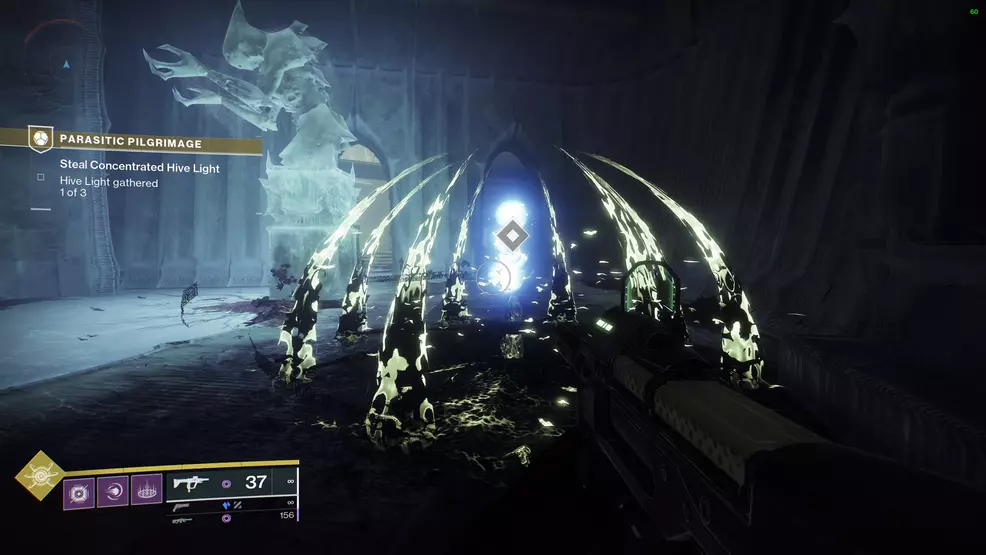
Now you will need to steal Concentrated Hive Light by finding and destroying Hive crystals. Destroy the crystals and grab the Light that was in the trap.

With all that taken care of, you will need to head to the ritual site. Protect the worm from the Scorn and then continue onwards. Take the worm up to Mara, who is at the top of the tower in the Temple of the Wrathful. At this point you’ll be awarded Parasite and need to defend Mara while she completes the process.
Parasite perks
Source: Shacknews
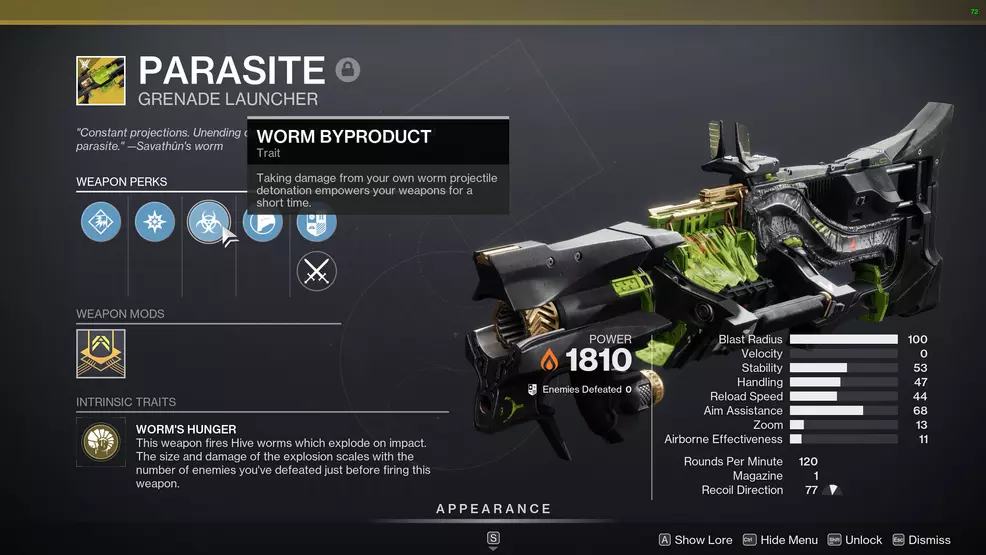
What makes Parasite such an outlandishly powerful Exotic Grenade Launcher is its perks. While the first perk is great for sustained damage, the second one is what you’ll be focusing on.
- Worm Byproduct: Taking damage from your own worm projectile detonation empowers your weapons for a short time.
- Worm’s Hunger: This weapon fires Hive worms which explode on impact. The size and damage of the explosion scales with the number of enemies you’ve defeated just before firing this weapon.
The use of the word “just” makes it sound like you need to get the kills in close succession to firing it. This is not the case. Much like Recombination, get kills and whenever you switch to Parasite, it will be ready to go. You can even switch on and off of it to check whether you’ve got the full 20 stacks needed for maximum damage.
Worm Byproduct isn’t that useful with a full stack of Worm’s Hunger, as the initial explosion is likely to kill you. This means it’s best to fire the big grenade, then let a little bit of splash damage from subsequent shots affect you.
Once Of Queens and Worms is done, you will be the proud owner of the Parasite Exotic Grenade Launcher. This thing boasts some wild perks that allow it to deal a ton of damage. Perhaps it will even become your go-to weapon for end-game PVE content? Take a moment to look over the Shacknews Destiny 2 Guide for a comprehensive assortment of guides and information.

-
Shacknews

 reply
replySam Chandler posted a new article, Of Queens and Worms quest - Destiny 2
