
Destiny 2: The Witch Queen introduces a brand new campaign for players to dig into. It will see Guardians face off against Savathun and her Hive forces of evil, but we're here to help you along the way. This will serve as a full campaign walkthrough for The Witch Queen.
Last updated: February 25, 2022, at 2:07 p.m. EST.
Be Brave or Become Legend
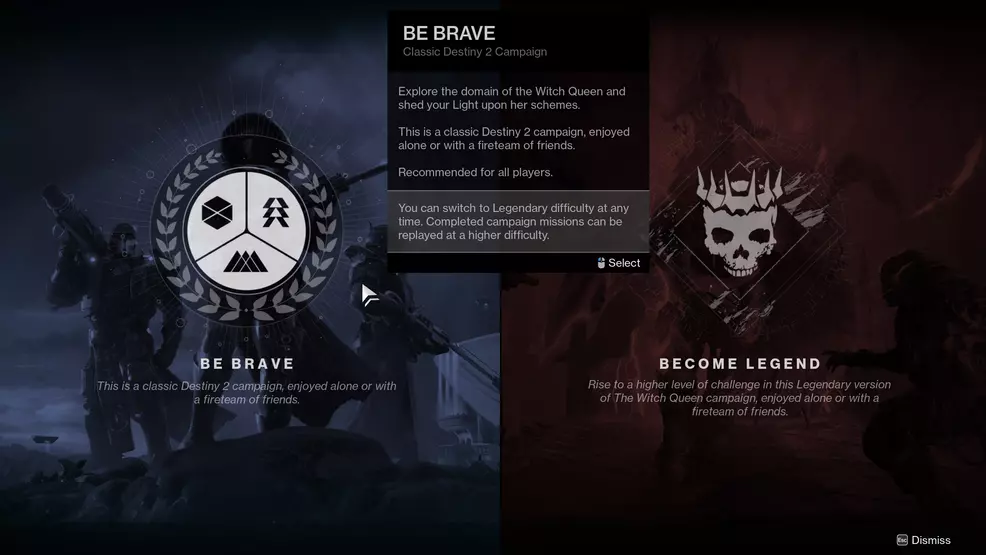

After watching an initial cinematic, Guardians will be given a choice between a Classic or Legend campaign experience for Destiny 2: The Witch Queen. Newer players may want to go Classic, but experienced players will get greater rewards from choosing Legend. This includes gear that will constantly increase your Power, and a plethora of Upgrade Modules that will allow you to upgrade your weapons and armor as you go. I was constantly seeing Upgrade Modules sent to the Postmaster because I exceeded the limit of 25 in my Inventory.
A full set of 1520 gear is obtained through the Legend version of the campaign, which will help players reach max Power level for end-game activities in Season of the Risen in Destiny 2. It should be noted that you can swap between the two modes if you find Legend too difficult or Classic too easy. You'll also face increased difficulty on Legend in the form of modifiers and limited revives in boss encounters.
Use the following links to jump to the relevant mission in The Witch Queen campaign:
- The Arrival
- The Investigation
- The Ghosts
- The Communion
- The Mirror
- The Cunning
- The Last Chance
- The Ritual
Mission: The Arrival
This is the first campaign mission for The Witch Queen. It will see Guardians step onto Savathun's Throne World for the first time. This walkthrough will cover each of the objectives of the mission, helping you bypass any points that you may find overly tricky or complex.
- Recommended Power: 1360
- Power cap: 1350
- Modifiers: Mettle, Legendary, Chaff, Galvanized, Fire Pit
Objective: Find Savathun
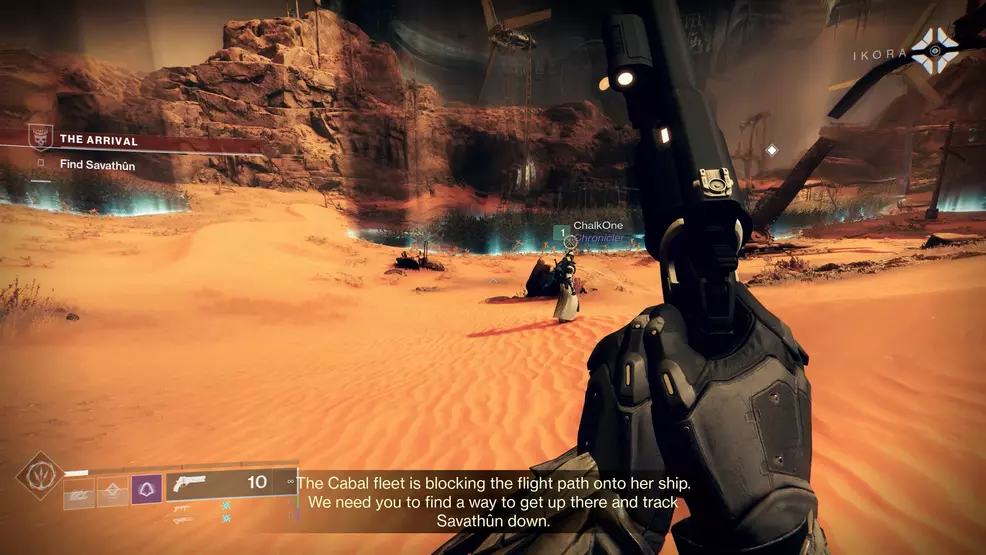
Move forward through the environment. You're currently on Mars, and the Cabal is setting up to fire big guns at Savathun's Throne World. In order to board Savathun's ship, you'll need to borrow the Cabal's weapon and use it as a taxi. Keep in mind that if you're ever unsure of which direction to go, bringing up your Ghost will show the path forward.
Objective: Defeat the Cabal
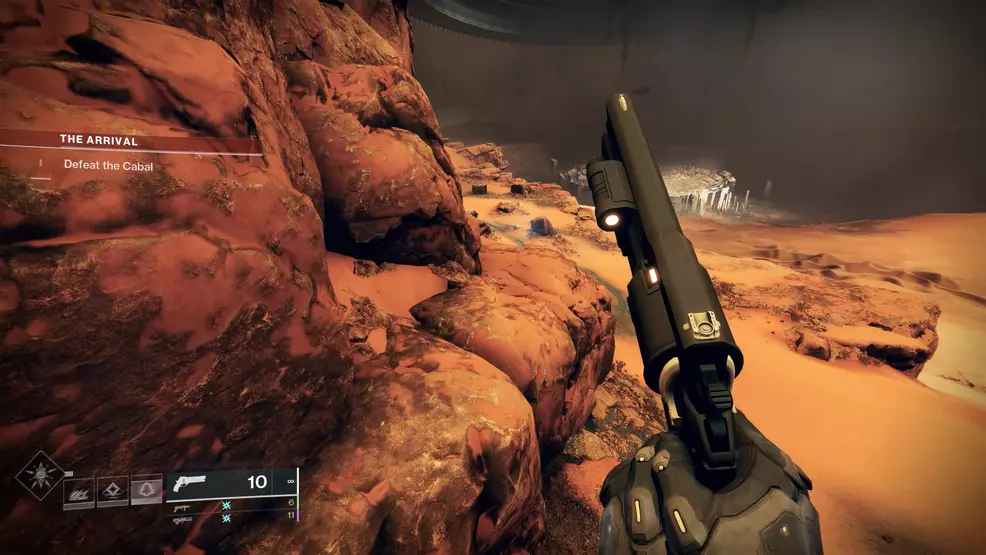
The battle against the Cabal is fairly straightforward as far as fights go. You'll need to defeat a yellow-bar Cabal and pick up a Fuel Cannister. Once you have it in your hands, walk forward and Activate the Launcher. You'll then step into the launcher because that's what we do as Guardians. We shoot ourselves out of space guns.
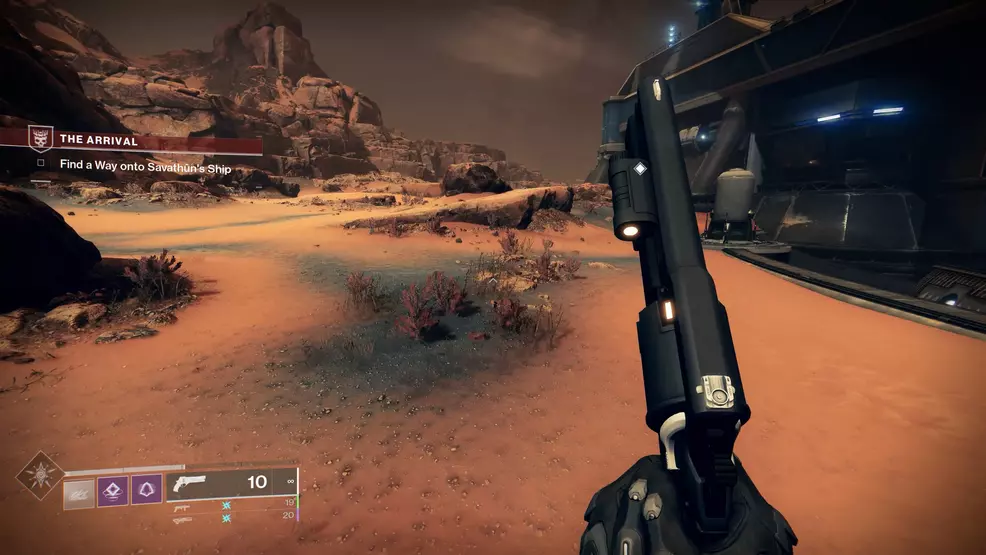
Objective: Find a Way onto Savathun's Ship
You'll find yourself outside of a Cabal base. Work your way inside and Hack the center console. You'll then find yourself with an Information Extracted progress counter. Simply stand in the circle to make sure the progress continues. If you step outside of the circle progress will be halted. Defend that position from the onslaught of Cabal. If you have multiple Guardians, it's fine for one to stand in the circle and the others to fight around the room.
Objective: Prepare the Cannon
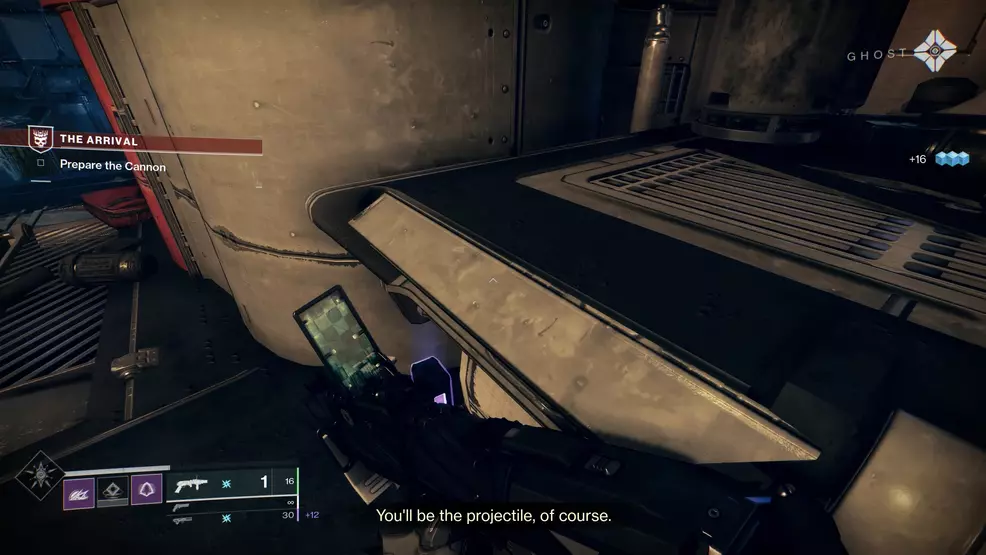
You'll need to head outside at this point. There's a platform not too far away that you need to clear. As you approach, you'll be given a mini objective called Fuel Lines Opened. You need to defeat the yellow-bar Cabal, then Pick Up Wrench. Head up the ramp and you can Open Fuel Line by placing the wrench in its designated spot. You need to do this twice in order to progress.
Objective: Activate the Cannon's Generators
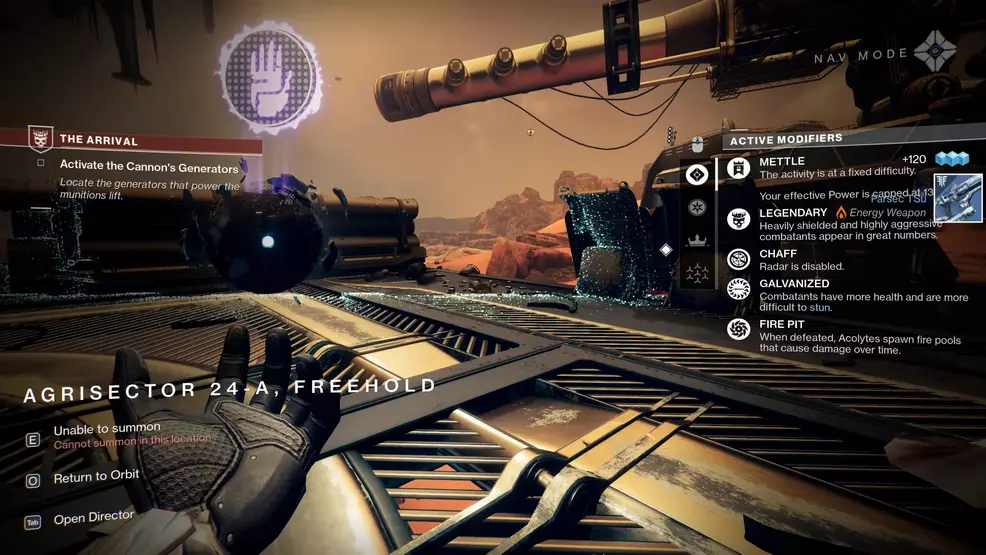
The next step is to activate the generators. You do this by killing yellow-bar Cabal called Imperial Technicians. They will drop a Fusion Cell, which you can then pick up to Activate Generator. You need to do this twice while simultaneously fighting off the Cabal minions.
Objective: Reach the Control Room
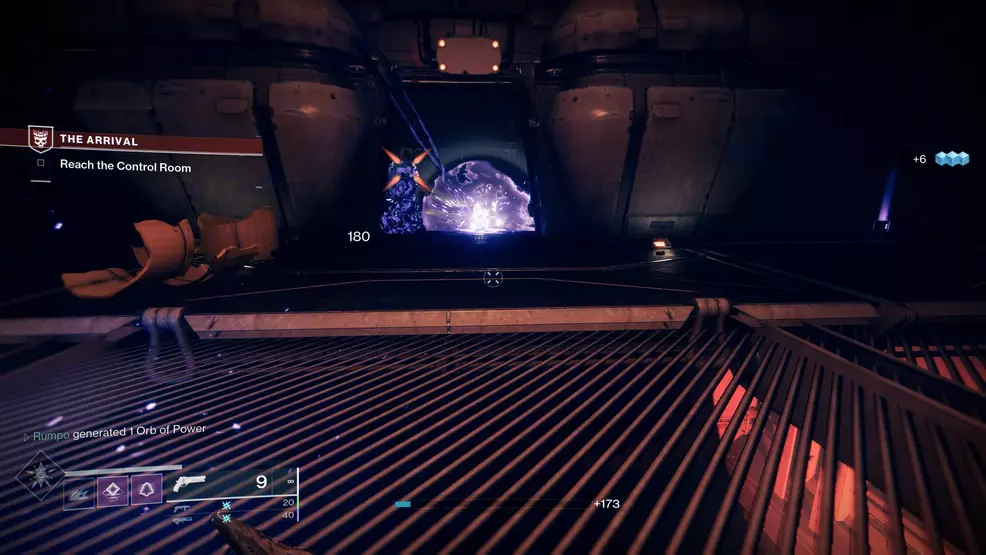
At this point, you're just doing some walking and navigating through the Cabal base. Ensure that you're bringing up your Ghost if you don't know which way to go. You'll eventually reach a point where you can place a Raid Banner, which in this case is called a Campaign Banner. They are the same thing.
Enter the room and you'll get a mini objective for Override Codes Acquired. You'll need to get two by killing two yellow-bar Imperial Engineers. You don't need to place them anywhere, just pick them up from the bodies of the dead Cabal.
Objective: Launch Onto Savathun's Ship
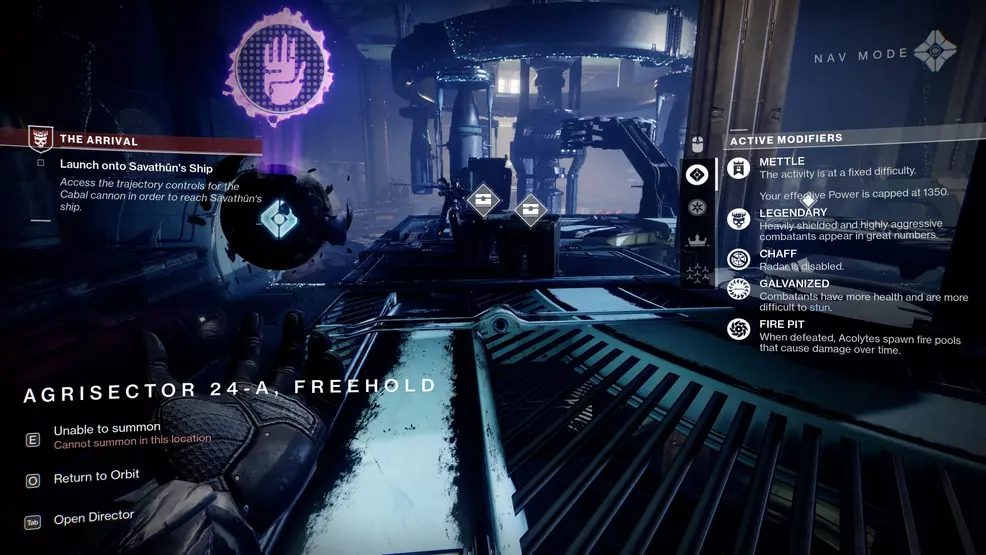
Move forward and defeat any Cabal you find along the way. You'll enter a room where you can Adjust Cannon Trajectory to point it where you need to go. Once you interact with the console to do that, hop inside the barrel of the big gun and launch yourself onto Savathun's ship, as one does.
Objective: Find Savathun
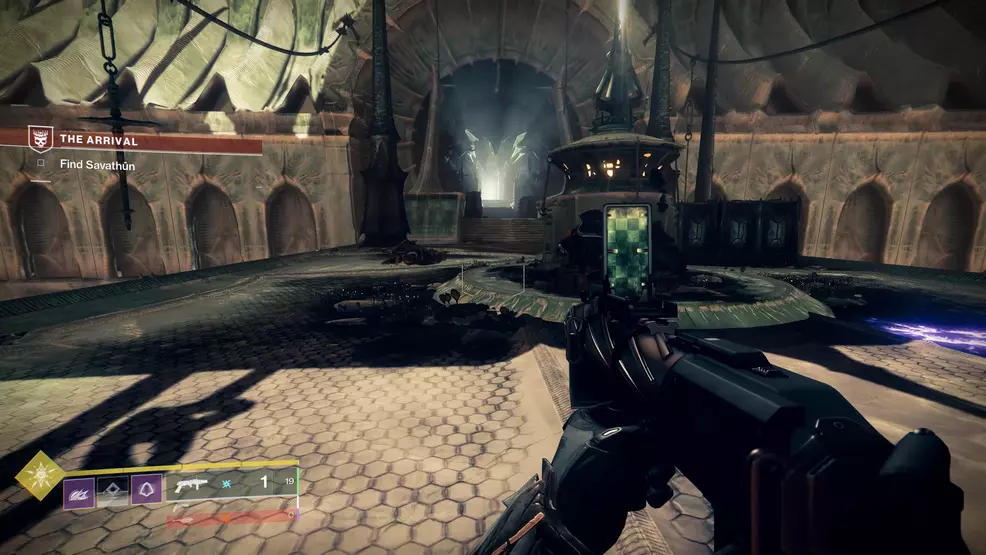
You're back to finding Savathun now that you're on her ship. Enjoy the views and deal with the small pockets of Hive that you run into. You'll continue forward until you can place another Campaign Banner. Do this, then collect five Tributes.
You get Tributes by killing yellow-bar Tribute Bearers, and then picking up the Tribute and standing on the plate by the door. Once you have all five, you can move forward, exploring the ship more and fighting other small pockets of Hive. You'll eventually come to a gate you can't get through, so you'll need to jump up and around to bypass it.
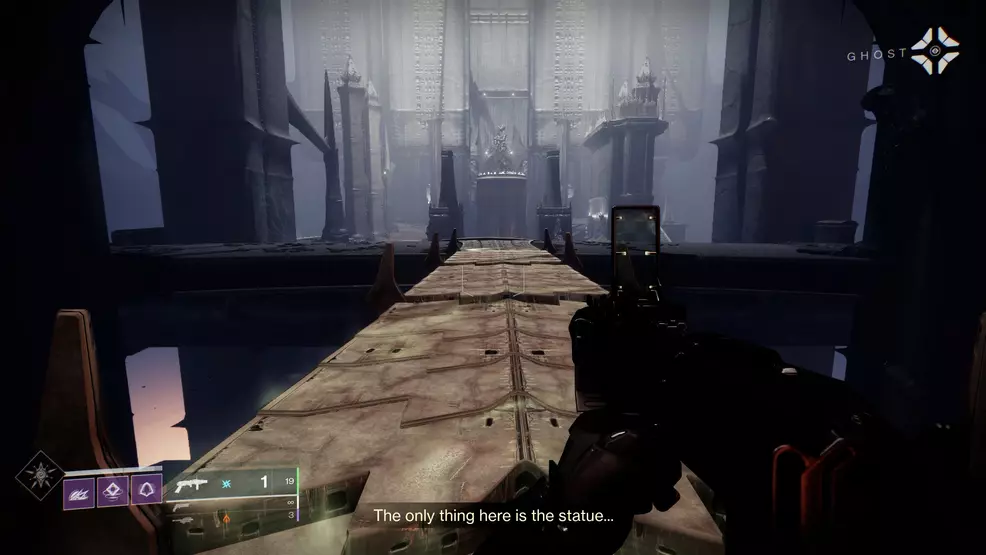
Objective: Investigate the Statue
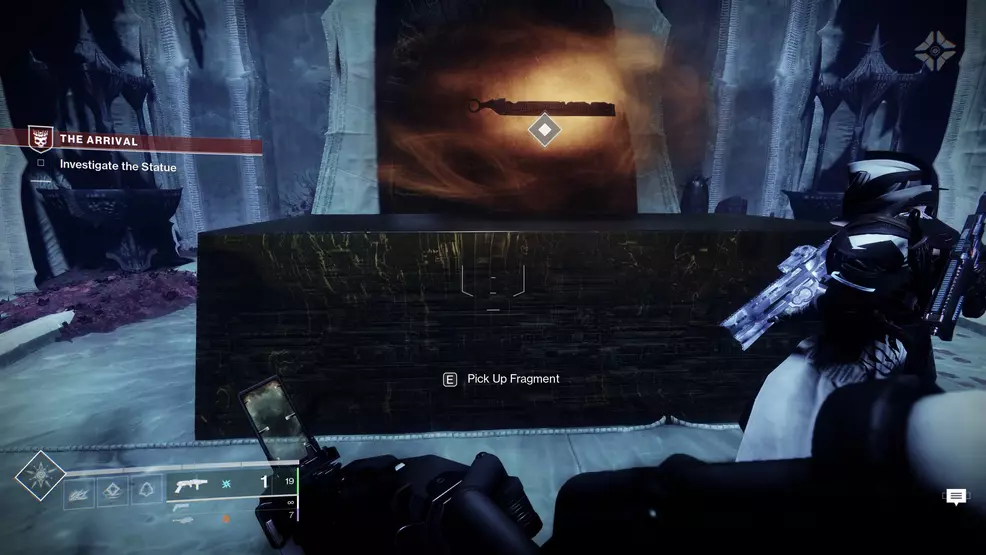
Once you're around the gate, Investigate the Statue by approaching it and choosing the option to Pick Up Fragment. You'll then have to defend yourself against a decent Hive onslaught, but it's nothing you can't handle. Fight them off and move forward.
Objective: Find Savathun
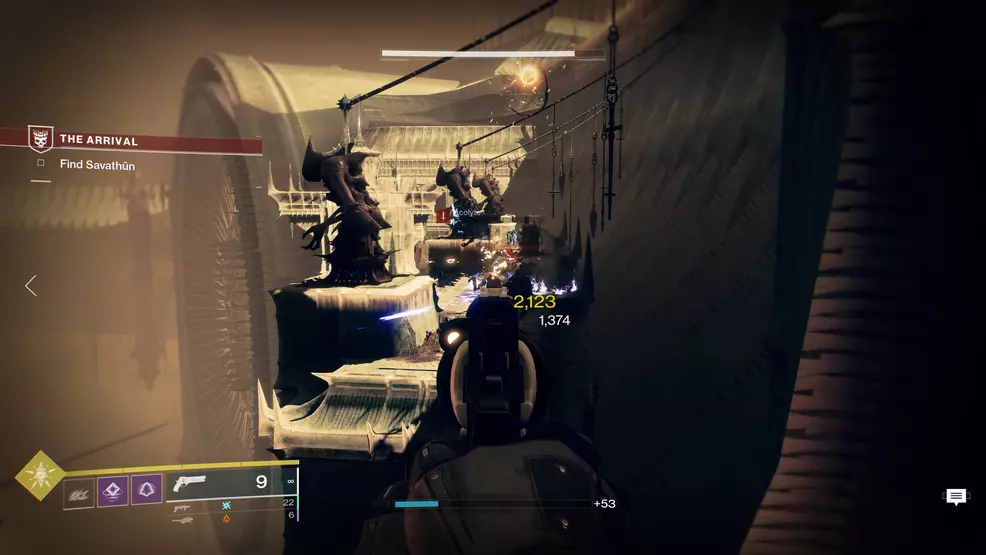
You're back to finding Savathun, which includes several minutes of fighting Hive and exploring her ship. Continue forward until you spot Savathun, at which point your objective will shift ever so slightly.
Objective: Defeat the Lucent Knight
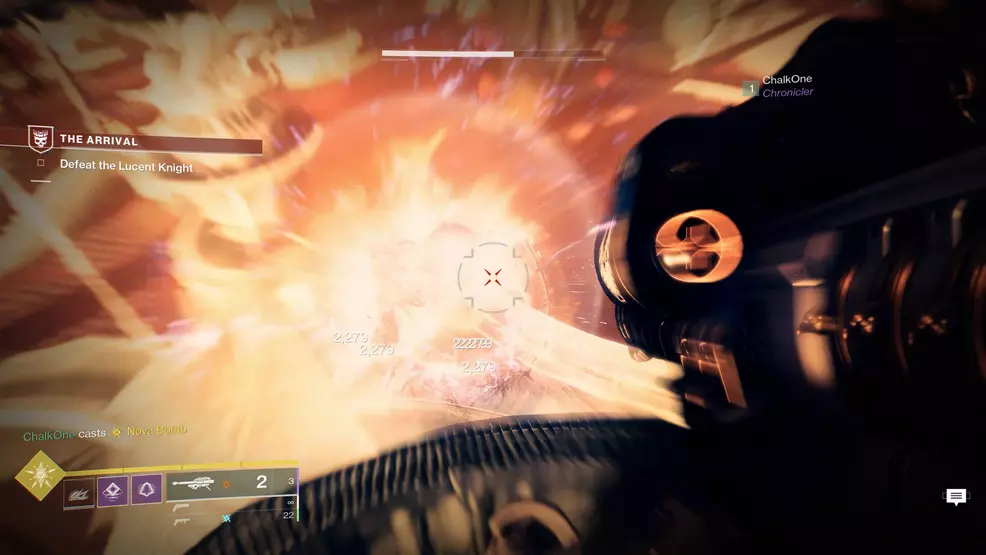
Fight through the wave of Hive and kill the Lucent Knight. This isn't too hard, but you'll quickly realize that this Knight can revive itself. Kill it again, then approach the Knight's Ghost and press the Finisher input to destroy it permanently. Your Ghost won't be overly thrilled about this, but you must push forward.
Objective: Pursue Savathun
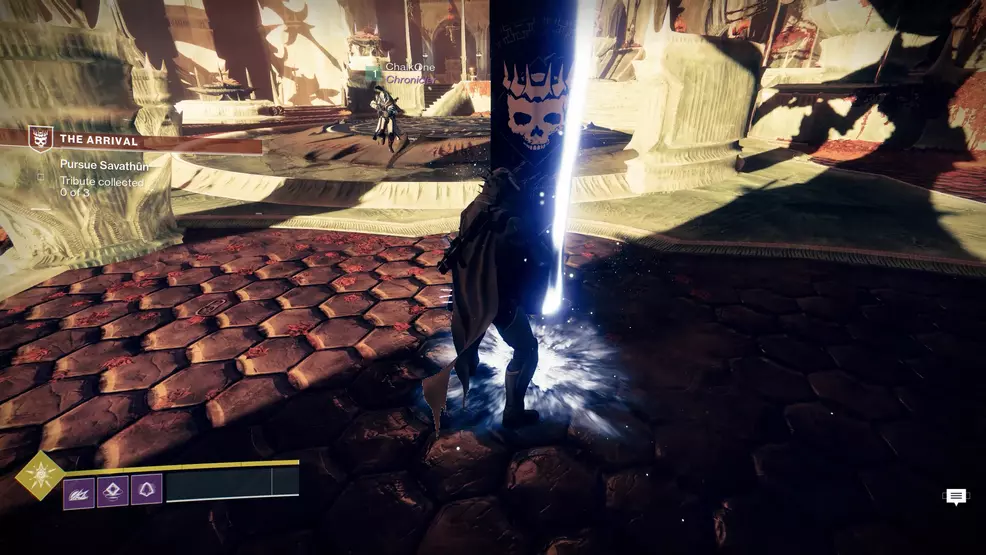
Now that you have killed the Knight, it's time to pursue Savathun. This is done by again collecting Tributes, which are collected from three Tribute Bearer enemies. You'll spend a few minutes moving through her Throne World and killing more foes before you finally find the Witch Queen herself.
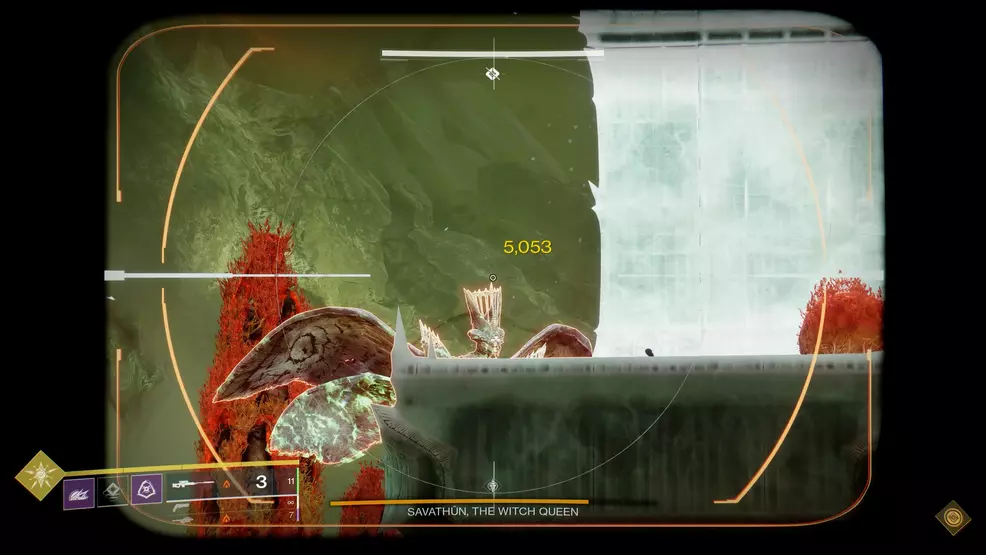
Objective: Defeat Savathun
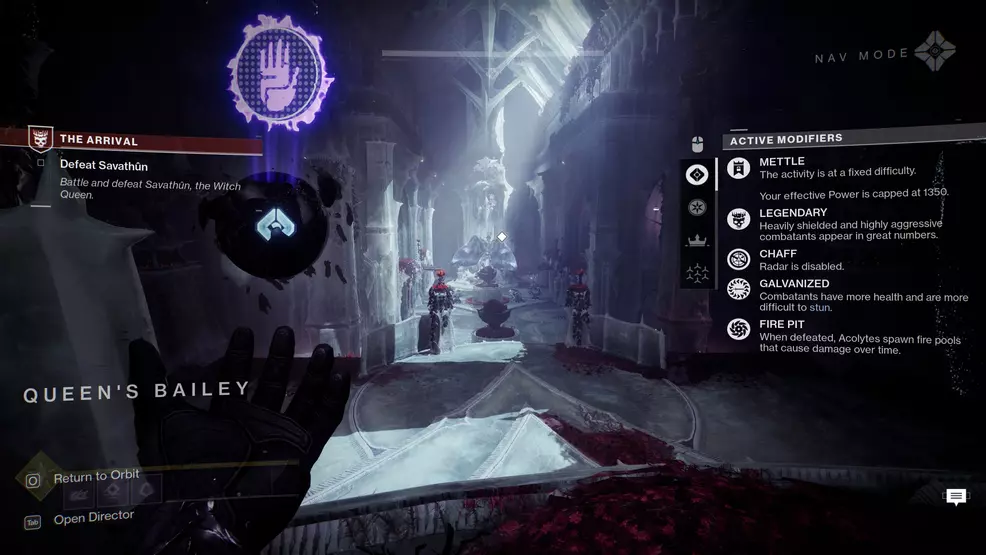
You're now going to fight Savathun in the Queen's Bailey. Do your best to defeat the Witch Queen and all the minions she throws at you. This fight isn't overly tough, which should be a sign that this may be another trick.
Objective: Claim Your Reward
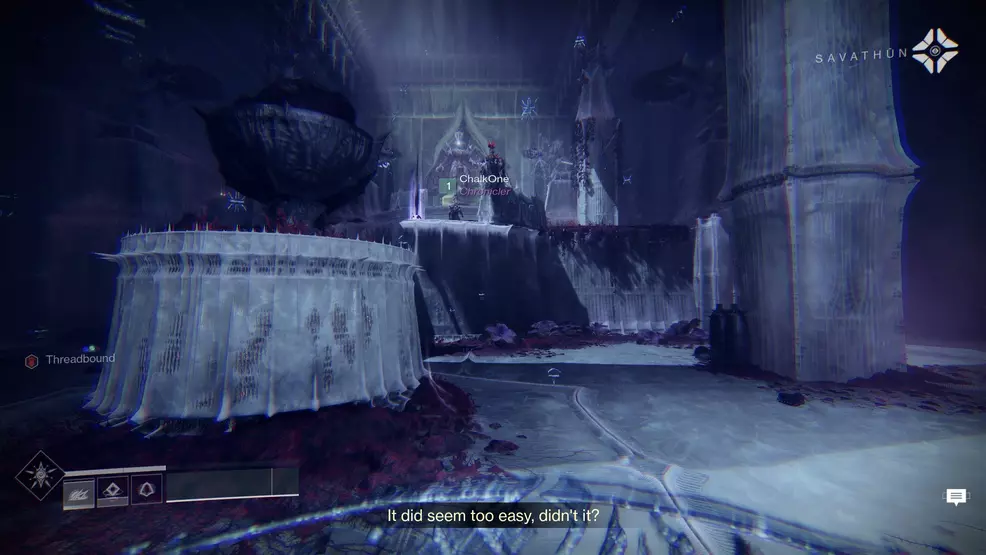
You can now claim your reward, which is going to be a debuff called Threadbound. This debuff holds you in place and then boots you from Savathun's Throne World. You'll get a cinematic now, signifying the end of the first mission of the campaign. Well done, Guardian.
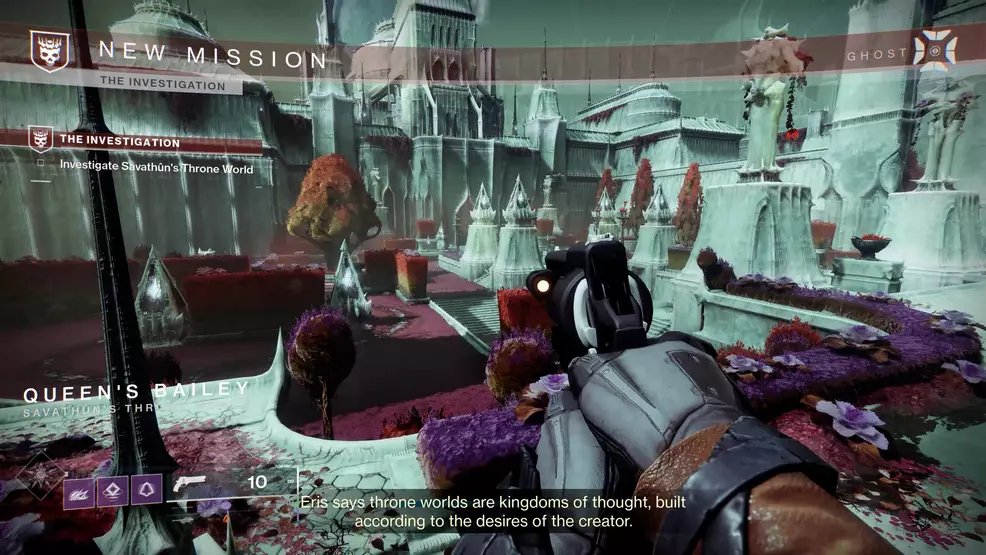
Mission: The Investigation
This is the second mission in The Witch Queen campaign and will task Guardians with traveling back to Savathun's Throne World and meeting up with a mysterious contact. Below you'll find help with every objective along the path.
- Recommended Power: 1360
- Power capped: 1350
- Modifiers: Mettle, Legendary, Chaff, Galvanized, Fire Pit
Objective: Investigate Savathun's Throne World
Your first objective takes place in a location you've encountered before called Queen's Bailey. Here you'll take on a couple of Knights before you are presented with a slightly tougher and more complicated foe.
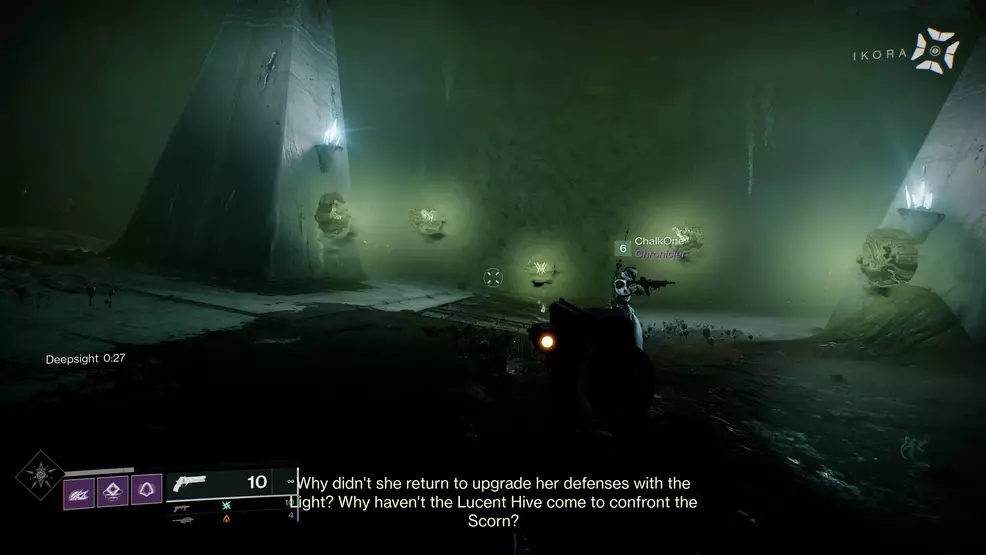
Objective: Defeat the Lucent Hive

The Lucent Hive is actually a Lightbearer Knight with a Ghost. You'll need to defeat this enemy, then approach its Ghost and press the Finisher input to crush it within your grasp. If you do not do this, the Lightbearer Knight will respawn, which is annoying and tells us how our enemies have felt for years.
Objective: Follow the Signal

You'll need to get through a door that you cannot open, but thankfully there is another path. There will be a little objective marker on a small anomaly. Approaching it will give you the option to Reveal an alternate path.
Once you do, you'll receive the Deepsight buff that will show you a route that will take you up and around the blocked door. You will continue to move through Savathun's Throne World, revealing more paths to gain the Deepsight buff as you go. There's a little bit of combat here and there, but mostly this section involves mini puzzles in the form of dark passages and paths that are hidden.
If you are ever unsure of the next path forward, simply bring up your Ghost to see your current objective and display a waypoint on your screen. After several minutes you'll emerge on the opposite side of the blocked door you originally faced.
Once you are on the other side of the blocked door, continue forward with the same objective. You'll be doing more fighting and working your way through Savathun's Throne World. This will lead you to the Florescent Canal, which will have two yellow-bar Blistered Knights. Once they are defeated you'll be given an updated objective.
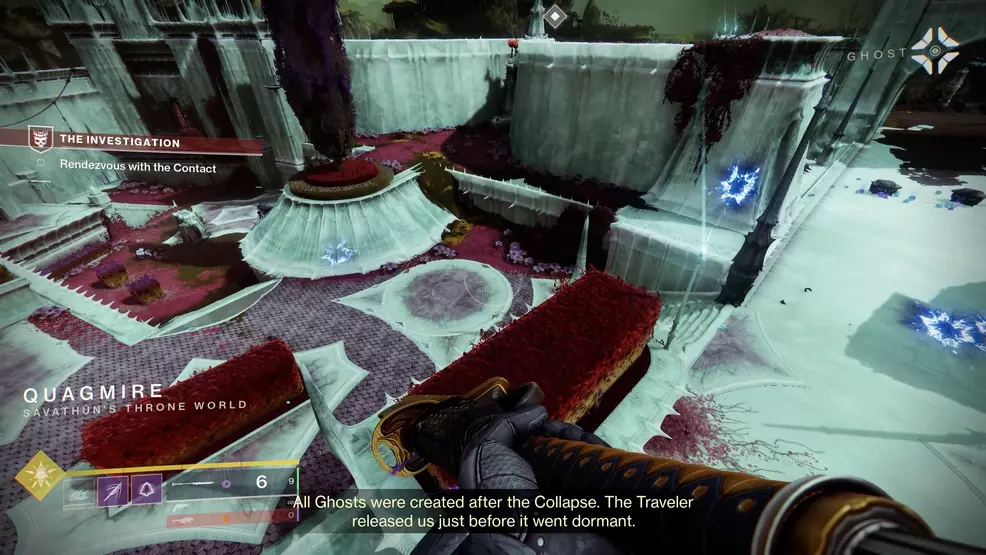
Objective: Rendezvous with the Contact
This objective is all about capturing the plate while surviving an onslaught of enemies. You must stand on the plate for progress to be made. The fight isn't too difficult to survive, but there's no use in keeping your Super or Heavy, so burn through them if you need to in order to survive.
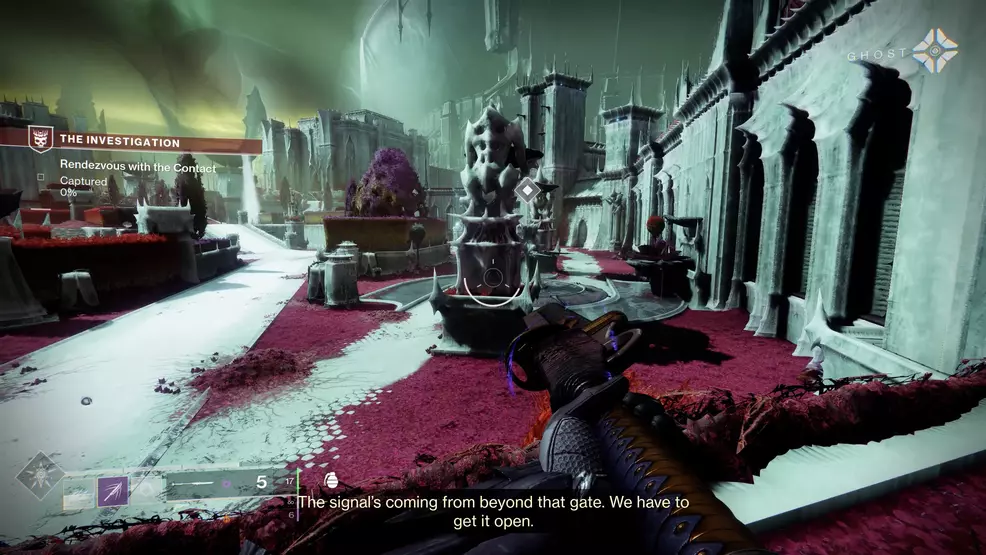
Objective: Escape the Fortress
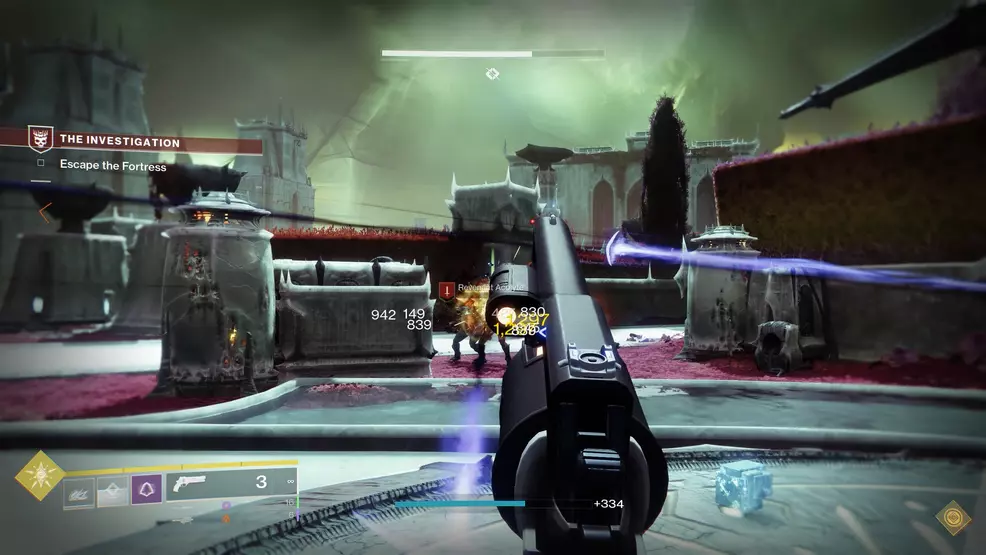
Don't stay and fight once you reach full progress on plate. Turn and run through the gate that was previously closed and guarded by those Blistered Knights a couple of objectives ago. Press forward until you see a whole bunch of Scorn waiting for you at the end of the Quagmire.
Objective: Rendezvous with the Contact
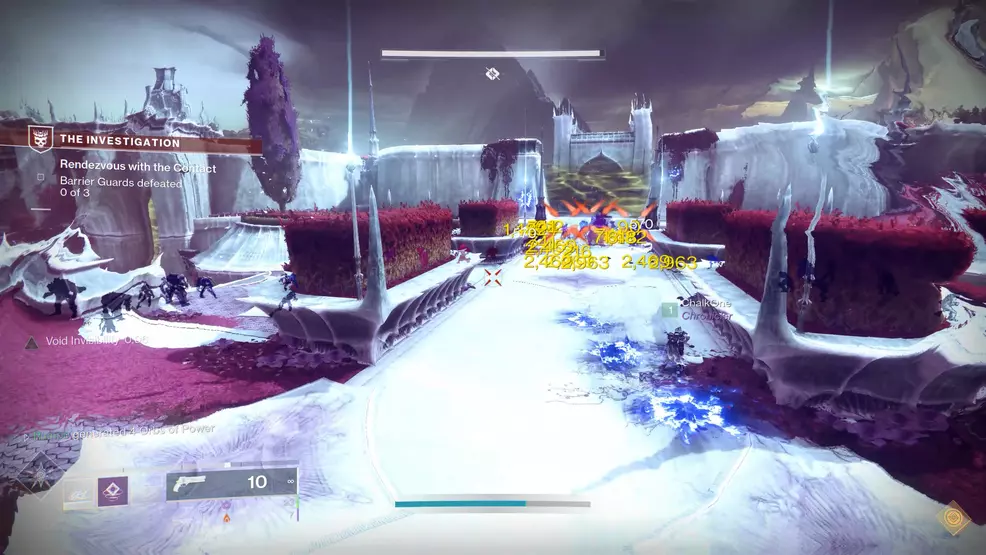
You're back to trying to meet up with the contact. The next obstacle in your path are three Barrier Guards, but there is a chance to drop a Campaign Banner/Raid Banner so you can max out your abilities and ammunition. These enemies don't have Ghosts so you can just nuke them. Just be sure to save some Heavy and Super for the fight after this one.
Objective: Defeat the Lucent Hive
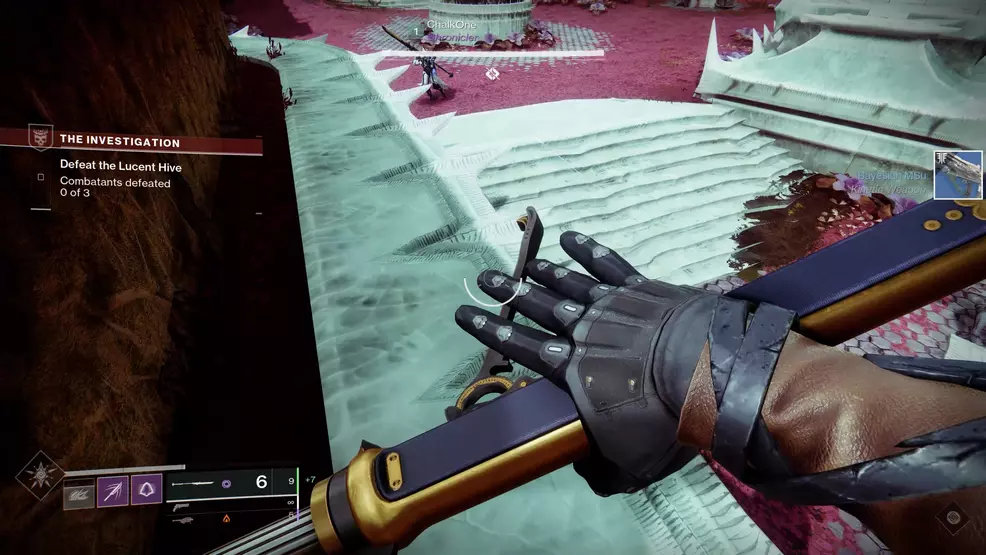
Once the first part of the fight is over you'll be faced with three Lucent Hive, which is a Lightbearer Wizard. This enemy does have Ghosts, so you'll need to defeat them, then approach their Ghosts and crush them with your hand. This is done with the Finisher button, but you also have to defeat more Barrier Guards at the same time. It's a fairly easy fight if you keep moving and use your Heavy and Super to crush the stronger enemies.
Objective: Rendezvous with the Contact
Once the fight is over, collect your rewards and get back on the path to meet your contact. There won't be any additional fighting in this mission, so just head forward and keep bringing up your Ghost for directions if you get lost. It's straightforward, though, so you should have no issues here.
Mission: The Ghosts
The Ghosts is the third mission in The Witch Queen campaign for Destiny 2. It's a bit of an escalation in difficulty, with a tough boss fight at the end, especially for Guardians on the Legend difficulty.
- Recommended Power: 1370
- Power capped: 1355
- Modifiers: Mettle, Legendary, Chaff, Galvanized, Fire Pit, Empath
Objective: Locate Savathun's Secrets

There aren't many objectives in this mission, but they do take several minutes to complete. The first is really just a way to ease players into the story of The Ghosts, so push forward until you encounter a bunch of Hive, including a Lightbearer Wizard.
Keep in mind that enemies labeled at Lightbearer have Ghosts which will need to be crushed after their Hive host is defeated. Once this is done you can push forward, bringing up your Ghost any time you're not certain of which direction you must travel.
This environment is quite dark by design, but you can illuminate the path by shooting the Hive Membranes you see attached to the walls and ceiling as you go. They don't stay lit up indefinitely but can be shot again to re-use them.
Objective: Locate Sagira
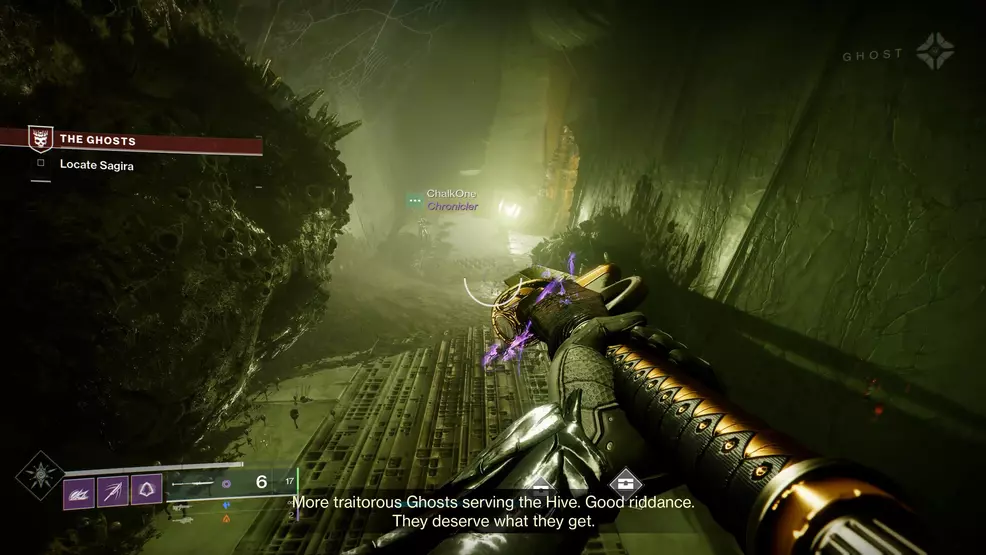
Once you're ready to push forward your objective will update with news that Sagira is nearby. You'll need to locate Osiris' Ghost, which involves more traversal through Savathun's Throne World and an encounter with a Scorn Walker.
Thankfully, there are Pikes nearby that you can use to deal damage to the Scorn Walker itself and any additional enemies. Shoot the legs of the Scorn Walker to cause its shell to open, allowing you clean shots at its core. You'll need to get close, though, as the Scorn Walker will deploy a shield when it is vulnerable to attack.
With the Scorn Walker down, continue with your objective to find Sagira. This will take you through a small detour that requires Deepsight and a little climbing. When you get to an area with a bunch of Scorn and you are given a mini objective for Crystals Destroyed, seek out the Shimmering Chieftan.
Defeating this enemy will make a nearby Crystal vulnerable, which you can then destroy to progress your objective. Once both Crystals are destroyed, the shield blocking your way forward (more like down) will disappear and you can hop down the hole.
Place another Campaign Banner/Raid Banner if you wish, then get ready for more of the same mechanics, except now you'll see various Hive symbols around the room. Each symbol actually has an area behind it with a Shimmering Chieftan.
Head back into each room, defeat the Shimmering Chieftan, and destroy the Crystal in that very same room. When you've killed three Shimmering Chieftans and destroyed three Crystals, return to the center room and shoot the Crystal there, then do a small amount of damage to the large Scorn enemy in the room. They will retreat, at which point you can hop down yet another hole for the final boss fight of the mission.
Objective: Defeat Brutiks, Lightbane
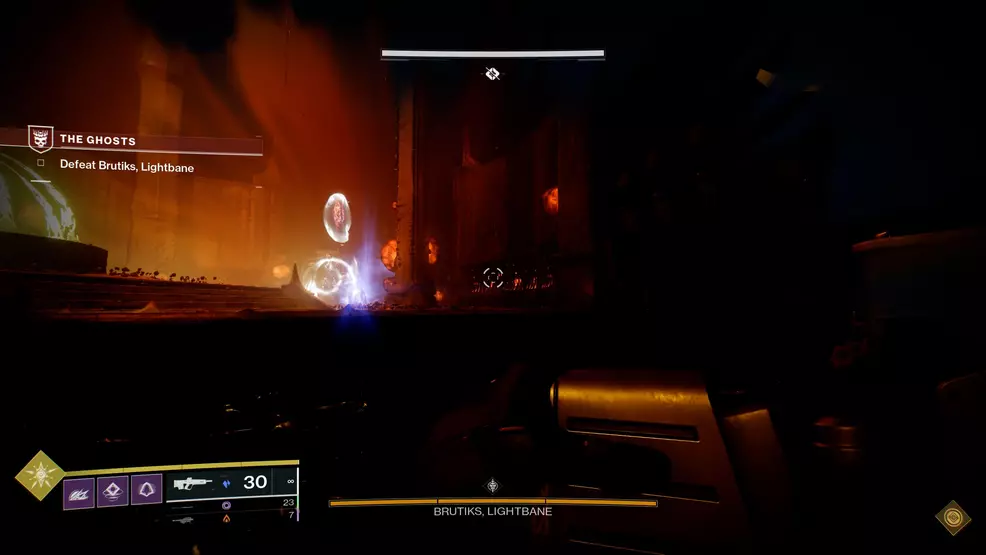
This can be a tricky fight on Legend difficulty, and Guardians will need to be aware that they have limited Revive Tokens. Once you revive any fireteam member once, you're out of tokens. Staying alive is essential on Legend. Get your subclass configured, choose your Heavy wisely, and then drop another Campaign Banner/Raid Banner.
The fight here is nearly identical to the previous encounter. Start by killing the Shimmering Chieftan walking around the center of the room. This will drop Brutiks, Lightbane's shield so you can begin to damage this Scorn foe.
Be mindful that you can only take one-third of the boss' damage in the first phase, so don't go crazy trying to burn this enemy in seconds. Once a third of Brutiks, Lightbane's health is gone, the mechanics change slightly but are similar to your previous encounter.
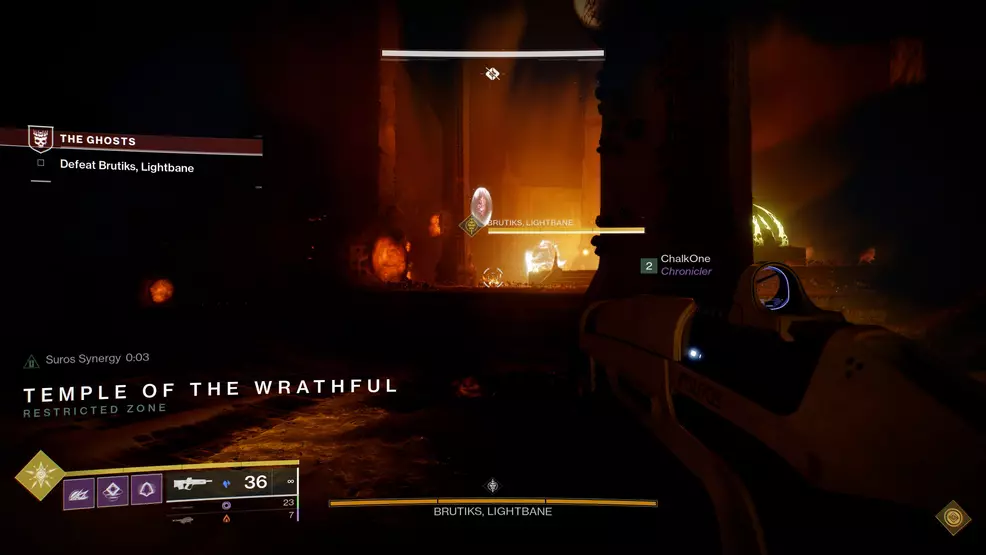
There are three rooms off the main area, and each one has a Hive symbol in front of the door. The boss cannot go into the room as long as the symbol is in place, so keep that in mind. Behind each Hive symbol is a Shimmering Chieftan with an elemental shield. One will be Solar, one Void, and one Arc.
Defeat the Shimmering Chieftan, then destroy the Crystal in that room. The boss can then enter the room, so leave and find the next. Once you have killed three Shimmering Chieftans and destroyed three Crystals, destroy a final Crystal in the main room. This will lower the boss' shield for a damage phase. Do one-third damage, causing the boss' shield to activate once more.
The third damage phase is triggered in the same manner as the second, so go to each of the three rooms, take out the Shimmering Chieftan and Crystal, then destroy the Crystal in the main room to lower the boss' shield. You can now kill the boss and finish the mission.
Mission: The Communion
The Communion is the fourth campaign mission for The Witch Queen in Destiny 2. It challenges Guardians with boarding a Pyramid ship and fighting through some Rogue Cabal to get answers. I'll leave the story details for you to discover upon completion but will help you with objectives along the way.
- Recommended Power: 1420
- Power capped: 1405
- Modifiers: Mettle, Legendary, Chaff, Galvanized
Objective: Reach the Pyramid
There's only one path to take to complete your objective, which truthfully could have been rolled into the next objective. Move forward and defeat any Cabal that block your path, listening for a transmission that explains why you're still fighting Cabal in the first place.
Objective: Enter the Pyramid
Continue forward, taking out any Cabal that stand in your path. You'll run into two Goliath Tanks, as well as loads of minions that can overwhelm you if you're not careful. Thankfully, the path is rather narrow, so as long as you use cover wisely the enemy should always be in front of you and easily managed.
Objective: Find the Darkness Statue
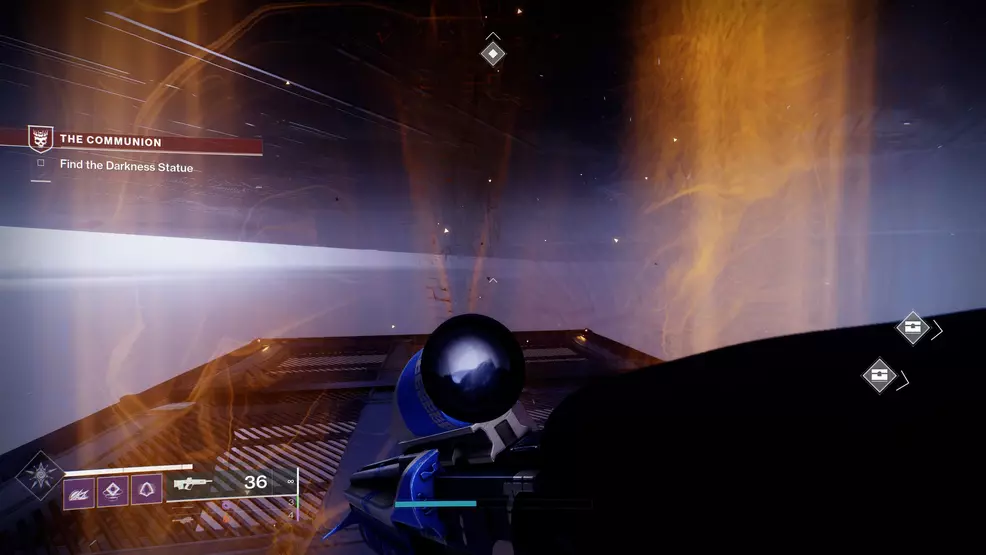
Once you've defeated enough Cabal and moved forward, your objective will change and ask you to Find the Darkness Statue. Jump into the lift to finally board the Pyramid Ship. A large portion of this mission will be your exploration, with a few pockets of Cabal along the way.
Remember to keep your Ghost handy if you lose your sense of direction and need a refresher on the way forward. The path through the ship will involve lots of platforms forming out of nowhere and sneaking through side paths. You'll actually get several notifications of new objectives, but they are all the same. You're just moving forward and killing enemies.
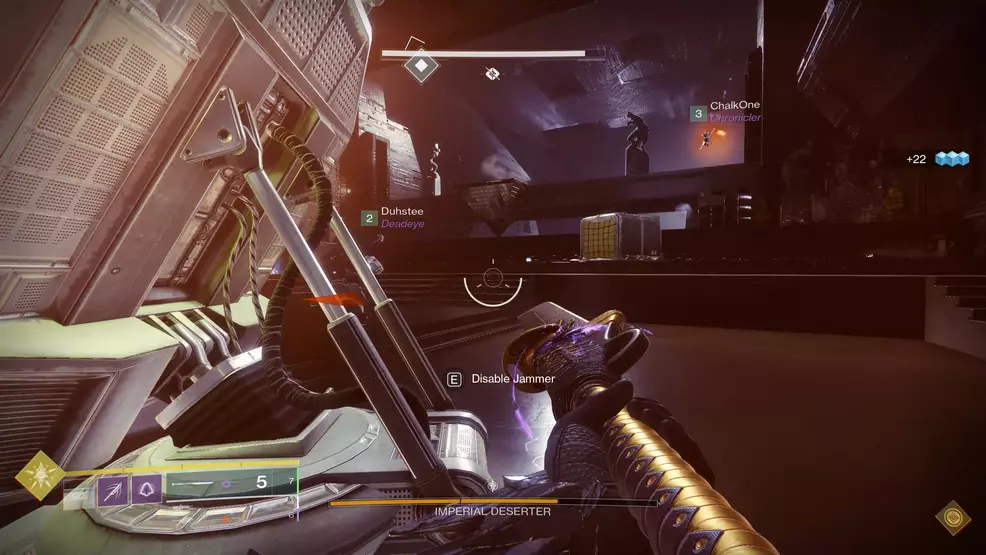
The exception to the standard exploration with occasional fighting routine occurs when you meet the Imperial Deserter, a boss that teaches you this mission's main mechanic. This boss will have three sections to their health bar and, to lower their shield and enter a damage phase, players must find a console in the room.
When you approach it will give you the option to Disable Jammer, which you should do. This will lower the boss' shield and allow you to take another third of its health off through damage. When the boss finally goes down, continue forward with this objective until you get to the final room.
Objective: Disable Cabal Devices
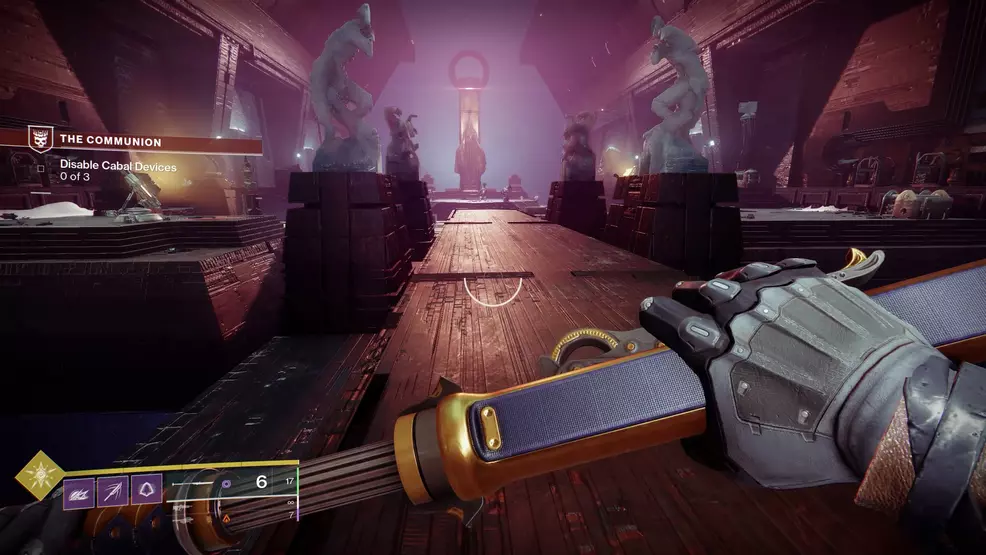
Once you enter the main boss room you'll find the mechanics are the same as with the Imperial Deserter. This time, however, you'll need to disable three devices. Once you disable all three, the boss will spawn and you'll be able to remove one-third of its health during a damage phase.
After a third of health has been removed, its shields will return and you'll once again have to disable the three devices. Defeating the boss requires completing this process three times. The final time you disable the devices you'll be able to kill the boss and collect your rewards.
Objective: Commune with Darkness
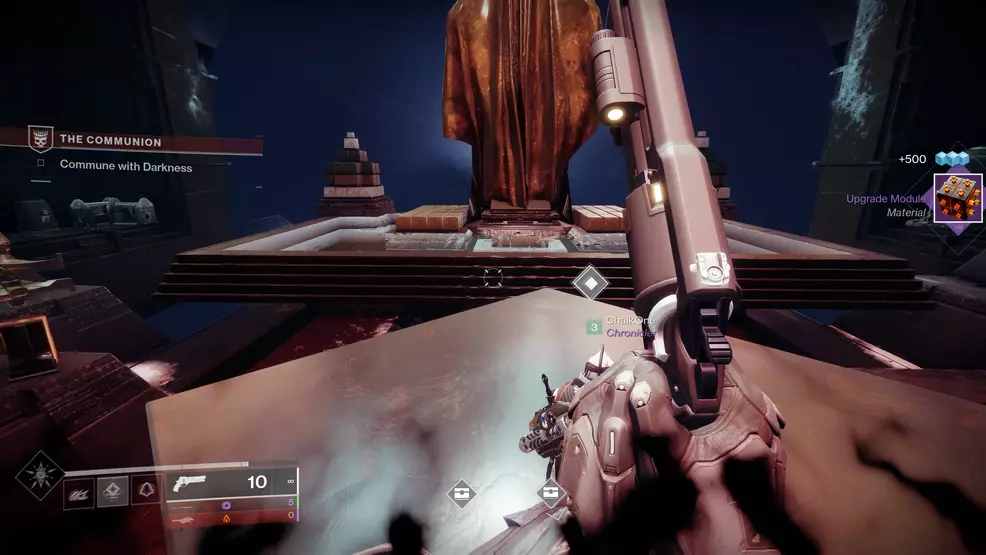
The final objective is simply to stand on a fancy platform and let things play out. You'll talk to Eris and that's about it. When you're done listening, the mission will end and it's on to the next, Guardian.
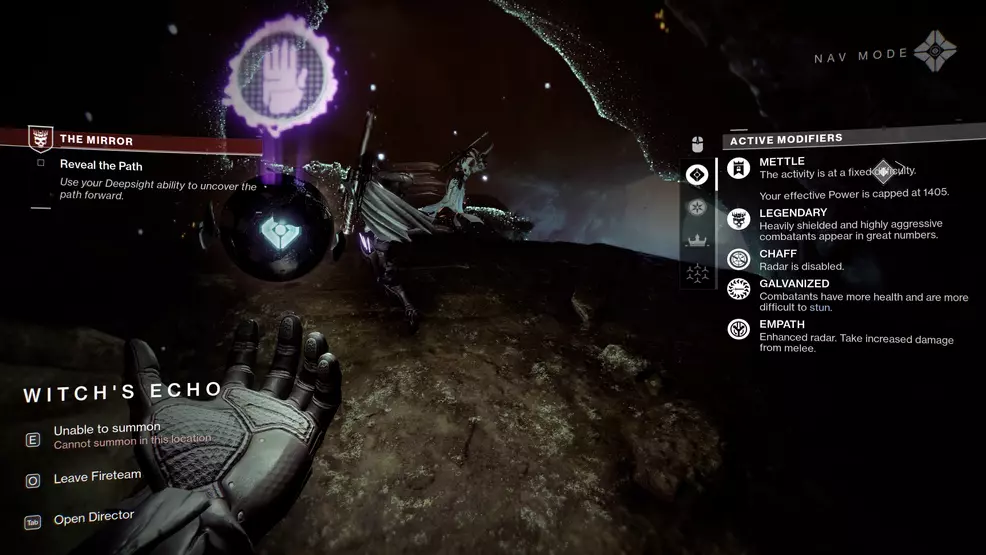
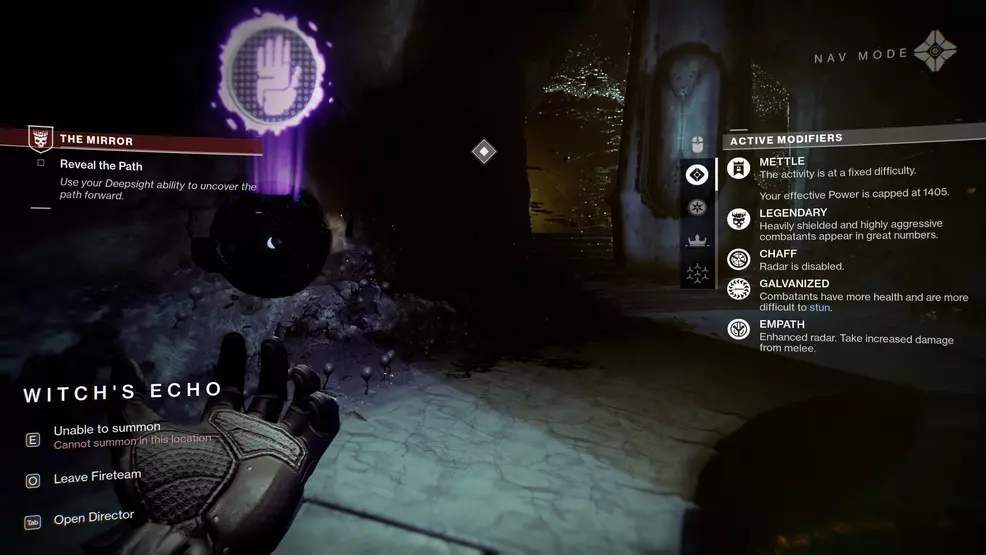
Mission: The Mirror
The Mirror is the fifth mission in The Witch Queen campaign in Destiny 2: Season of the Risen. The walkthrough below will help you make your way through the objectives and defeat the final boss.
- Recommended Power: 1420
- Power capped: 1405
- Modifiers: Mettle, Legendary, Chaff, Galvanized, Empath
Objective: Locate the Psychic Concentration
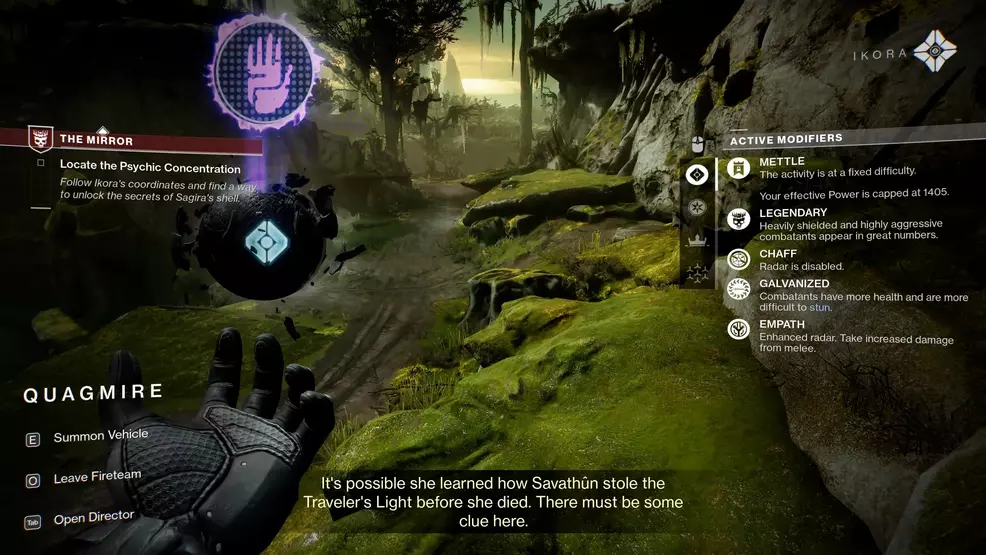
Hop on your Sparrow and move forward along the path, keeping your waypoint in mind. It will lead you to a group of Scorn and will quickly update your objective when you begin to tussle with them.
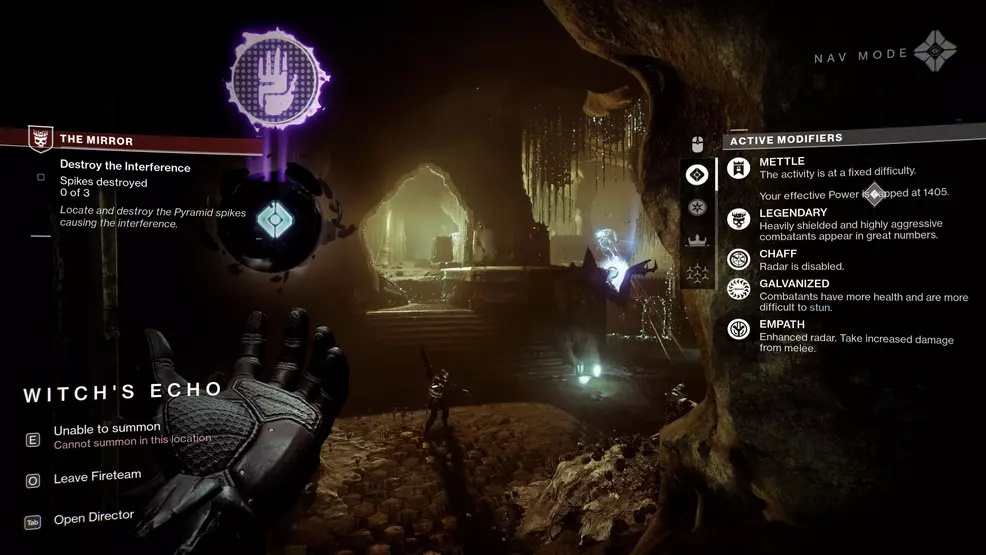
Objective: Destroy the Interference
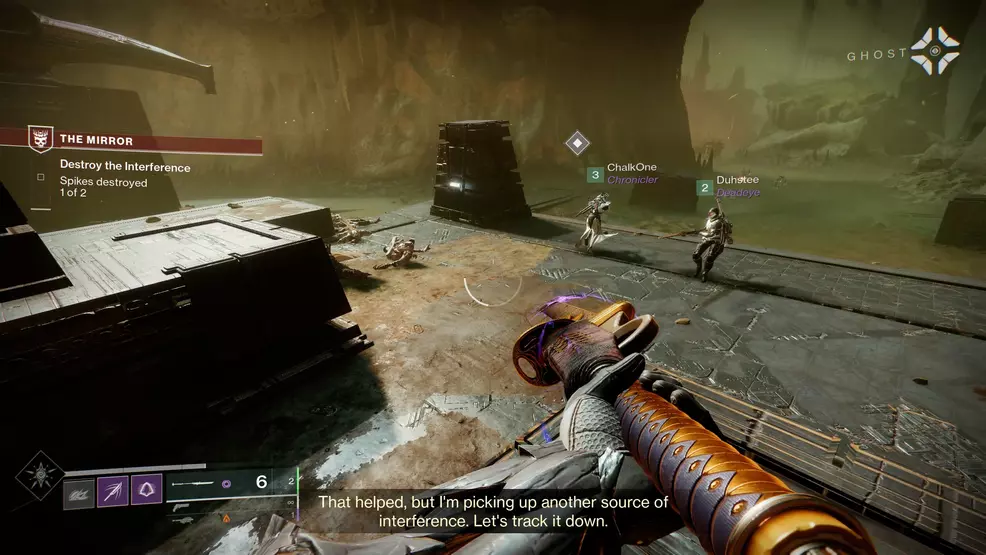
The interference is really just two Spikes that are found in Savathun's Throne World. Once you take out the Scorn in the first area, you can shoot the Spike to destroy it. Bring up your Ghost to find the location of the second Spike, then head that way and destroy that one too. This will lower a barrier and allow you to progress forward to Witch's Echo.
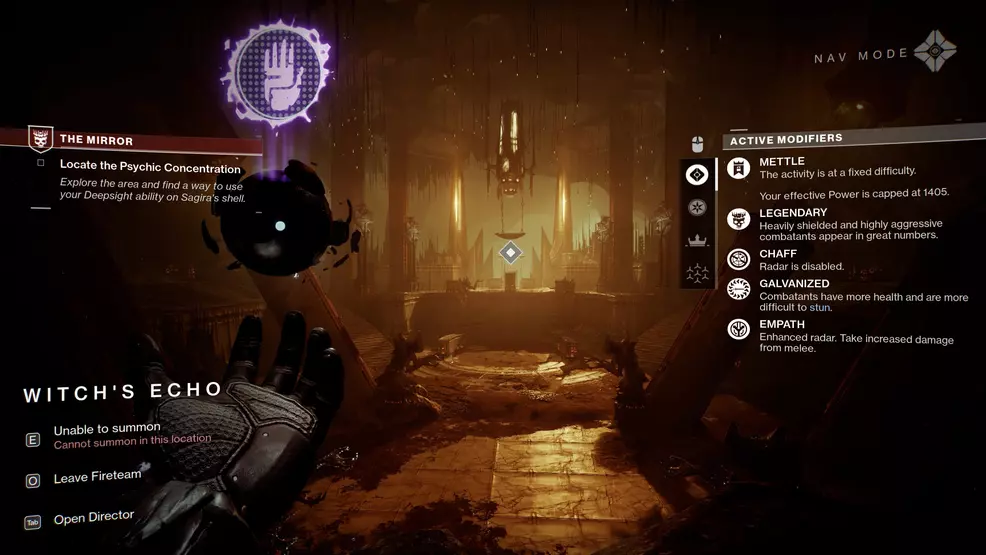
Objective: Locate the Psychic Concentration
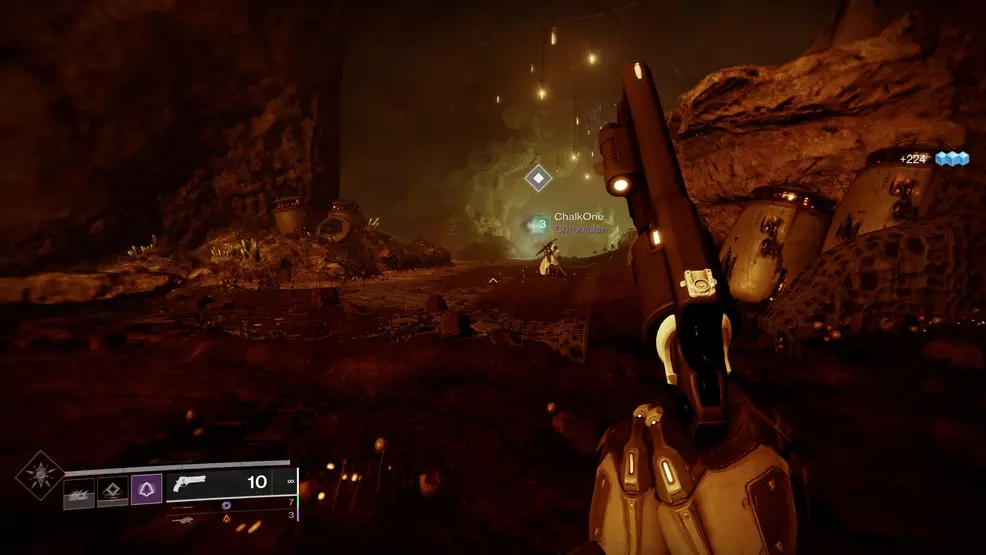
As you move through Savathun's Throne World you'll begin to encounter lots of Scorn and a few mechanics you've seen before, plus a new one. You'll need to use the Reveal option multiple times in this mission to gain the Deepsight buff, showing you a path that is otherwise hidden.
You will often need to use Deepsight to gain access to Spikes, which you'll then destroy to unlock doors and continue moving forward. Deepsight can also reveal evidence to help you find a Spike, including claw marks on a wall or footprints on the ground.
Objective: Reveal the Path
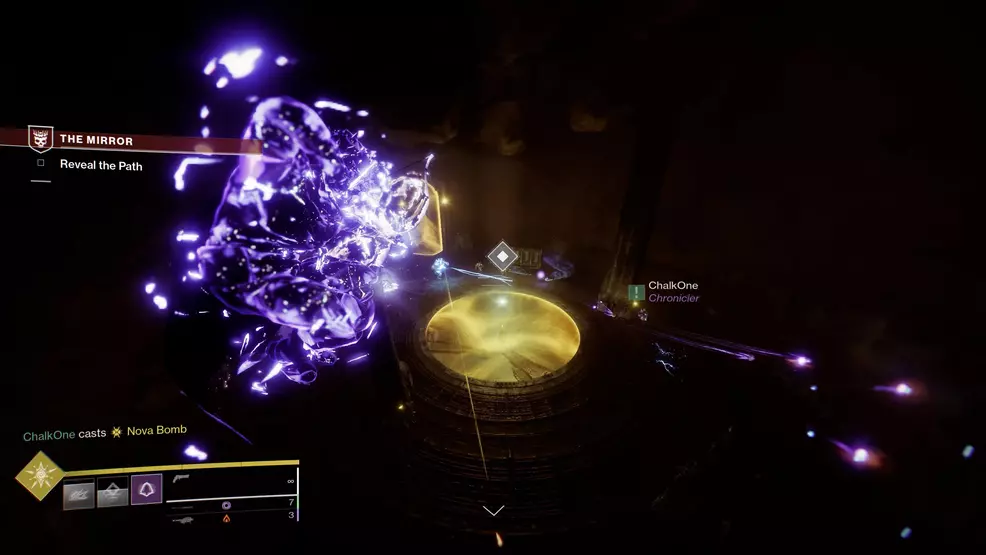
Once you enter a round room a bunch of Scorn will spawn. They are easily defeated if you hit them with a Super or two and some Heavy Weapons, at which point you can Reveal the path using your Deepsight.
This will take you on a bit of a jumping puzzle as you sneak out of that room using an opening to your left when you're facing the blocked door. You'll have to refresh your Deepsight as you go, jumping up and around until you find a bunch more Scorn.
Objective: Destroy the Interference
Once you reach the end of the jumping puzzle that takes you around some ledges, it's time to fight more Scorn. Defeat those that spawn in, then take note of a Spike that's sitting behind a short pillar. Destroy the Spike and the door that was blocked will now be open, allowing you to push forward.
Objective: Reveal the Path
The game tells you this is a fresh objective, but Reveal the Path is pretty much just the time between fights. Continue forward and Reveal any hidden paths by using Deepsight, and once your objective updates you'll be back to dealing with Spikes and blocked doors.
Objective: Destroy the Interference

This time around there are two Spikes that need to be destroyed. You'll start by gaining the Deepsight buff in the main room, then taking one of the paths to find and destroy a Spike. Return to the main room and refresh your Deepsight, then head along the next path to take out the second Spike. You can then return to the main room to find the door that was previously blocked off open. Head through the door, since you really have no other option.
Objective: Reveal the Path
Continue forward in the only direction you can until your objective updates, about the same time that you find a bunch of Scorn spawning in a new room.
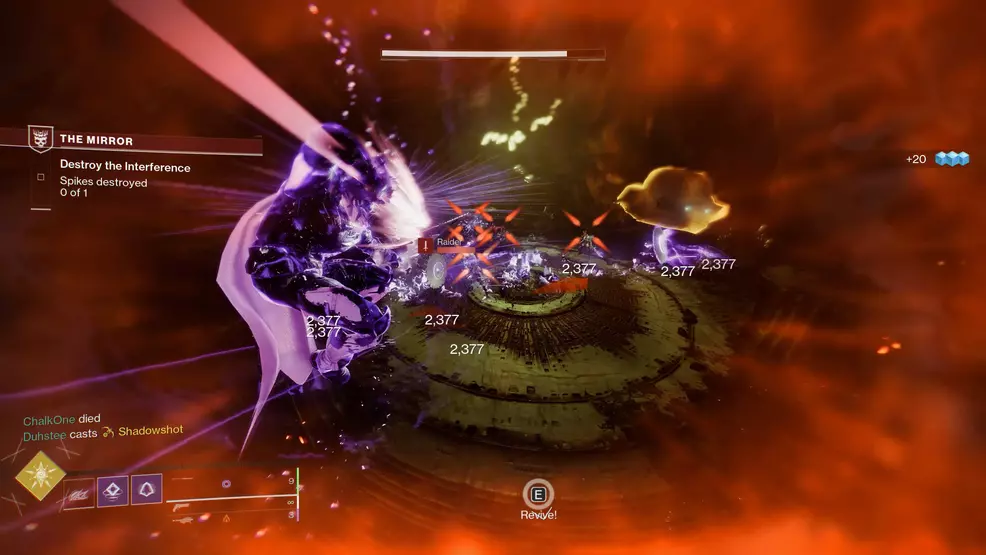
Objective: Destroy the Interference
This room is a bit trickier than the previous rooms as there are three Spikes hidden. You'll need to use the Deepsight buff hidden in the middle of the room on the lower level. The key here is to keep an eye out for evidence while you have the buff, such as footprints on the ground, claw marks on the wall, or even a statue pointing towards the correct path.
Once you have destroyed all three Spikes, you can go through the now open door and into the next room. There will be one more Spike in here that you can destroy, opening one last door that leads to the room with the final boss.
Objective: Locate the Psychic Concentration
This is the encounter with the final boss of The Mirror campaign mission, Skirvaa, Abhorred Chieftain. There aren't any fancy mechanics here, as you're able to deal constant damage to the boss without having to stop to lower a shield.
The kicker is this boss is great at shielding itself, so you'll need to destroy the elemental anchors it tosses around the room. On Legend, the enemies hit quite hard, often taking out members of my fireteam in one or two hits. Legend also restricts each Guardian to a single Revive Token, so staying alive is the top priority.
You have all the time in the world to defeat the boss, and there are pools of Light around the room to refresh your Super quite frequently. Stay safe at the top of the room, clean up all the ads when they spawn, and deal damage when things have calmed down. Repeat this until the boss is dead.
Objective: Align the Rune
Once the boss is dead, go collect your rewards and then look up. You'll see what I like to call a bowl suspended from the ceiling. Jump into that bowl and you'll spot a Hive Rune on the floor. From that angle, you can align it to open the path forward. Head along the narrow bridge to the now open portal and jump through.
Objective: Unveil the Memory

Keep moving along and hopping through portals until you can Reveal Memory. This is the end of the mission and all you need to do from here is enjoy the cinematic. Once you're out of the mission, you can head back to Fynch in the Throne World to get your next mission.
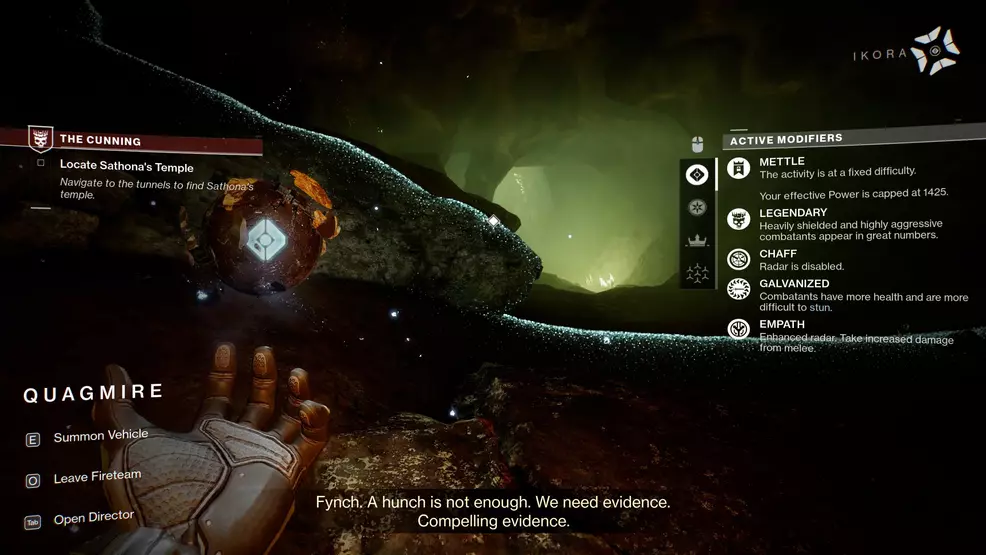
Mission: The Cunning
The Cunning is the fifth mission in The Witch Queen campaign and will take Guardians to one of Savathun's temples, which is dedicated to herself before she was a Hive god and was known as Sathona.
- Recommended Power: 1440
- Power capped: 1425
- Modifiers: Mettle, Legendary, Chaff, Galvanized, Empath
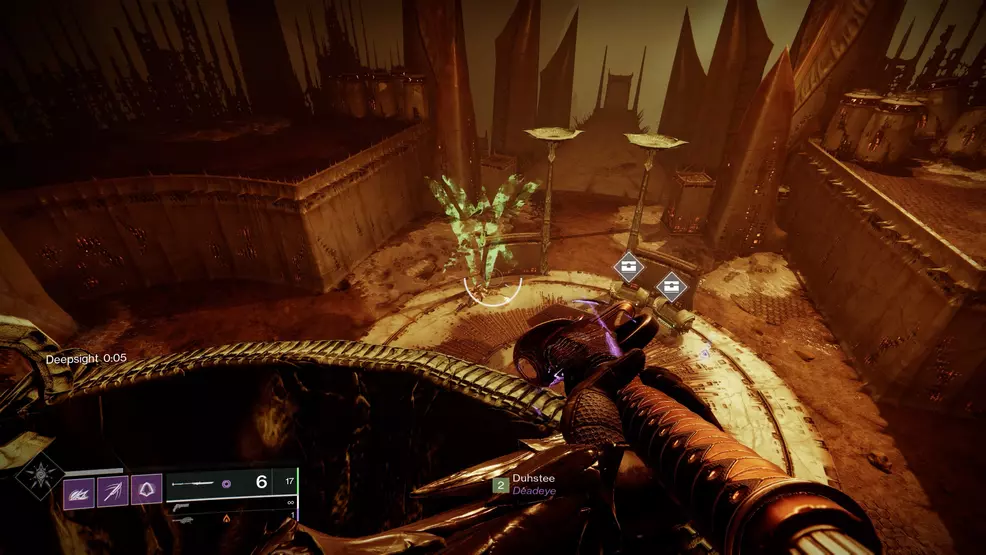
Objective: Locate Sathona's Temple
The first objective will dominate most of this mission, asking Guardians to navigate the Hive halls leading to Savathun's (Sathona's) temple. Move forward, bringing up your Ghost if you aren't sure which direction to go, and defeat the foes in front of you. When you reach a point where you can use a Campaign Banner/Raid Banner, drop one down and get ready for a fight against some Scorn. You'll have lots of little enemies, and at least two Invasive Abominations. These fools can take quite a bit of damage, but it's nothing a couple of Supers and rockets can't fix.
Objective: Continue the Descent
Once you collect your first bit of loot, continue forward and your objective will soon update and ask you to Continue the Descent. You'll spend the next few minutes using the Reveal prompt on illusions to gain Deepsight, and on several occasions, you'll need to shoot nearby Hive symbols to open doors. The first example of this is right after your first loot chest. The symbols in this instance are easy to spot, and shooting each one will open a nearby door. As you continue forward, the symbols are often hidden, but there are signs that hint at their location. Look for footprints or scratch marks on the wall. If you fail to shoot at the symbols before your Deepsight fades, just refresh it at the illusion and try again.
Soon you'll come to the end of a bridge. The temple you're headed for is in the distance, so hop down and start using the mechanics you just learned to unlock the path forward. There will be pockets of enemies here and there, but nothing too crazy that you can't handle them with some patience. You'll eventually arrive at the temple, which means boss fight time.
Objective: Defeat the Warden
The Warden in this case is Termiiks, Invasive Warrant. This Scorn foe can mess you up fast, and the area you're fighting in seems short on places to hide. I suggest moving to the far back right corner from where you entered the temple. You'll be able to hide in the corner of the map with only two ways for enemies to reach you. A fireteam of three should be able to defend this area easily, but it's even doable with two or even solo. Just ensure someone is always watching each direction so the Scorn doesn't sneak up on you. Whether by luck or design, the Warden never ventured back to this location and my fireteam was able to take its time in defeating them.
Objective: Acquire the Worm Familiar
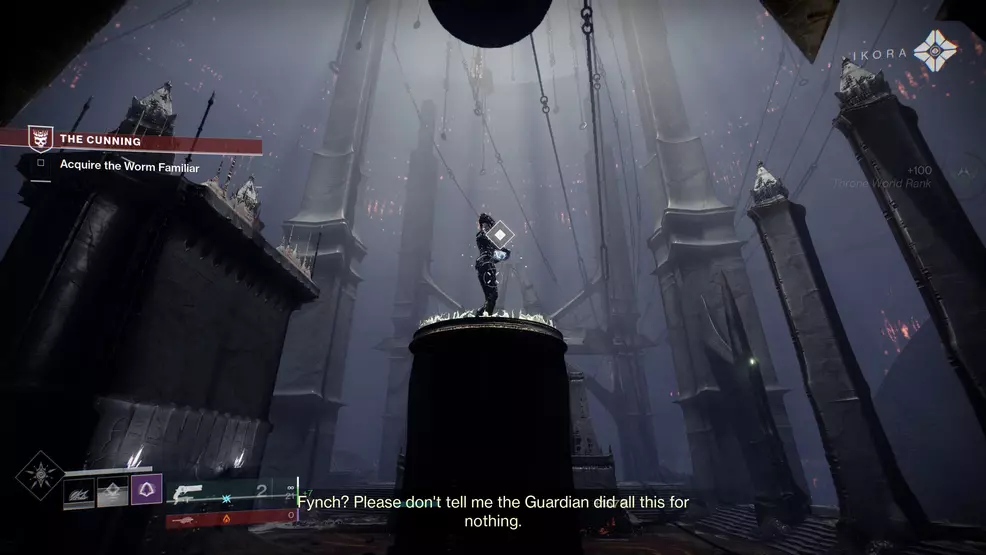
This objective is much more relaxed than the last. Simply use Deepsight to spot the path up, then also to defeat the locks guarding the statue. When the path is clear, hop over to the platform and grab the Worm Familiar. It's at this point that you'll get a new objective.
Objective: Outlast the Illusion
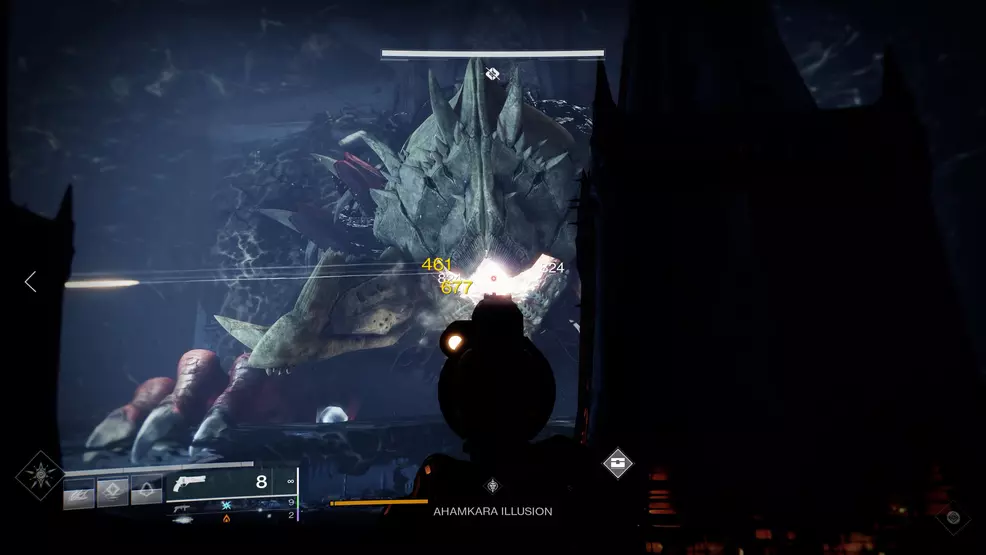
If you're on Legend difficulty, keep in mind you still have to manage your Revive Tokens. Stay back and don't die. In fact, use your Super and Heavy ammunition to take out any ads that spawn, and chip away at the Ahamkara with whatever weapons you have left. Note that you can damage the Ahamkara by shooting into its mouth just after it spits at you. Work on the timing of taking cover when it spits, then popping out to do some damage before it closes its mouth again. Note that the Ahamkara illusion has a sliver of health sectioned off on its health bar, and be ready to deal damage during its last stand.
Objective: Escape the Caldera
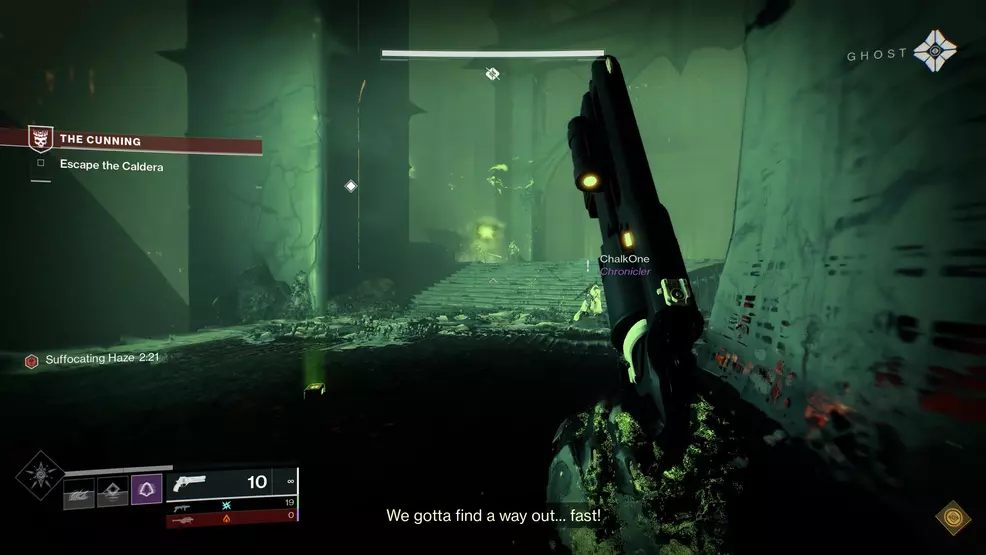
Time to run, Guardian. Note that to the Ahamkara's right is an illusion that you can Reveal, which will form the stairway you can use to begin your escape. Keep an eye on your objective marker, and keep moving. When you get a chance to grab a Pike, do so and keep the gas and gun hammered down. Do not be afraid to hop off the Pike as you take damage, as death is almost certain if the Pike explodes with you on it. You can pick up new Pikes along the path, so no big deal if you lose one. You still have Revive Tokens here on Legend Difficulty, so you can't simply die repeatedly. You need to survive. Once you go up a final lift, collect your loot and enjoy the end of the mission.
Mission: The Last Chance
The Last Chance is the second to last mission in The Witch Queen Campaign of Destiny 2. Players will be in for a tough fight on Legend difficulty, with limited revives and capped Power levels. It's doable, though, so let's get started.
- Recommended Power: 1490
- Power capped: 1475
- Modifiers: Mettle, Legendary, Chaff, Galvanized, Fire Pit
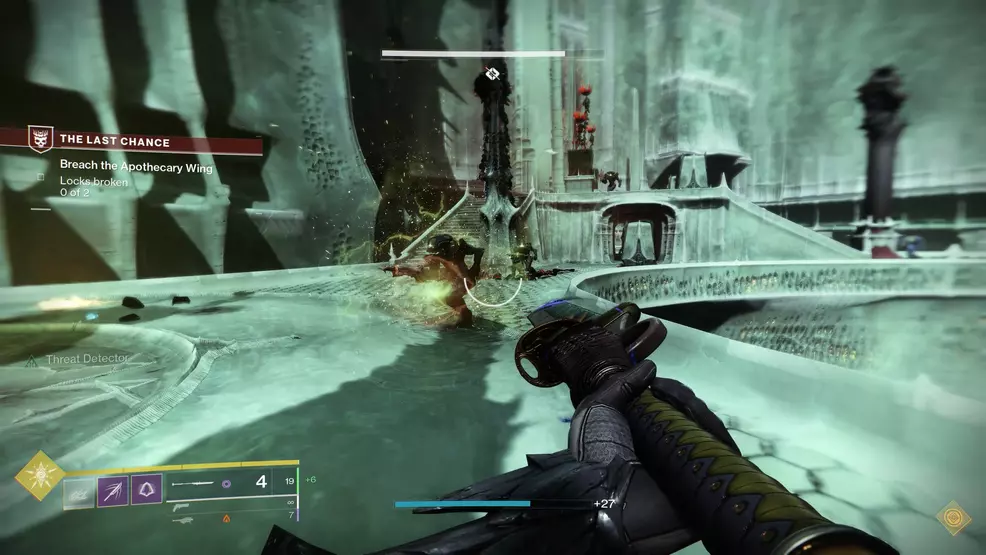
Objective: Breach the Apothecary Wing
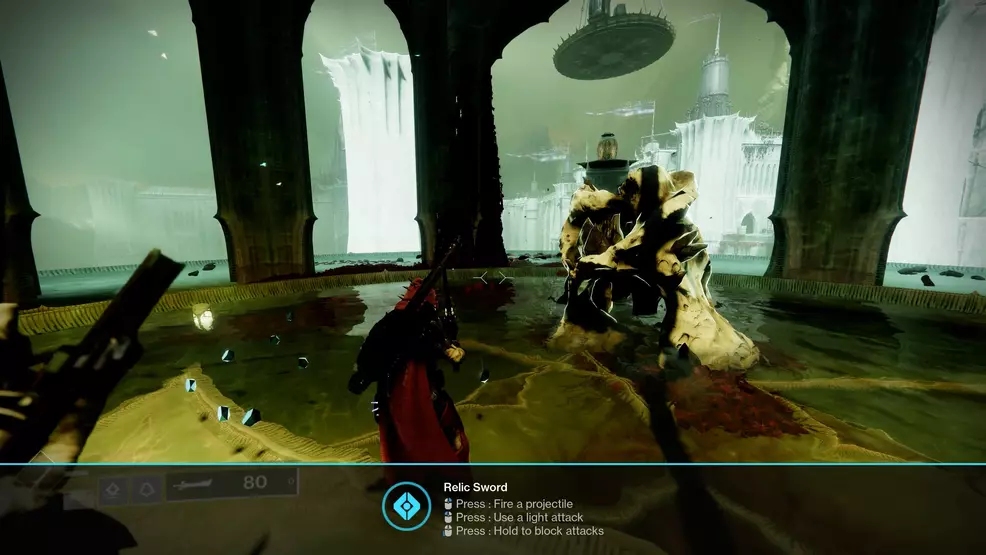
Players should head along the path and listen to some story details from Eris. There will be some jumping and a bit of fighting, but the main thing you're looking for in the opening moments of this quest is the go-to mechanic that you'll use throughout its duration. In this case, players will face several Lucent Swordbearer enemies. When they die, these foes will drop a Relic Sword, which can then be used to destroy Hive goop. I'm sure it has a real name, but I don't know what that is, so look for Hive goop to destroy each time you pick up a Relic Sword. In this case, the goop will be right in front of you. This will uncover an illusion that you can then use to Reveal the path forward.
This objective will dominate most of the mission, and the mechanics remain the same throughout. Continue to kill Lucent Swordbearers when you find them. Smash open Hive "locks" once you have the Relic Sword. Reveal paths forward and continue to follow the waypoint on your screen when you bring up your Ghost. Once you reach a point where you can deploy a Campaign Banner/Raid Banner, do so and be ready to fight. You'll be facing off against a Lightbearer Acolyte who has Blade Barrage and is using hacks based on how frequently they Super. Once your foe is down, destroy their Ghost and collect your rewards from the nearby chests.
Soon you'll be placing another Campaign Banner/Raid Banner, and then you're in for a tough fight on Legend difficulty. You'll need to kill two Lucent Swordbearers, and several other strong enemies. You have Revive Tokens here on Legend, so don't go throwing your life away. Take it slow and push forward with a plan. Keep in mind that the enemies can spawn behind you as you go. Once both locks are broken, you can clean up any leftover enemies and one giant Wizard, then continue on to collect another bit of loot.
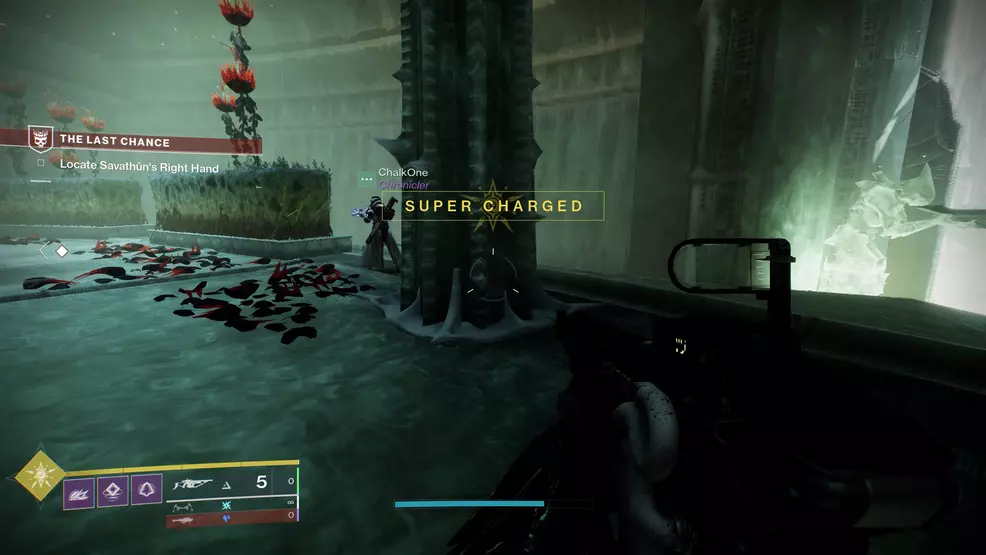
Objective: Locate Savathun's Right Hand
Fight your way forward and through the narrow halls of the Apothecary, looking for Savathun's angry Wizard friend. You'll kill more Lucent Swordbearers, Reveal more paths, and fight your way to the final boss. Feel free to use all your abilities and Heavy ammo during these next few moments, as you'll get the chance to refresh all of that before the final battle.
Objective: Defeat Savathun's Right Hand
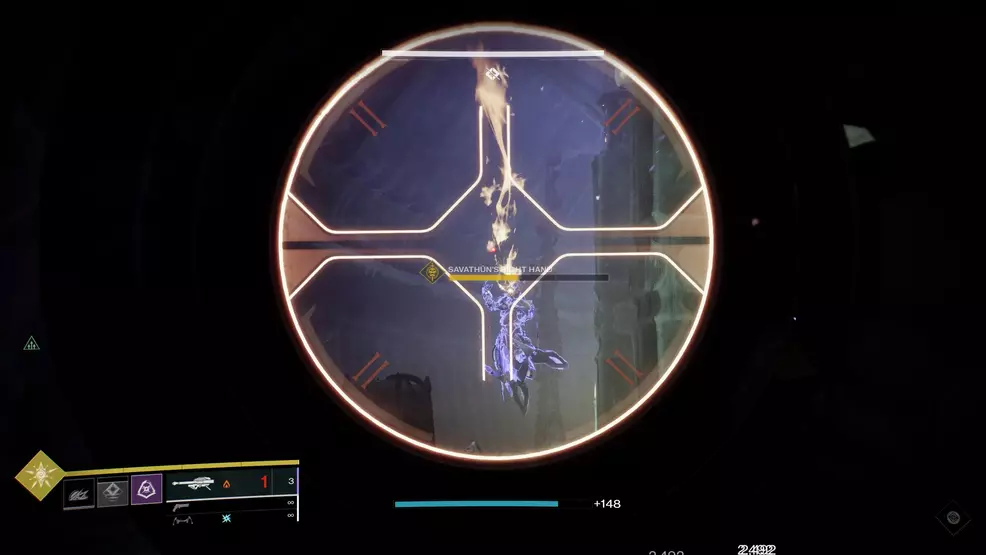
Savathun's right hand is a Wizard that can be defeated through three damage phases. In each phase, Guardians can take a third of their health away, but must then clear the room and defeat a Lucent Swordbearer to open the path to the next phase. There are Lucent enemies with Ghosts during this fight, including the boss, so don't forget to crush any Hive Ghosts with your Finisher input after you take them down.
Gjallarhorn works well here, so do bust that out if you have it, or get your own Gjallarhorn if you don't already have it. I was able to knock the boss out of each room with a couple of rounds from everyone's favorite Rocket Launcher and made good use of my Shadowshot Super to take care of the minions that can overwhelm you. On Legend, there are Revive Tokens in play, so you can't die much. Stay at the back of the room with your team and hit the boss hard at the start of each phase, pushing them to the next room and leaving you some time to clear the remaining forces out. When the boss falls, crush their Ghost and collect your loot. On to the last mission, Guardian.
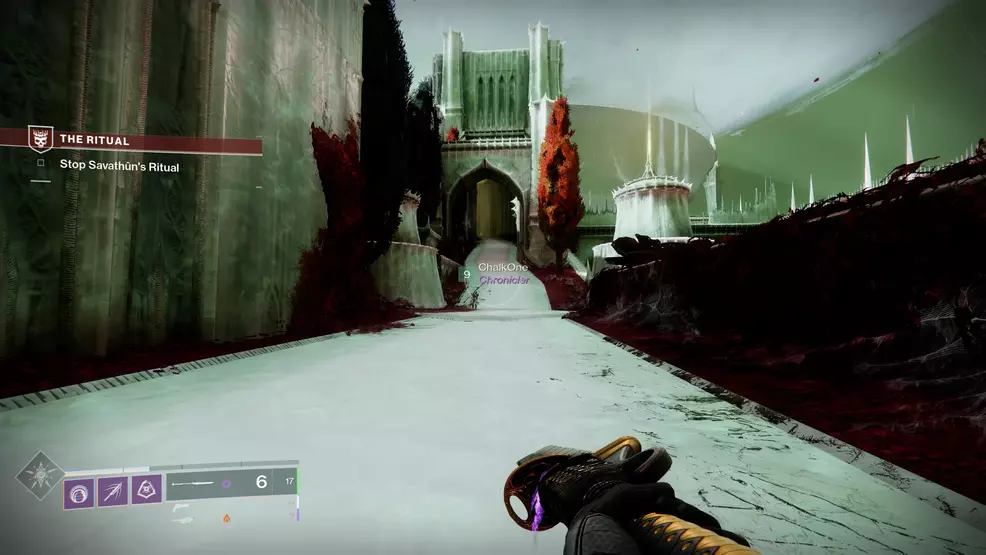
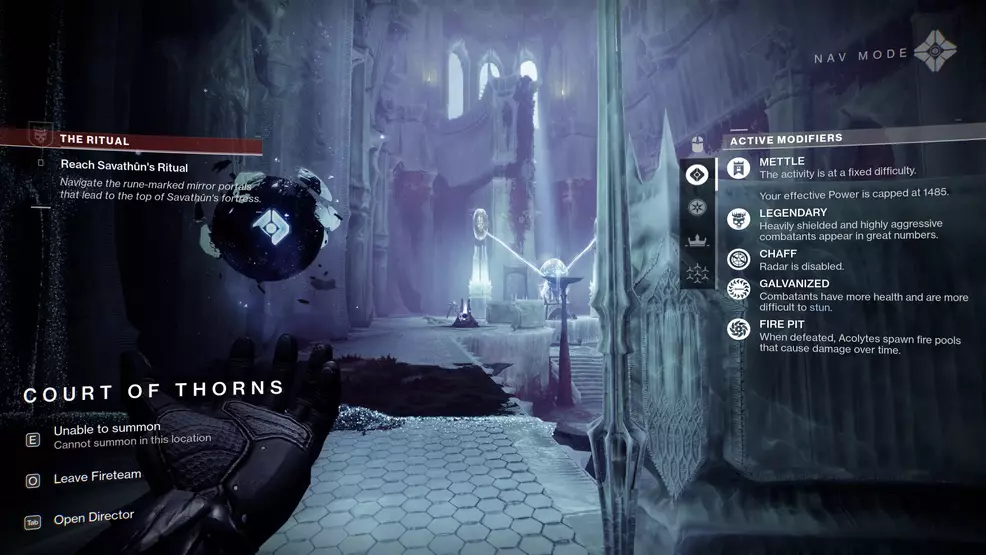
Mission: The Ritual
The Ritual is the final mission of the The Witch Queen campaign and will be quite the challenge for Guardians who opt for Legend mode. Let's dive right in and get started.
- Recommended Power: 1500
- Power capped: 1485
- Modifiers: Mettle, Legendary, Chaff, Galvanized, Fire Pit
Objective: Storm the Fortress
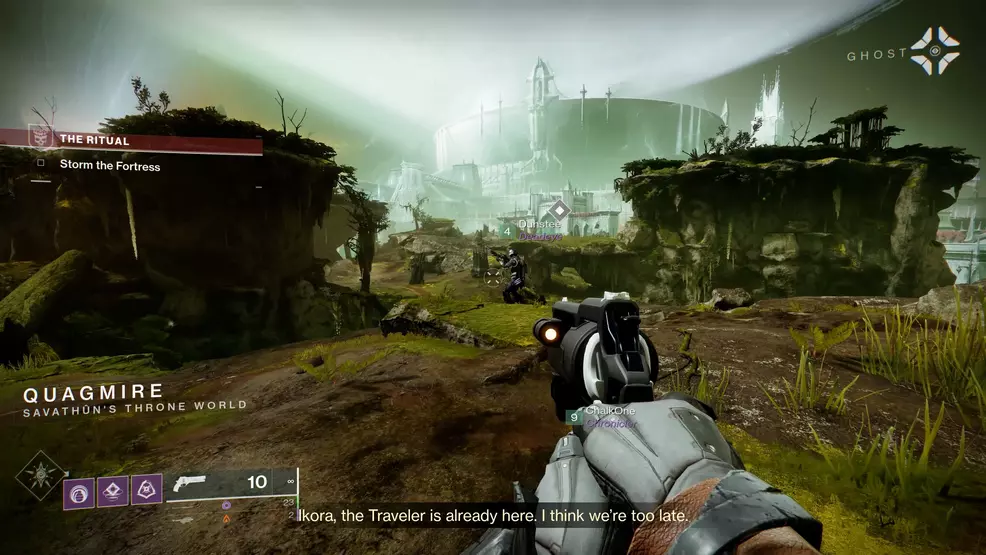
The first objective of the mission is quite simple and only requires you to follow the waypoint. Just bring up your Ghost if you get lost, but there isn't much to do. You can drive past enemies here, and there's lots of fight ahead, so don't get bogged down shooting at things you don't need to.
Objective: Stop Savathûn’s Ritual
Your quest will soon update and ask you to stop Savathûn’s ritual. Nothing really changes here, so just keep moving along until you reach the portal that Ikora is speaking about. When you arrive at the portal, defeat the Scorn and Hive. Spare nobody.
With the portal open it's time to head inside. Make your way forward until you're back outside and on a long bridge. There will be Hive to fight here, so use the cover wisely and take them out. There will be a second wave of enemies that includes a Lightbearer Acolyte, and this foe has a Ghost. Take out the Acolyte, then destroy its Ghost and head back inside.
Objective: Reach Savathûn’s Ritual
Head up the stairs and note that you can place a Campaign Banner/Raid Banner to refresh your abilities and ammunition. Do this, then get ready for quite a bit of fighting and little puzzle solving. Note that Legend difficulty includes Revive Tokens here, so you need to stay alive.
From your perch at the top, you will see two rooms on your left and right that are blocked off. You need to get inside these, but to do so you must go down first. Before you jump, note that there are side areas to the left and right of the main room below you. Each one of these rooms will contain a Blistered Wizard. Defeating the Wizard (you should kill everything in the entire room) will activate a door with three symbols above it. You must take note of these symbols as you'll need to remember them in a few minutes. You'll also need to note that in the main room below you is a shielded Lightbearer Wizard and two shielded Crystals. The goal is to unshield and destroy the Crystals, then defeat the Lightbearer Wizard and destroy its Ghost.
Hop down and take your fireteam into one of the side areas. Defeat all the enemies in that area, including the Blistered Wizard. Take note of the symbols above the door, then go through the door, which will transport you to the upper level. Now your goal is to clear out the entire upper area, which consists of three Crystals spread throughout several rooms. As you clear out foes, you'll unshield Crystals that you can then destroy. Once you destroy three Crystals you will activate several doors with Hive symbols above them. You must go through the door that matches the symbols from when you killed the Blistered Wizard on the ground level. This will teleport you into one of the side rooms beside the Campaign Banner/Raid Banner. Pick up the Void Charge, drop down to the main level, and deposit the Void Charge to unshield one of the Crystals shielding the Lightbearer Wizard in the main room. This entire process must be repeated twice to remove the shield over both Crystals, at which point you destroy them and then defeat the Lightbearer Wizard and its Ghost.
When the fight is over, collect your loot and hop onto the nearby lift to go up. You'll have another decent fight in front of you, but it's straightforward compared to what you just did. Eliminate the Hive, the hop into the nearby lift and take another ride up. This entire time has been about going higher, Guardian.
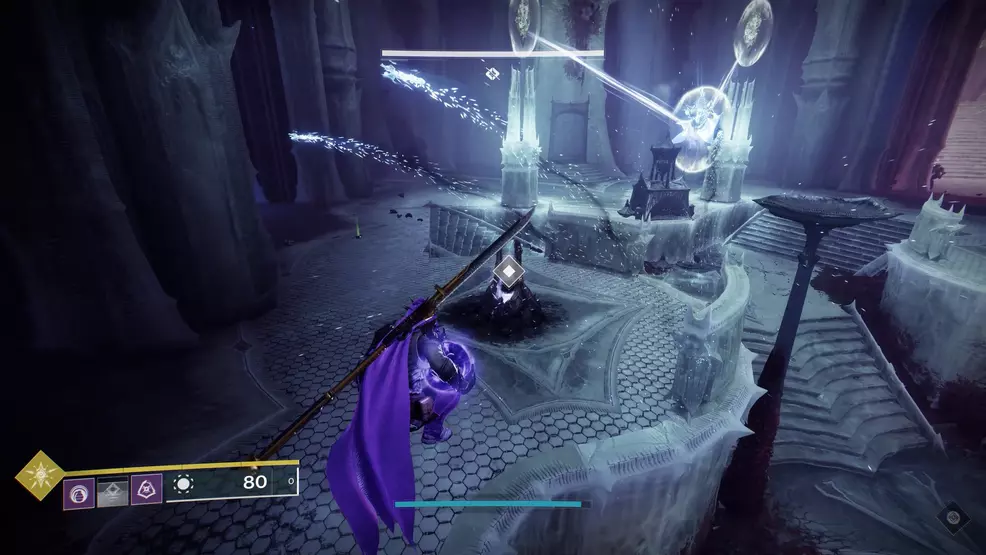
Objective: Confront Savathûn
Continue upwards until you can place a Campaign Banner/Raid Banner. There will be a giant bell above you, so be careful not to jump as you're going up the stairs. You'll also want to get your weapons sorted out for this fight, as you can put yourself in an impossible spot if you waste your Heavy ammunition on the boss. Consider a Sniper Rifle for boss damage, Gjallarhorn for cleaning up a Lightbearer Wizard, Lightbearer Acolyte, and Lightbearer Knight, and a third weapon of your choice. This fight is very tough if its not managed correctly.
Once you Confront Savathûn, have your team split off to the two rooms to the left and right of where you entered the area. These will provide cover, but enemies can get their attacks inside, including Savathûn when she uses her Super. From here, use your Sniper Rifle (or whatever you chose for boss damage, but not your Heavy Weapon) to chip Savathûn’s health down. You will have to deal with a few waves of ads as you deal damage, but it's not too bad. Once Savathûn’s health reaches about 10 percent, she will become immune and a Lightbearer Wizard, Lightbearer Acolyte, and Lightbearer Knight will spawn. These enemies are tough and can heal. The strategy here is to have your team focus on one of these enemies at a time, blasting them with a Super and Gjallarhorn. Once they fall, destroy their Ghost. Once all three are down, keep going with the damage to Savathûn until your objective updates.
Objective: Pursue Savathûn
This is an easy objective in the middle of a lot of fighting. You can collect any loot you have and then make your way across the long bridge. When you arrive, your objective will update again.
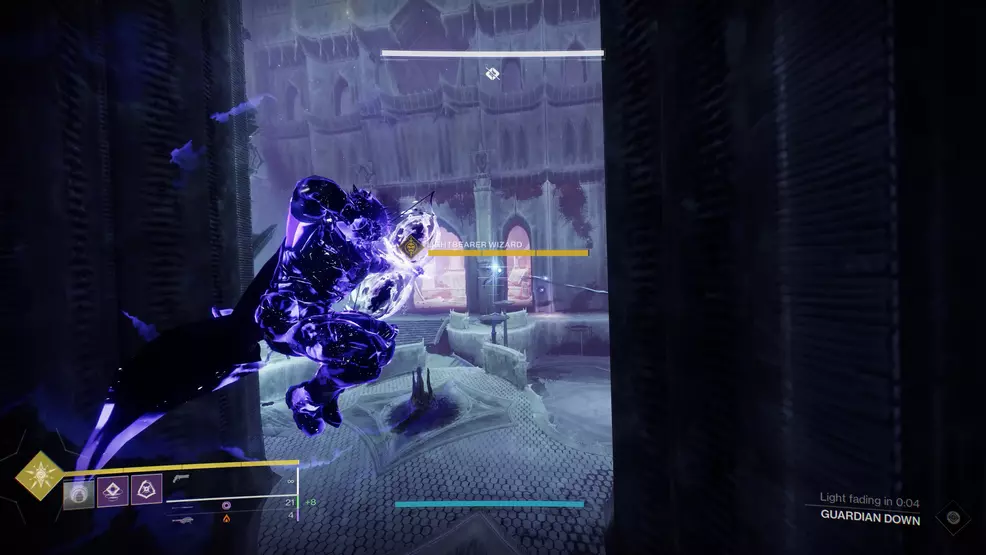
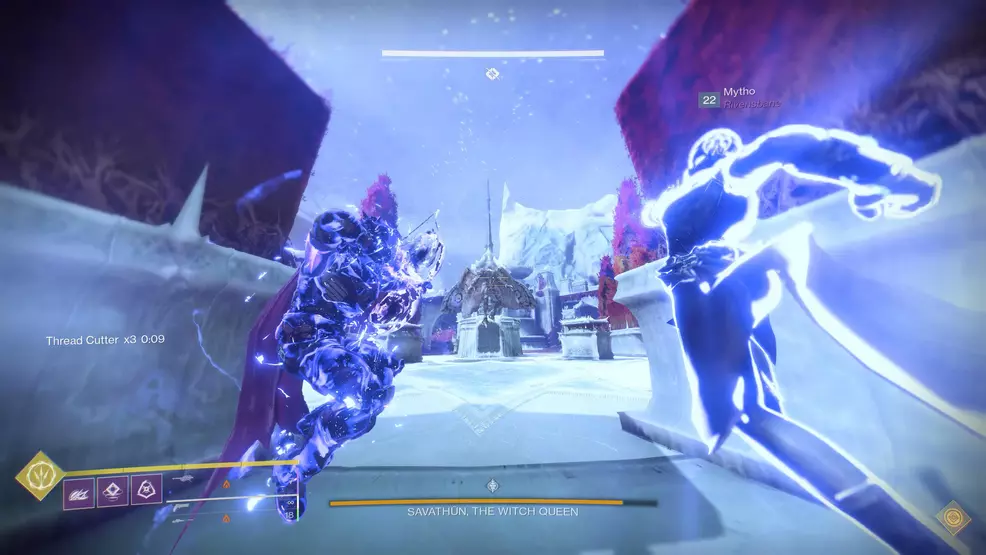
Objective: Defeat Savathûn’s Illusions
You'll notice that you no longer have Revive Tokens here on Legend Difficulty, so feel free to get killed if you need to. Your goal is to defeat Savathûn’s Illusions, then grab a Glass Breaker buff by running through the buff as it drops at the dead Illusion's feet. Once you see you have the Glass Breaker buff, head to the middle of the area and choose the option to Disrupt Ritual. This needs to be done multiple times, resulting in your fireteam being teleported.
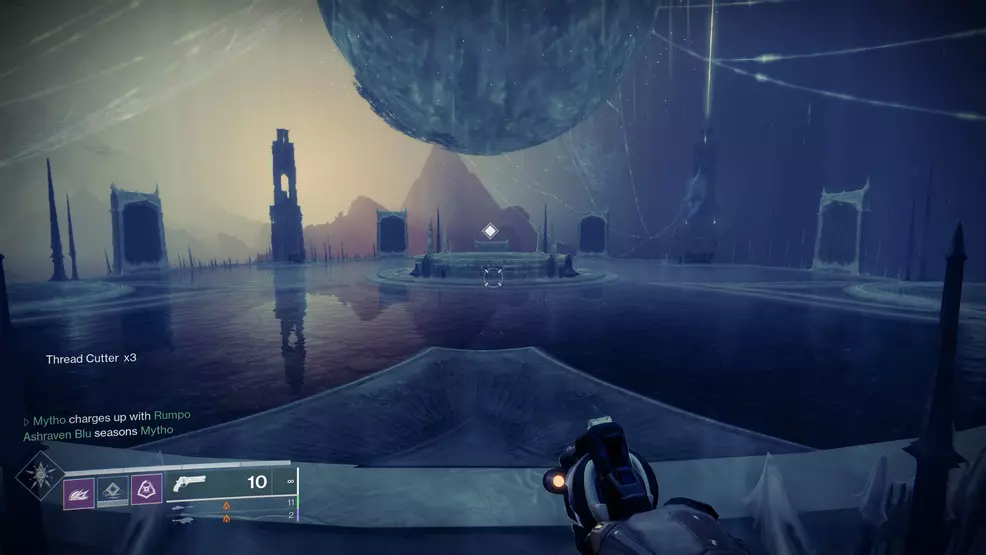
You'll now see a platform with six doors, three of which are activated and three that are not. Each door leads to a tower off in the distance. Pick one of the activated doors and go through, then kill the Threadweaver Wizard. This will give you the Threadcutter buff. Every time you enter an active portal and kill a Threadweaver Wizard, you'll get a stack of the Threadcutter buff. Once you have Threadcutter x 3, you can head to the center of the platform, beneath the Traveler, and show Savathûn the memory.
You will be teleported back to reality to face off against Savathûn once again, although you don't need to deal a lot of damage. Note that her health bar is sectioned off at about the 90 percent mark. You can simply chip her down to this point, then you'll head to the center to be teleported again so you can kill three more Threadweaver Wizards through the remaining three doors. The catch this time, is that each time you kill a Threadweaver Wizard, an illusion of Savathûn will spawn, and you'll need to defeat all three. You can do them one at a time, or all three at once. I would suggest simply killing a single Threadweaver, taking out the illusion, then moving on to the next Threadweaver. Repeat this until all three are gone and you can show Savathûn another memory.
When you return to reality, you can place a Campaign Banner/Raid Banner and should note that you now have Revive Tokens if you are on Legend difficulty. This is where it gets real, Guardians. Make sure you have your hardest hitting weapons for boss damage, because you're going to need a lot of it. Rally to the banner, then move forward quickly and hit Savathûn with everything you have. At first, you will have a very small window to do damage. About 10 seconds. Just note that you can only damage Savathûn when you are within the bubble she deploys.
Once the initial damage window is gone, you're going to want to move around the area in a counterclockwise direction. You'll want to ensure that you always keep something between yourself and Savathûn, as she will deploy Supers almost non-stop, and they can kill you almost instantly. Move around the fighting area, sticking to the outside, and take down three Threadweaver Wizards. This will give you the Threadcutter buff, which is what will buff your damage against Savathûn. When you reach Threadcutter x 3, you will have 40 seconds to damage Savathûn, then the buff disappears. Move into the bubble, hit her with everything you have, then get out when the damage phase ends and repeat the process. That's it. You continue along this path until Savathûn falls. Well done, Guardian.
The wraps up The Witch Queen campaign, Guardians. We've been hard at work covering everything new to Destiny 2, and highly recommend that you check out our Destiny 2 strategy guide for assistance with everything this game can throw at you.

-
Shacknews

 reply
replyBill Lavoy posted a new article, Destiny 2: The Witch Queen campaign walkthrough
