
Hidden Messages, Drifter Tape locations - Destiny 2
Where to find all of Drifter's tapes, his hidden messages, in the EDZ in Destiny 2, also known as the Survival Guide for the Vanguard path.
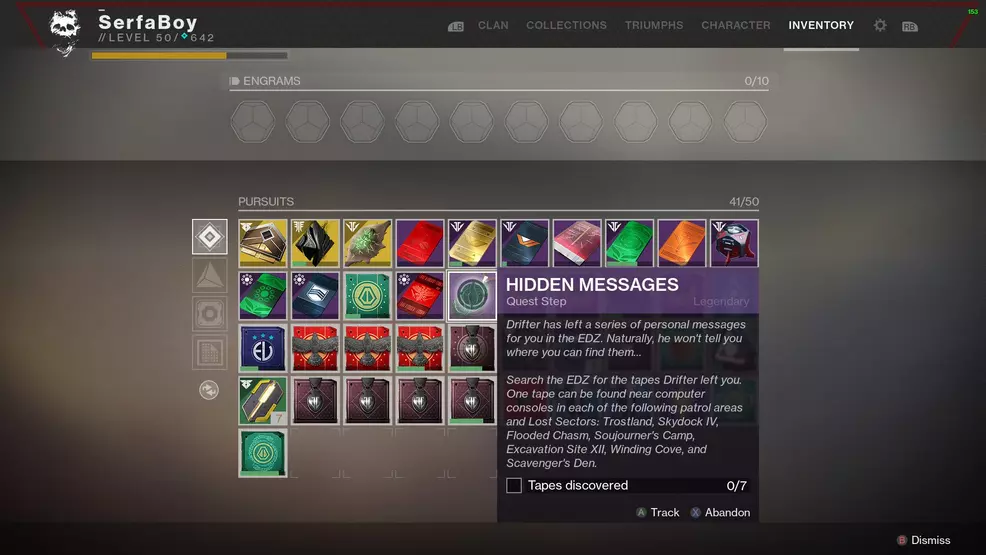
The Hidden Messages portion of the Destiny 2 Allegiance quest line tasks players with tracking down some of Drifter’s tapes. These recordings give a little bit of insight into Drifter’s background and motivations. All seven of these hidden tapes are located in the European Dead Zone on Earth, in either Patrol Zones or deep within Lost Sectors. For those that sided with the Vanguard, this quest step is called The Survival Guide, and all the tapes are found in the same location.
Hidden Messages or The Survival Guide, Drifter Tape locations
There are seven tapes for players to find as part of the Hidden Messages or Survival Guide quest step. This quest step is part of the overarching Decision Point split, where players must choose whether to stand with the Drifter or with the Vanguard. The release of this mission is the first in a set of planned timed events coming to Season of the Drifter. For those that side with the Vanguard, this step will be called The Survival Guide and for those that side with Drifter it is called Hidden Messages.
There are no waypoints directing players to Drifter’s tapes, so it will be difficult to locate them without guidance. However, when you are close to a tape, your Ghost will make a noise and an icon will appear in the top-right corner. Hold out your Ghost and look around, it will focus on the scannable object.
Hidden Message 1 – Trostland
The first hidden message from Drifter is located in the building to the left of the Trostland fast travel point. Load in using the quick travel point and then turn left to face the closest building. Enter the building, jump over the reception desk and immediately turn right. A computer is sitting on a desk in the darkness, it will be extremely difficult to see.
Hidden Message 2 – Scavenger’s Den
The next hidden message is found in the Scavenger’s Den Lost Sector in Outskirts. This Lost Sector is on the right-hand side of the area, down by the riverbed. Enter through the side of the cliff and follow the path into an open cave. Near a ledge in the back left, and next to a box covered in a purple tarp, is a Fallen computer unit. Investigate the unit to listen to Drifter’s tape.
Hidden Message 3 – Sojourner’s Camp
Another hidden message can be found in a tent in Sojourner’s Camp, an area to the far south of the EDZ. You will need to pass through this area to get to the Bergusia forge. From the spawn point in Trostland, follow the road out of the city to the left, continuing along and over the overpass. Follow the road through the tunnel until you come to an open clearing with some Fallen. There will be a tent on the right-hand side, scan the computer near it to listen to Drifter’s recording.
Hidden Message 4 – Winding Cove
This hidden message is found on the mound beside the Winding Cove fast travel point. Load in using the fast travel option and look on top of the rocks for a little box with a short antenna.
Hidden Message 5 – Excavation Site XII
Another hidden message is found within the Excavation Site XII Lost Sector in Firebase Hades. Continue into the boss room in the Lost Sector and scan the large industrial computer that is next to the huge door at the back.
Hidden Message 6 – Flooded Chasm
The sixth hidden message from Drifter is in the Flooded Chasm Lost Sector, easily accessible from The Gulch. Go into the Lost Sector, stopping in the first main room with the blue force field shields. Beside the Cabal drop pod is a Fallen computer with a huge antenna. Scan the Fallen computer to get this recording.
Hidden Message 7 – Skydock IV
The final hidden message from the Drifter is in the Skydock IV Lost Sector in Sunken Isles. Go below the large Cabal ship and into the Lost Sector. Fight through to the boss room and look at the big cylinder in the middle of the room. Scan the orange computer terminal to hear Drifter’s tape.
After scanning and listening to all seven of Drifter’s tapes, the Hidden Messages or The Survival Guide quest step will be completed. All that’s left to do now is live with the decision you’ve made in Destiny 2. For more thorough collectible guides and quest walkthroughs, check out the Shacknews Destiny 2 complete strategy guide.

-
Shacknews

 reply
replySam Chandler posted a new article, Hidden Messages, Drifter Tape locations - Destiny 2
