
How to complete the Blind Well in Destiny 2
A guide to finishing the Blind Well in the Dreaming City.
The Blind Well in Destiny 2: Forsaken offers high-level players an end-game activity that is both challenging and rewarding. Figuring out how to complete a Blind Well, whether it’s a Tier 1, 2, or 3, can be difficult, especially for players unfamiliar with the various mechanics at play.
How the Blind Well works
For those players who have been around for a while, the Blind Well is best described as an evolved Court of Oryx, and for those who joined the party with Destiny 2, the Blind Well is best likened to Escalation Protocol. Activating the Blind Well begins a wave-based challenge that culminates in taking down an ogre.
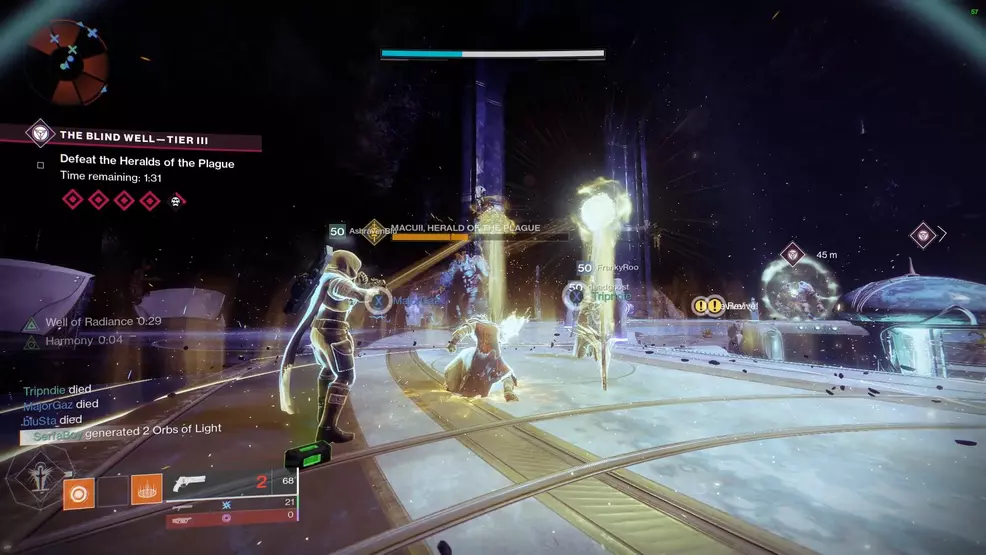
The difference between the Tier 1, Tier 2, and Tier 3 Blind Well events is that the boss fight on the last wave has more ogres, with the Tier 1 having one, Tier 2 having two, and Tier 3 having three. What makes it difficult is that players will have roughly 60 seconds to take down the ogres, a herculean feat for fewer than 6 players.
How to complete the Blind Well
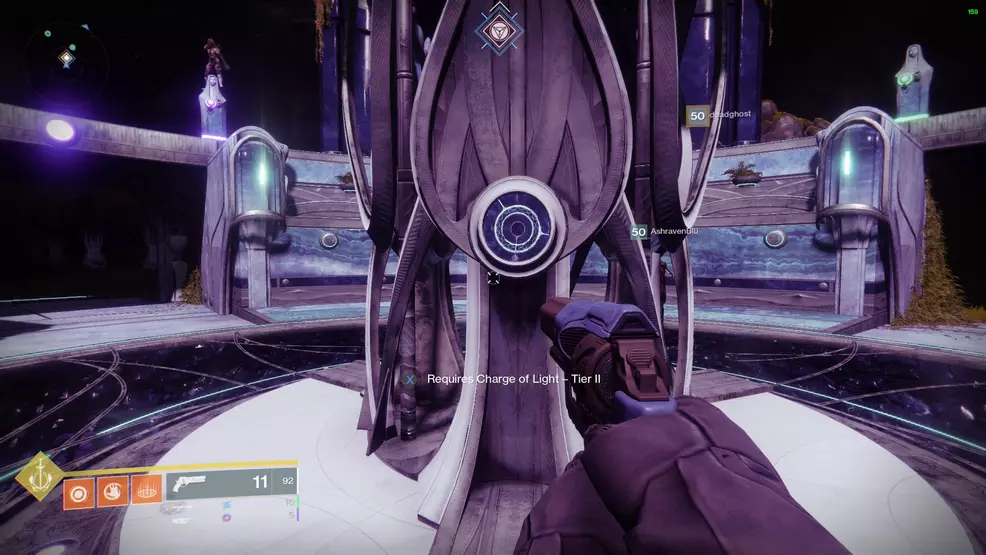
To begin the Blind Well event, players will need to insert their chosen Charge of Light, picking the tier that best matches what they are able to complete. A team of three players would be best attempting a Tier 1, potentially a Tier 2, Blind Well activity.
With the Charge of Light inserted, heavy mist will envelope the area that will continually damage anyone standing in it. The only way to avoid taking damage is to find the highlighted pillar and stand within its shield. This shield gives a buff called Touch of the Sky that allows players to step into the mist and take no damage for a short time.
During the entire fight, glowing enemies will spawn which, when killed, will drop an orb. Picking up this orb gives a buff called Harmony that significantly increases the recharge rate of all player abilities and allows the player to damage the shields of the boss. This last part of the buff won’t be pertinent until the bosses spawn during the final wave.
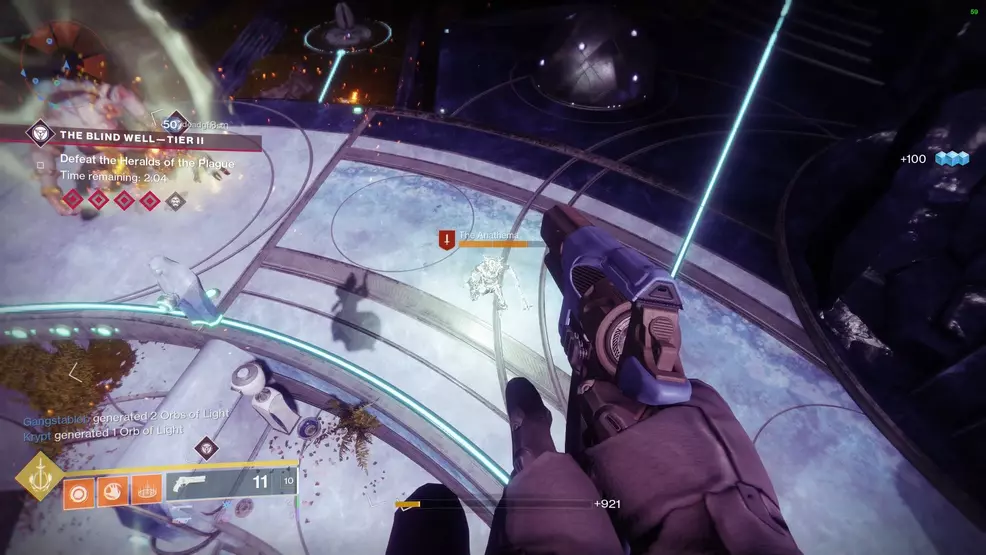
For the first few waves, players must simply kill enemies within the time limit, while avoiding dying in the mist. Once players reach the final wave, the mist will be removed and the boss will spawn. Players must then work together to get the Harmony buff and burst down the boss’ shield, allowing the other players to deal damage.
A good strategy, especially when with a large team attempting Tier 3, is to focus on one boss at a time. Killing a boss will typically take anywhere between 30-45 seconds, perhaps even closer to a minute, which really chews into the time limit. However, killing a boss refreshes the time limit, making it easier to move from one boss to another.

Overall, the Blind Well is fairly straightforward, so long as players remember to capitalize on the Harmony buff and focus on taking down the bosses one at a time. This activity is also an excellent choice for anyone who wants to get another Seed of Light to unlock more subclass paths.
Head over to the Shacknews Destiny 2 Complete Strategy Guide for more helpful end-game material.

