
How to unlock Vexcalibur & The Variable Exotic quest - Destiny 2
Unlock Vexcalibur by completing the Exotic quest, The Variable, in Destiny 2 and its mission, NODE.OVRD.AVALON.
A new Exotic mission has appeared in Destiny 2 called The Variable that rewards a new Exotic weapon, Vexcalibur. Players first discovered it while doing activities in The Gulch, which is where you’ll find some Vex cubes and the starting point of the mission, //NODE.OVRD.AVALON//. Prepare for a decent fight, lots of enemies, and multi-phases bosses!
EDZ, The Gulch Vex cubes |
|---|
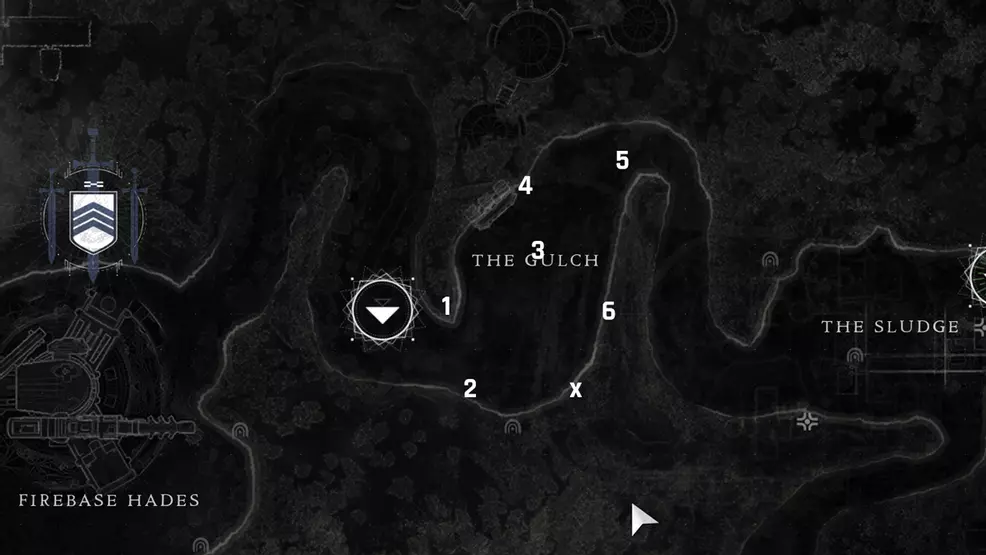
There are six Vex cubes to find in the Gulch on the EDZ. Standing near these Vex nodes will collect it and add a set of digits to your screen. You then have 30 seconds to collect the next one until all six are collected. The time extends each time you grab a node. When all six are collected, you’ll be beckoned to a cave along the southern side of the area where the Exotic mission begins. Here is where to find the Vex cubes:
Source: Shacknews
When all six Vex nodes are gathered, you will have an on-screen buff called Simulated Cave Access Code: 53-43-52-49-42-45. You can now start the //NODE.OVRD.AVALON// mission.
The mission is first started by visiting the cave marked with an "X" on the map. Go inside and interact with the Vex dome beside the friendly Harpy. You'll be transported to the mission. Once you complete the mission, you can launch it at any time from the EDZ map.
//NODE.OVRD.AVALON// |
|---|
The NODE.OVRD.AVALAON mission is found in a cave along the southern side of The Gulch. The entrance is to the right of the Lost Sector when looking at the map. Look for a light on the rock wall beside the cave which itself is full of red lights. Enter the cave and work your way to the back, part of the wall will disappear – go inside to find a friendly Vex Harpy and the starting point of the mission.
Vex trenches
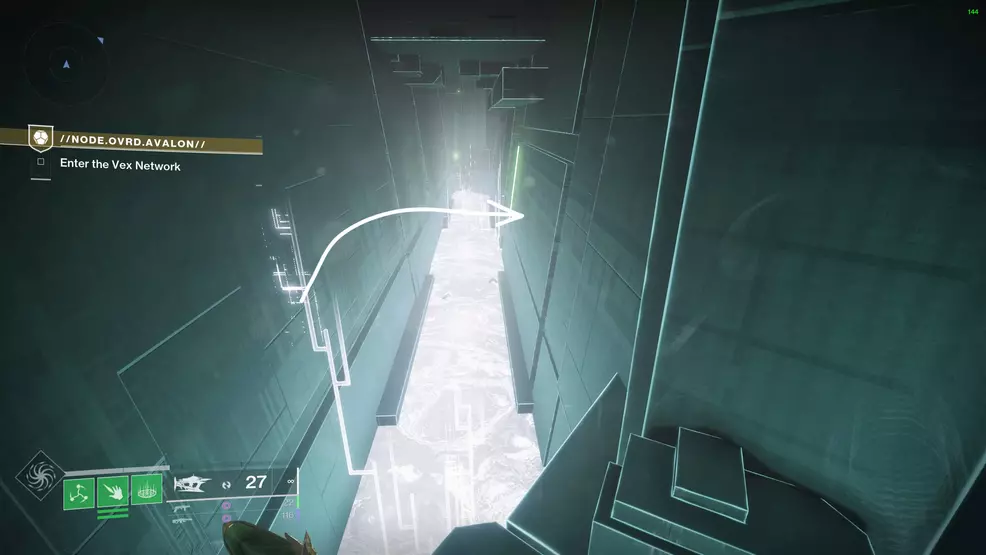
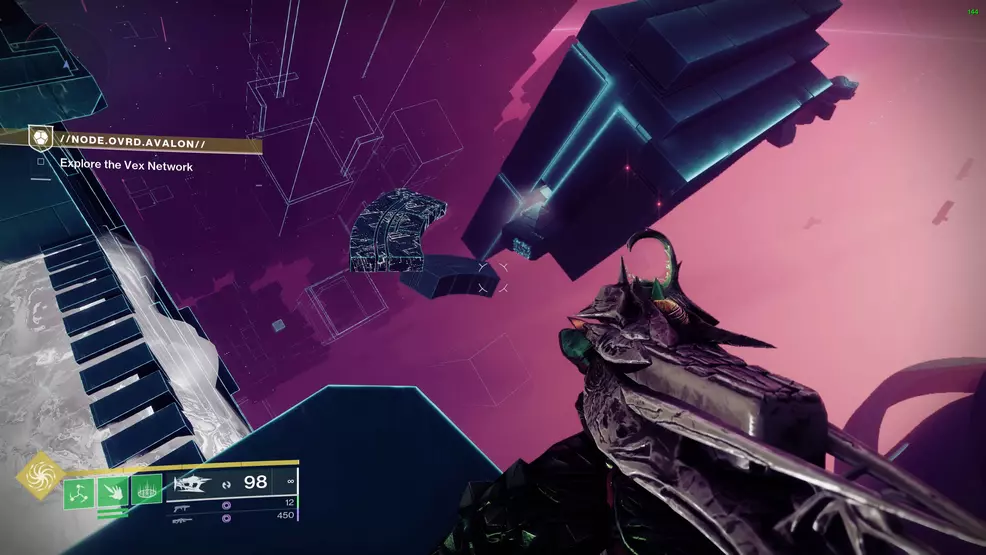
The first part of the Avalon mission is to work your way through the Vex trenches. There will be blocks that slide back and forth, revealing and blocking your path. Move through the trenches to reach a fork in the road, going left or right takes you to the back side of a central structure. At the back is a small hole in the wall to slip through.
Source: Shacknews
Go down the slide, down the drop, and done through the green tunnel. You’ll be teleported through what looks like a huge vat of radiolarian fluid and into the Vex Network. From here, it’s all about combat and remembering patterns.
Explore the Vex Network – Enter Access Codes
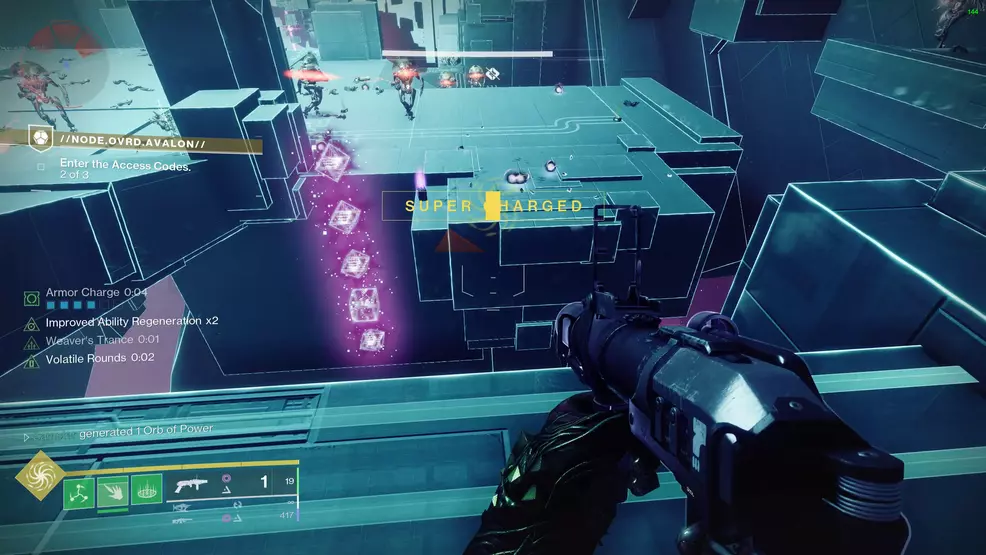
You will enter a small arena teeming with Vex. The goal is to locate a set of symbols on the wall and destroy the shapes that appear around the Conflux. Destroy them in the order they appear on the wall, starting at the top.
Source: Shacknews
The shapes around the Conflux phase in and out on a timer. If they disappear, just wait until they come back. Shooting an incorrect shape will reset the pattern. You must do this a few times before you can access the next room.
The second Access Code room is the same as the first, albeit with stronger foes. Look out for the Cyclops and Wyverns stalking the area. Locate the symbols and enter them as you did before. Do this three times to move on.
Source: Shacknews
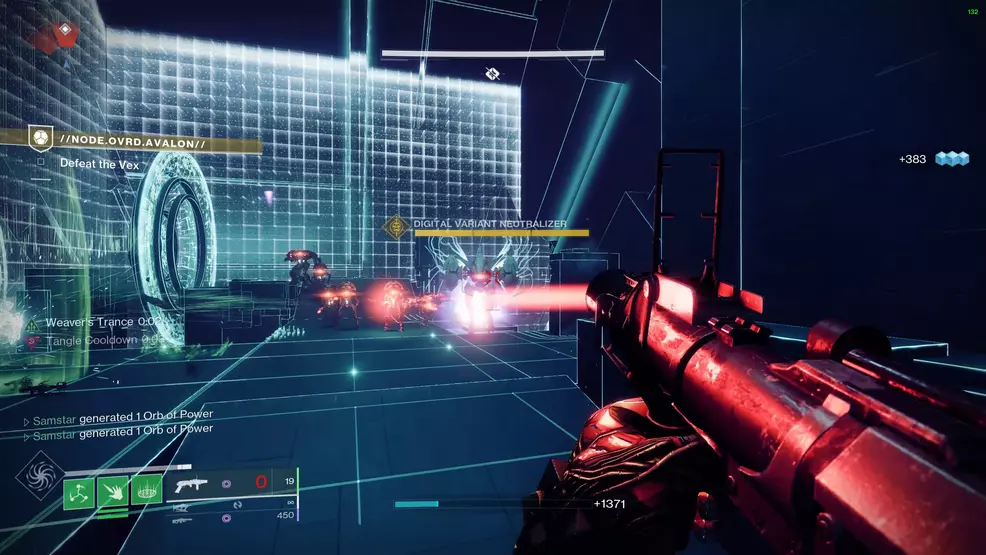
Once the two rooms are cleared, you’ll need to defeat a swarm of Vex including a powerful Wyvern called a Digital Variant Neutralizer. Once all the Vex are defeated, the portals will deactivate and the barrier will drop. Continue along the path.
Continue exploring the Vex Network
Source: Shacknews
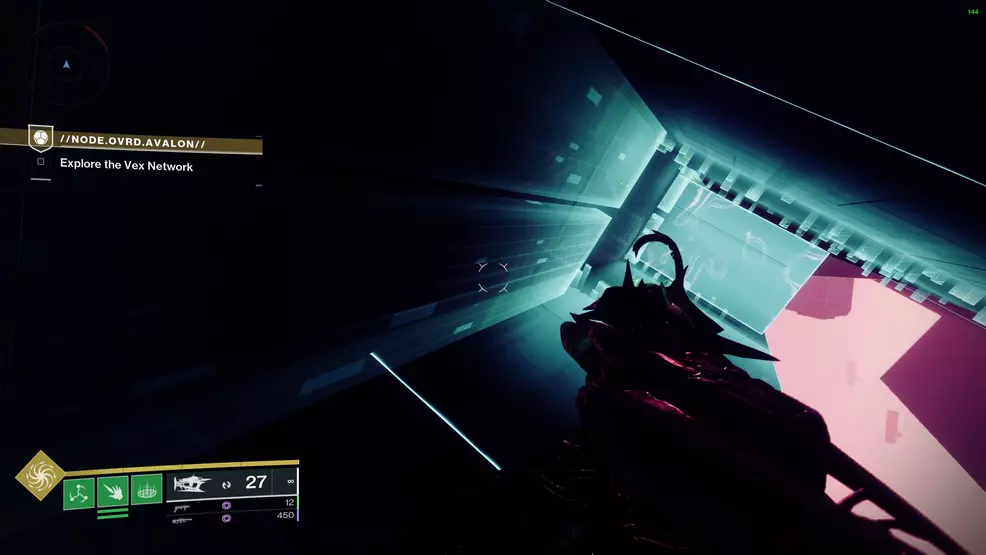
The mission will now direct you to continue exploring the Vex Network. Simply follow the path or move toward the next group of enemies. You’ll reach the top of the structure with a path in in. Go through and move through the hallway that has the triangular doors. When you reach the end, follow the temporary blocks down to the next structure.
Source: Shacknews
This is a small structure but one that can difficult to traverse. You must crouch-walk through a narrow and slanted section with piston blocks threatening to push you out. The blocks are long with their perimeter marked by holographic rectangles.
When you reach the end, climb the jumble of blocks to the rally flag. Throw a flag down and jump on the sphere to be propelled to the first boss fight.
Data Nullifier - Gather data & take shelter |
|---|
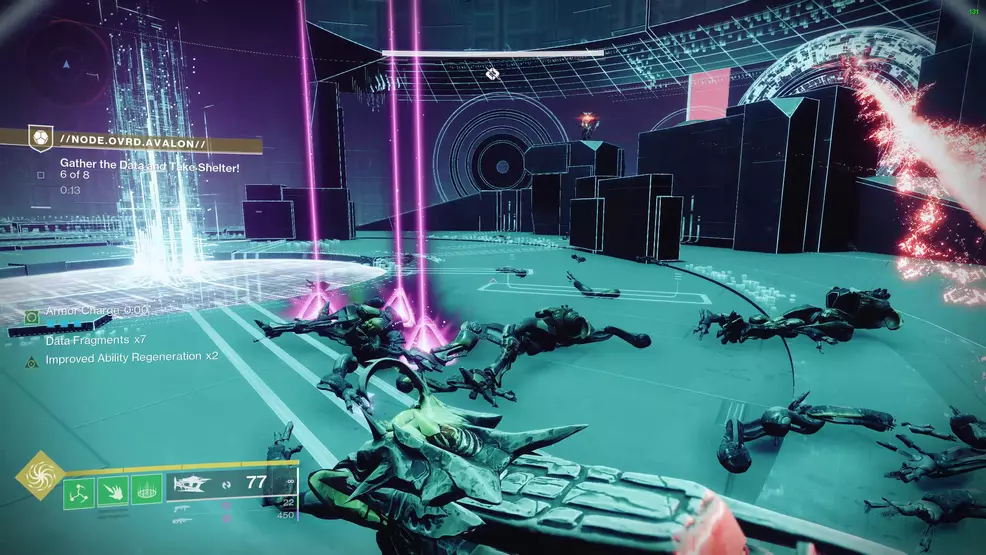
The fight against the Data Nullifier is split into a few distinct phases: collecting data, depositing data, taking shelter, and dealing damage to the boss. Dataholder (Corrupt) enemies (headless Vex Fanatics) drop data fragments when defeated. Collect enough to fill the central Conflux. Once full, drop into the cylindrical pit and take shelter from the deletion. Failing to fill the Conflux and taking shelter in the pit will cause you to be deleted. Repeat this until the Data Nullifier can be damaged.
Source: Shacknews
The first section of this fight requires you to collect eight and then ten Data Fragments. Each time you are safe in the pit, the floor will open and you’ll be teleported back to the arena. When the two deposits are done, you’ll have as much time as you need to damage the Data Nullifier.
Source: Shacknews
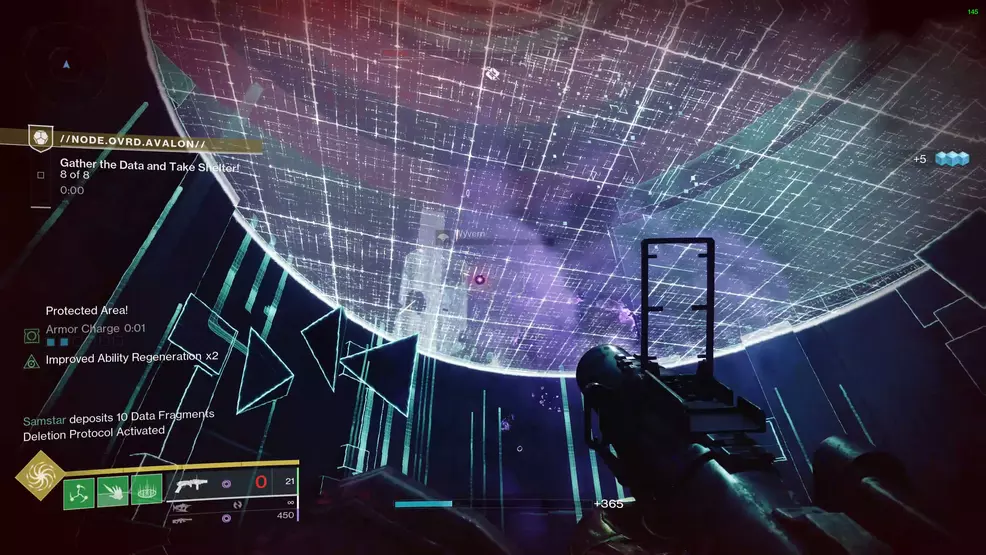
For the second half, you must collect ten and then 12 Data Fragments. Be careful not to get overrun by the enemies here. You’ll only have 45 seconds to collect the required amount. When both deposits are done, deal with the Data Nullifier.
When the boss is no more, jump up to where it first spawned at the back of the room and drop down to the path. Your goal is to follow the path along to the end, defeating the Vex that get in your way. There is another thin hallway with pushy blocks, so be careful. You’ll be working your way down to a large central chamber that has a portal – this takes you to the final boss fight.
Variant Stalker Brakion, Repurposed Mind |
|---|
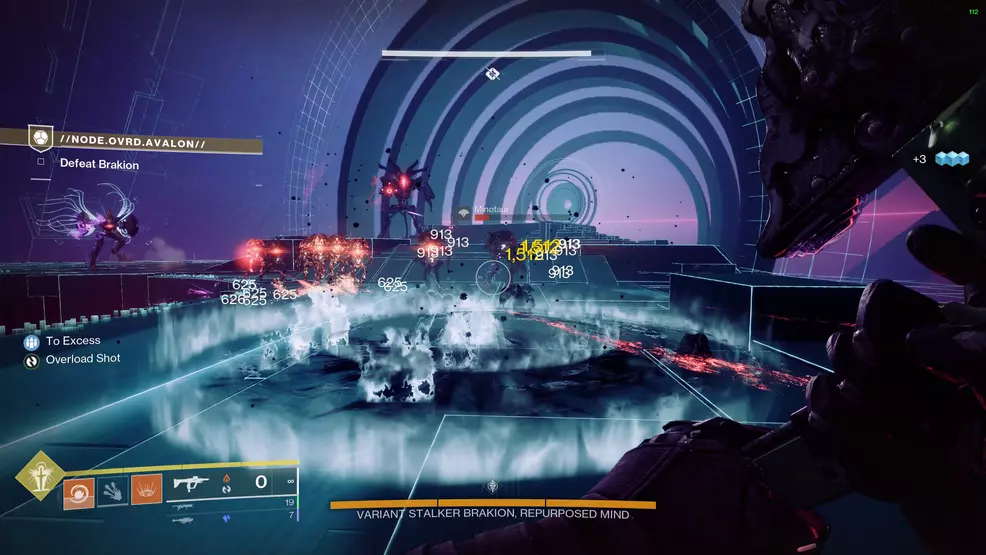
The final boss fight is against Variant Stalker Brakion, Repuprosed Mind. Some players may recognize this name from the Destiny 2 Strike, The Pyramidion. There are three phases to this boss fight. The first is just dealing damage to Brakion. The second requires the symbol and Conflux access code you did at the start of the mission. The last is one more pure damage phase.
Source: Shacknews
For the first phase, focus on clearing enemies and dealing damage to Brakion. The boss will teleport around the room to each corner. It can be worth waiting near a corner for it to teleport to you. This way you’re not chasing it around or wasting ammo. Go through the portal to move on.
Source: Shacknews
Source: Shacknews
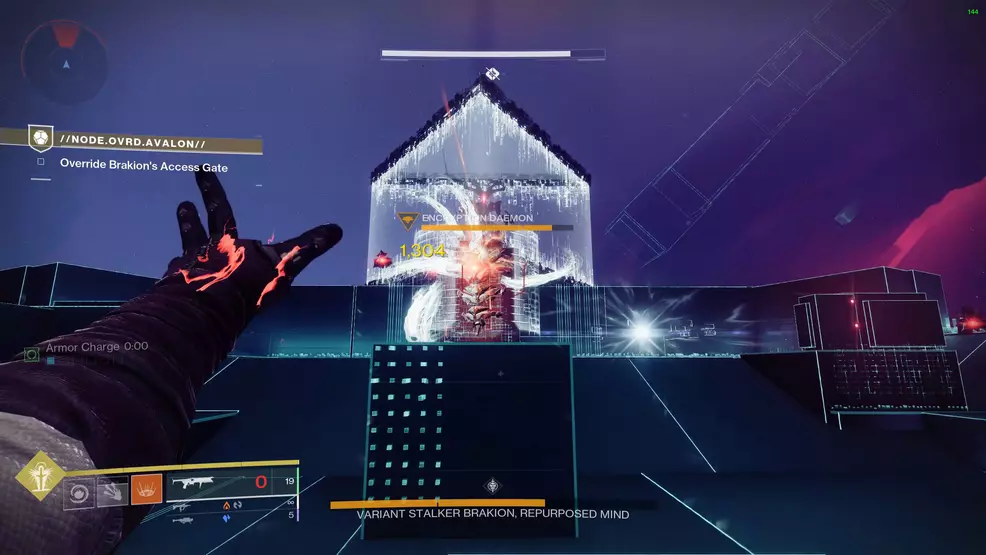
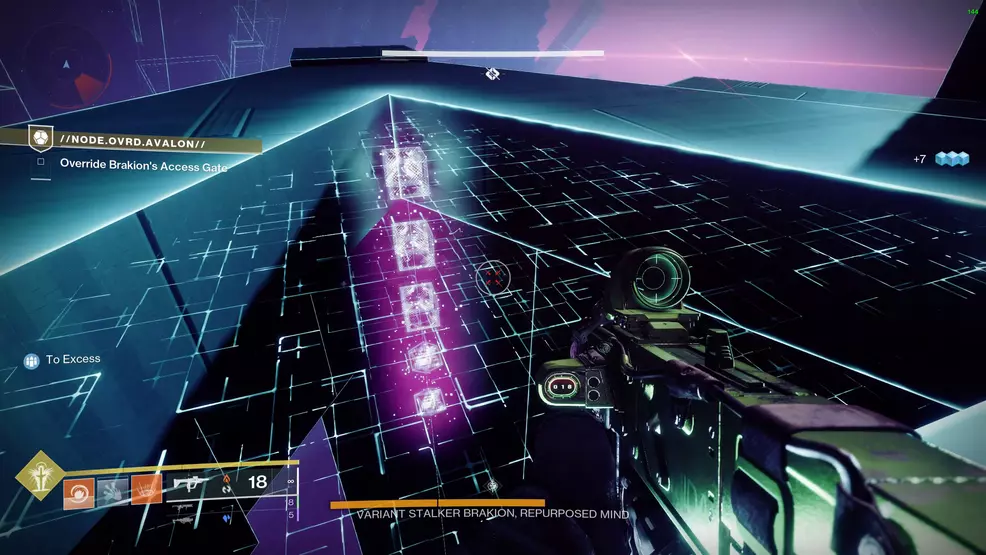
The second phase can be quite hectic. You’ll need to destroy an Encryption Daemon to spawn the symbol pattern. The pattern is found in the back corners of the arena by looking down through the triangles in the floor. Return to the Conflux and destroy the shapes in the correct order. Once done, Brakion will be vulnerable. Ideally, you should clear the enemies first so you’re not getting blasted by them when trying to deal damage to the boss as you’ll only have 30 seconds to hit it. Repeat this as many times as you need. Go through the portal when you’re done.
Source: Shacknews
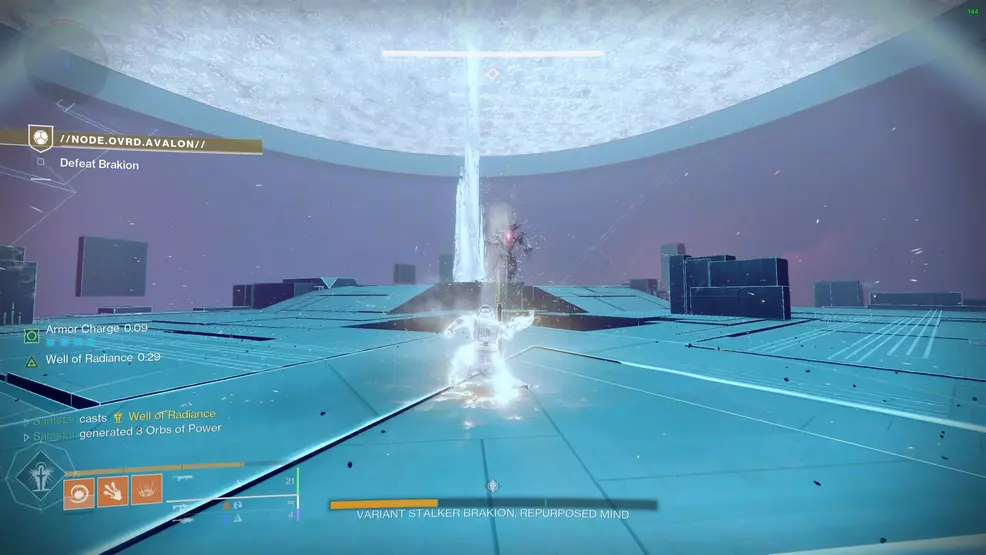
The last phase is just full of Vex Fanatics and Brakion stomping around. Keep moving and clearing enemies. Alternatively, drop your Super and hold the line as you blast Brakion to pieces. When you’ve knocked Brakion on its shiny metal butt, grab your reward near the torrent of radiolarian fluid.
Vexcalibur won’t be yours just yet. You’ll need to return to the H.E.L.M. to complete the final step, at which point you’ll find the Exotic Glaive in your Energy slot.
Vexcalibur Exotic Glaive perks |
|---|
Source: Shacknews
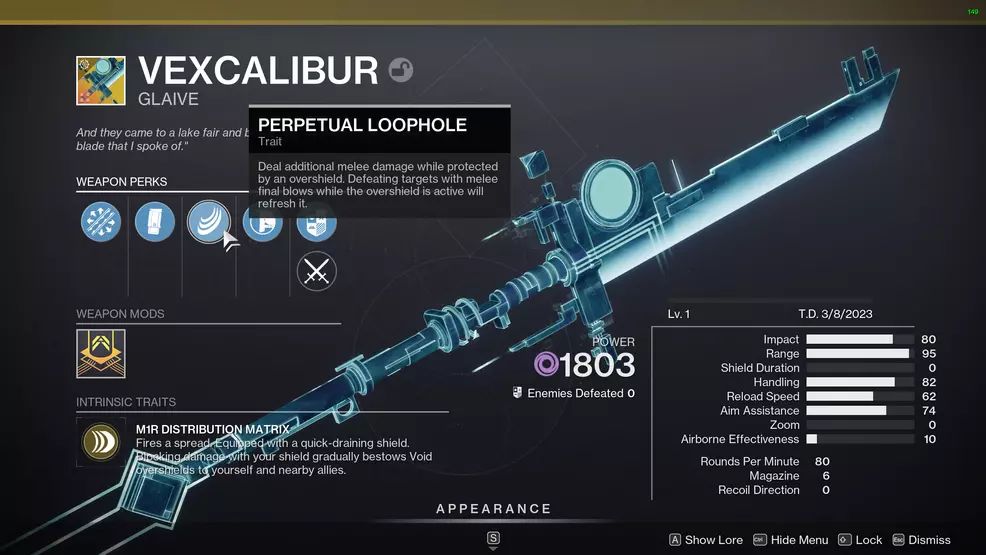
The Vexcalibur Exotic Glaive sits in your Energy slot and deals Void damage. This Glaive is all about keeping yourself topped up with an overshield. It’s two Exotic perks are:
- Perpetual Loophole: Deal additional melee damage while protected by an overshield. Defeating targets with melee final blows while the overshield is active will refresh it.
- M1R Distribution Matrix: Fires a spread. Equipped with a quick-draining shield. Blocking damage with your shield gradually bestows Void overshields to yourself and nearby allies.
In essence, use the Glaive’s block to build up an overshield for yourself and any friendlies nearby. Once you have an overshield, start slicing and dicing with the melee attack. Having an overshield will boost your damage output while melee kills will refresh the overshield. This could synergize quite well with Void Titans.
The Exotic mission //NODE.OVRD.AVALON// is an enemy-dense and rather intense throwback to a familiar face and enemy from the first year of Destiny 2. Once completed, you’ll unlock the new Exotic Glaive, Vexcalibur. Check out the Shacknews Destiny 2 strategy guide for more help with other endgame content and secret Exotic missions.

-
Shacknews

 reply
replySam Chandler posted a new article, How to unlock Vexcalibur & The Variable Exotic quest - Destiny 2
