
Silo guide - GoldenEye 007
A walkthrough for Silo in GoldenEye 007, including how to get past Ourumov, obtain the telemetric data, and more.
Silo is the sixth mission in GoldenEye 007 and one that can be rather explosive. With a pocket full of plastique C4, fuel rooms to blow up, and various telemetry and data to claim, there’s a lot going on. Add to the chaos a time limit of eight and a half minutes and you’ve got a recipe for tension. Here’s how to juggle it all and walk away with ease.
Silo walkthrough
Use the links in the table to jump to the appropriate section. Right below the table is a brief explanation of the fuel rooms, what to do if a door is locked, and how to get past Ourumov.
| Silo - Difficulty & Objectives | ||
|---|---|---|
| Agent | Secret Agent | 00 Agent |
| Photograph satellite | Photograph satellite | Plant bombs in fuel rooms |
| Minimize scientist casualties | Obtain telemetric data | Photograph satellite |
| Retrieve satellite circuitry | Obtain telemetric data | |
| Minimize scientist casualties | Retrieve satellite circuitry | |
| Minimize scientist casualties | ||
Silo is a relatively straightforward mission. All of the objectives take place in the first four major rooms in the level. These rooms all look the same: computer terminals, a scientist or two, a soldier or two, and two fuel canisters on the right-hand side.
Source: Shacknews
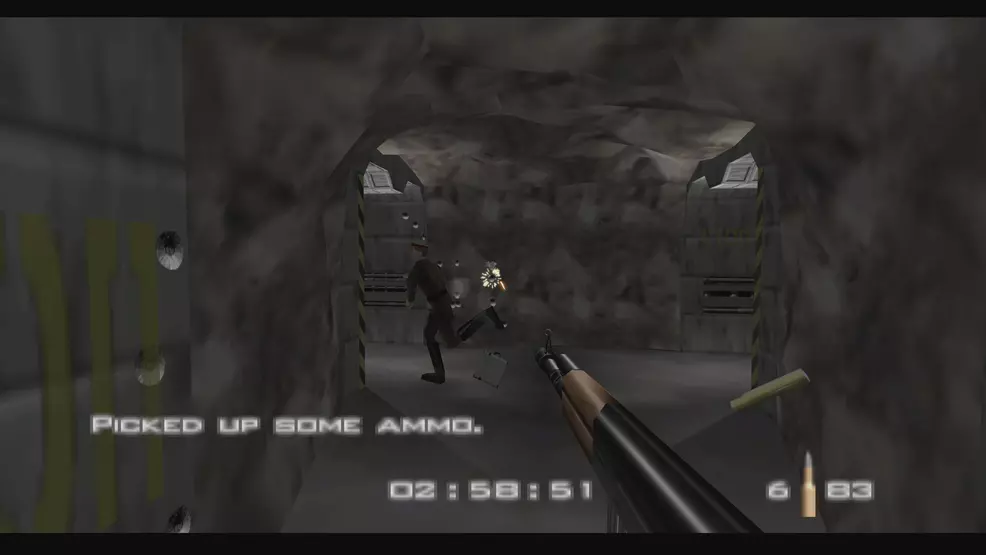
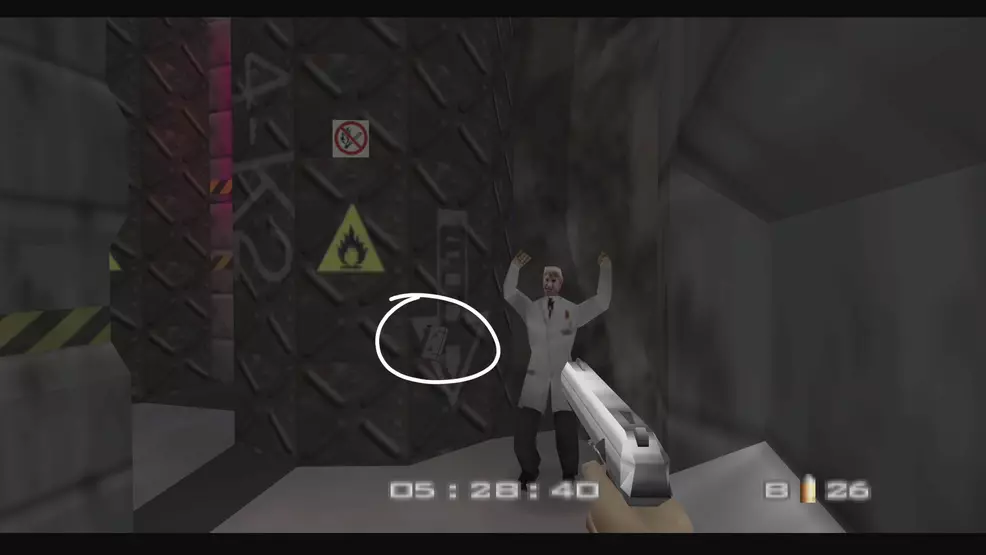
If you cannot move onto the next hallway after a fuel room because the door is locked, have a look around the fuel room. Each room will have a scientist that drops a keycard to open the next door. A good strategy is to enter the room, dispatch the soldier, and scare the scientists so you can pick up the keycard right away.
Source: Shacknews
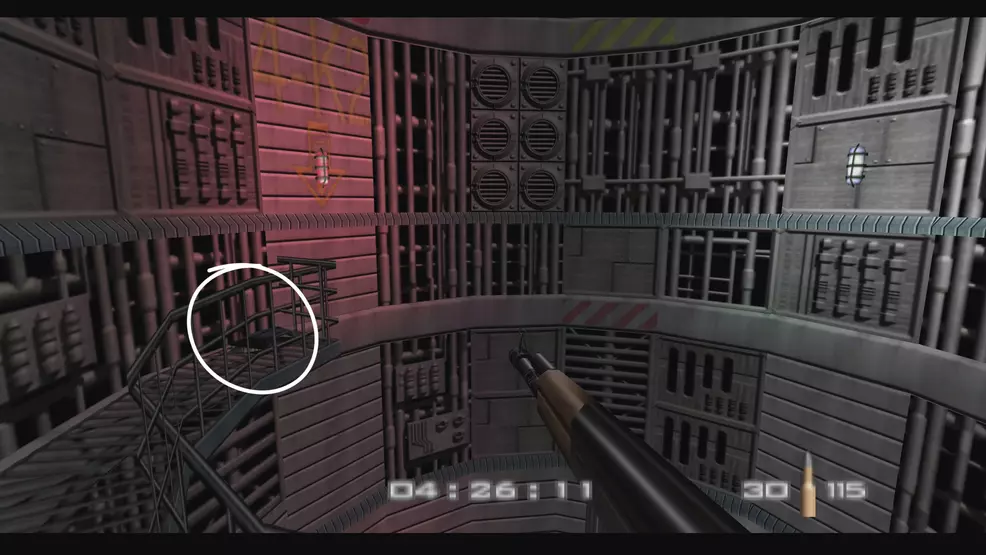
After the third fuel room (the one with the missile topper), enter the hallway and instead of going right, go left to find some armor on the catwalk. This is will be helpful when dealing with Ourumov.
Source: Shacknews
When the last fuel room is completed and all the objectives are done, you’ll just need to escape. Unfortunately, Ourumov will block the hallway and send soldiers at you. Stand at the top of the stairs and let the soldiers come around the corner to you. When no more remain, just run down the hallway at Ourumov while shooting – he’ll run away scared. Sometimes he’ll even drop his briefcase.
All you need to do is get through a couple more rooms to the elevator. Be careful, as there are still plenty of soldiers waiting for you. Now, on to the actual objectives.
Plant bombs in fuel rooms
Source: Shacknews
Planting the bombs in the fuel rooms requires throwing four plastiques into specific rooms during the mission. The plastiques are C4 explosives that will detonate once you safely exit the mission. As Q says in the briefing, the fuel rooms are: H4, C3, K2, and A1. You don’t have to remember these as you’ll only go through the exact rooms you need to blow up.
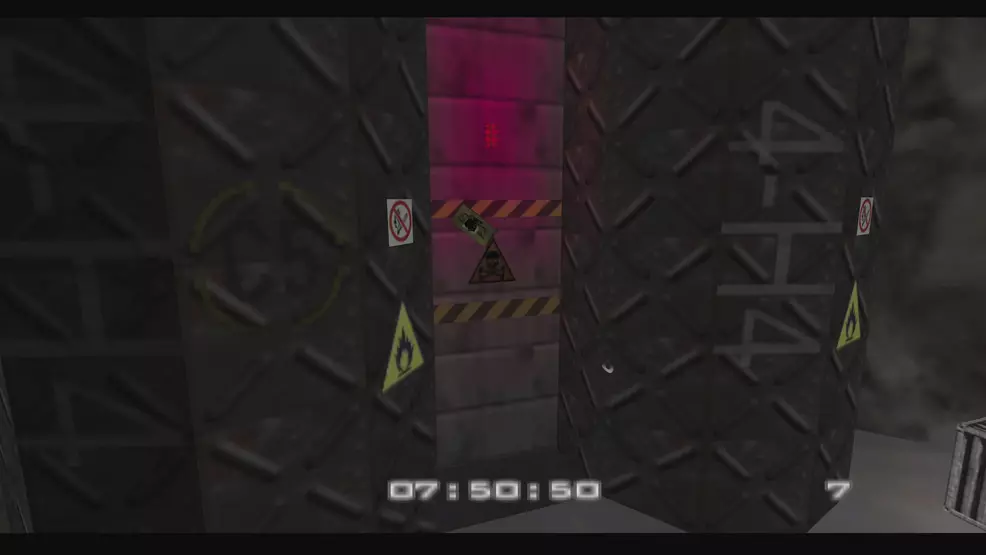
The fuel rooms all have two large, metal canisters on one wall. There are fire hazard and no-smoking warning signs all over the fuel. Equip the plastique via your watch and throw one onto the wall.
Photograph satellite
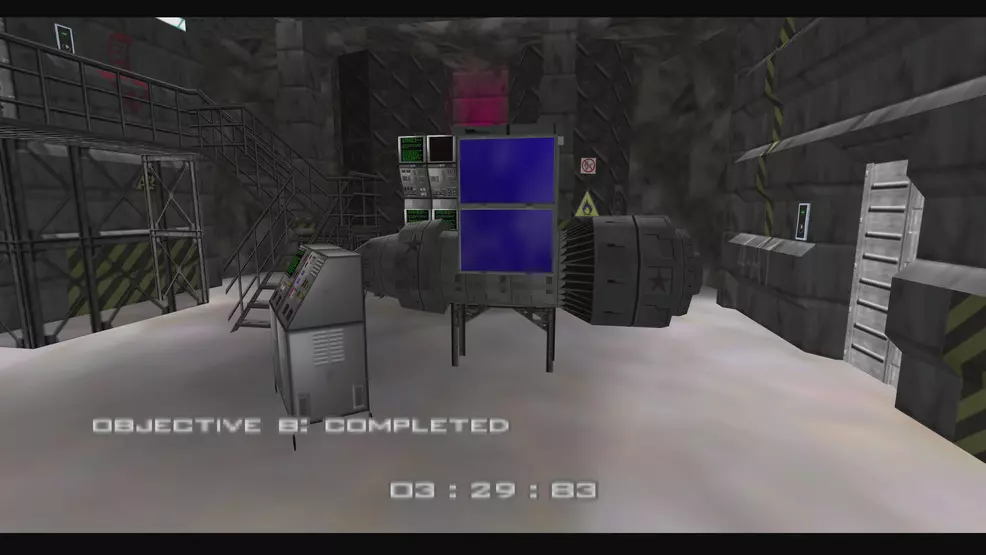
Source: Shacknews
The satellite is in the fourth room, right at the end of the silo. It will have blue solar panels folded up. Make sure you don’t go in guns blazing and accidentally destroy it. Open your watch, equip the camera, and snap a photo of the satellite for Q Branch.
Obtain telemetric data
Source: Shacknews
The telemetric data is in the third fuel room and is dropped by a scientist standing in a corner near the fuel. The item he drops looks like a cassette and is actually called a DAT. This room has what looks like the top of a missile. If for some reason you cannot pick up the telemetric data, shoot it to make it bounce around. Sometimes that will help unstuck it.
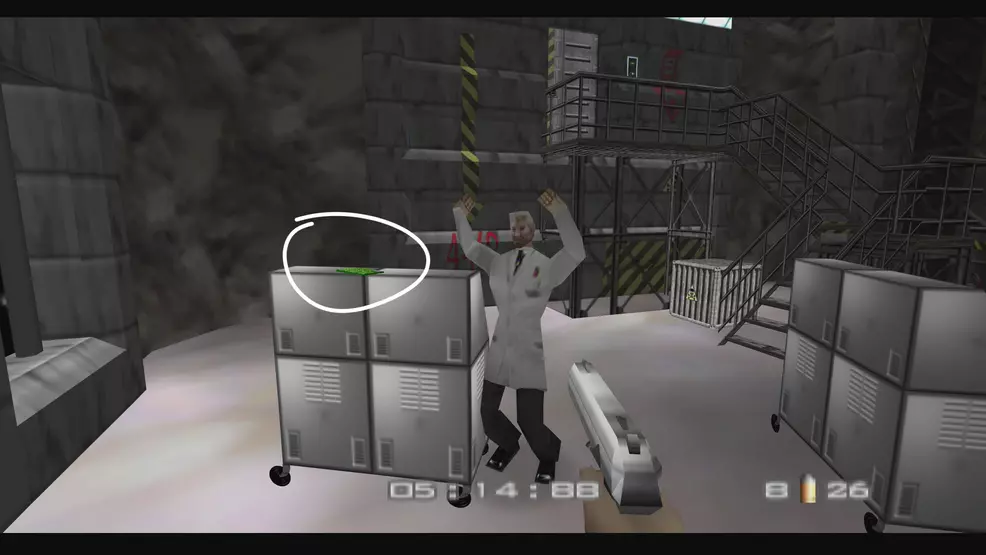
Retrieve satellite circuitry
There are four pieces of satellite circuitry to collect during Silo. These look like green computer circuits and are sitting on tables or computer terminals.
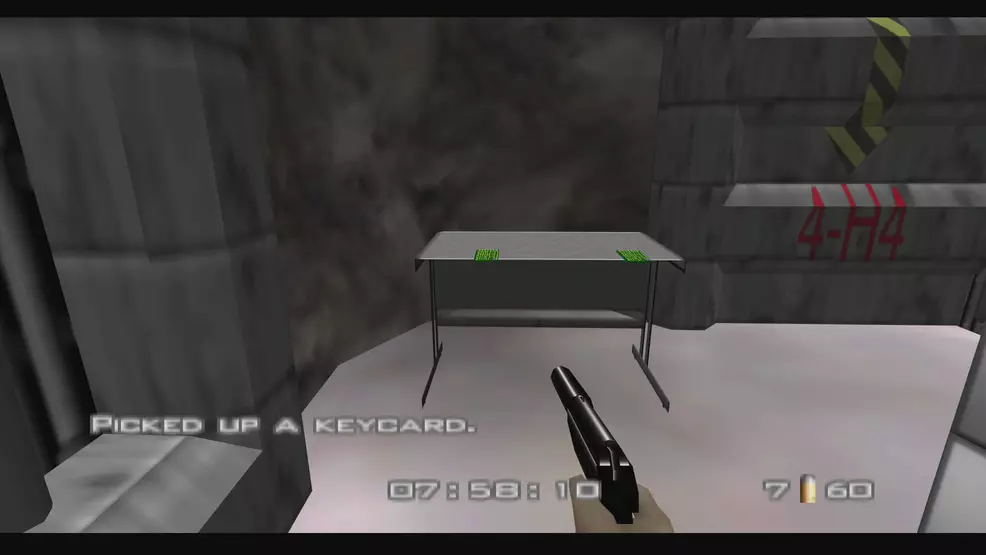
Source: Shacknews
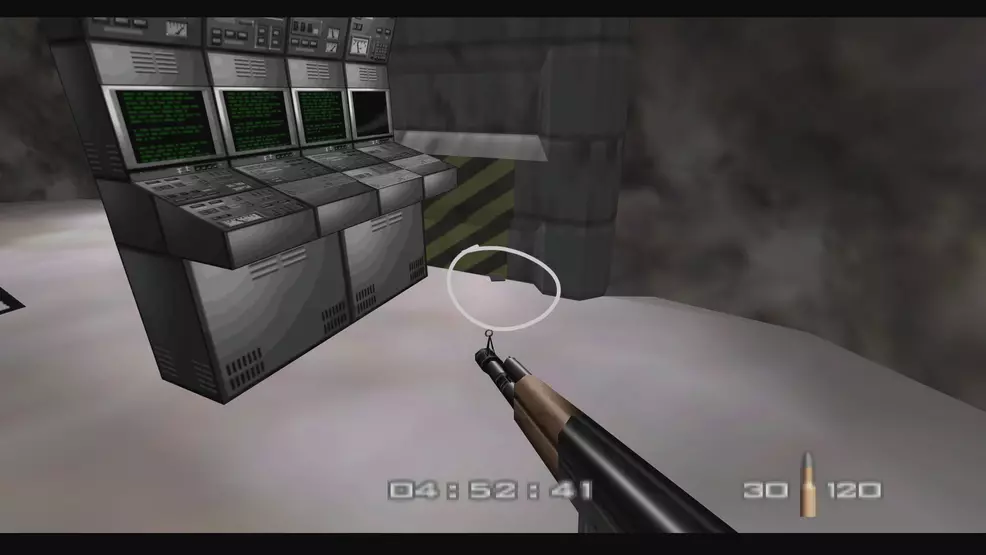
The first fuel room has two circuits on a table in the back left. Make sure you grab both off of the table before moving one.
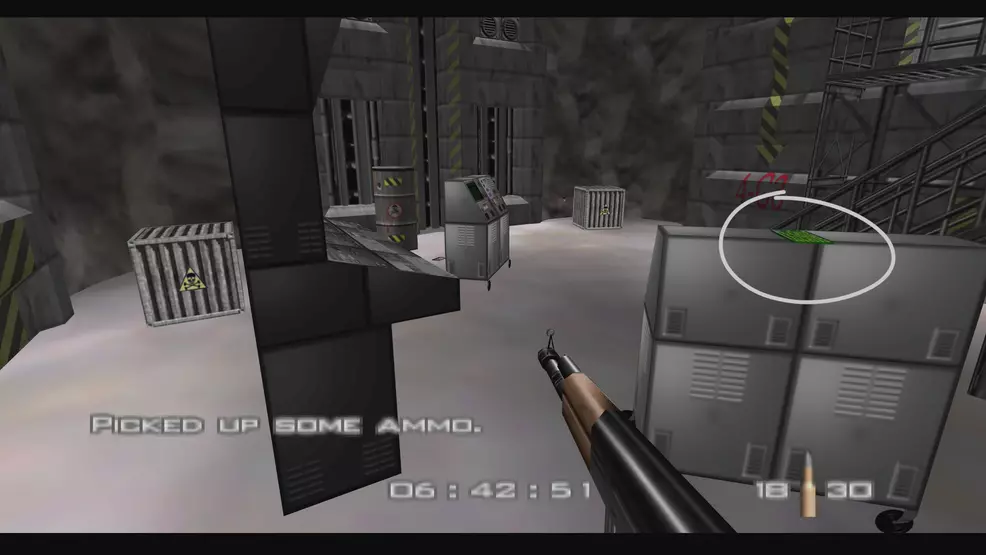
Source: Shacknews
The second fuel room has a circuit board on a computer terminal to the right.
Source: Shacknews
The third fuel room has one circuit board on a computer terminal to the left. This should be the last circuitry you need to complete the objective.
Minimize scientist casualties
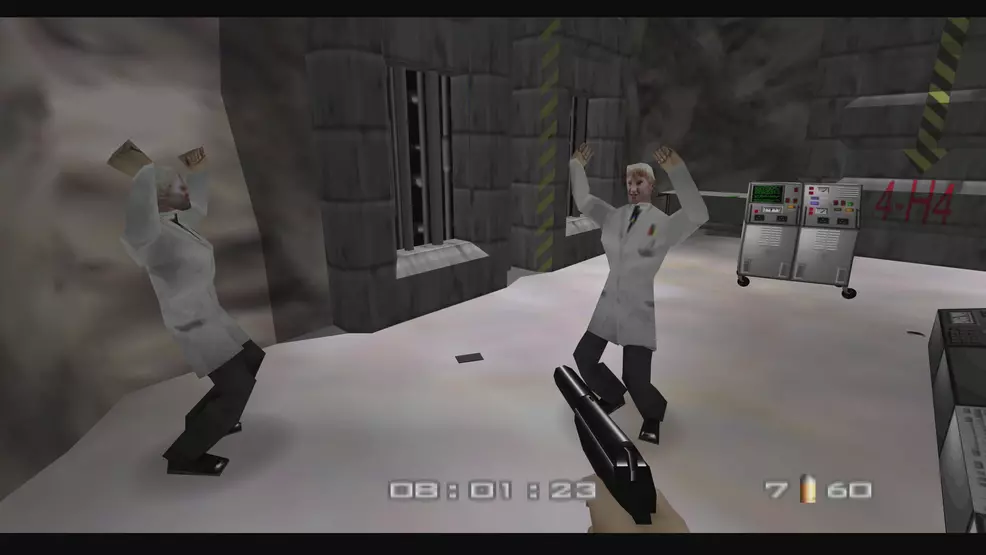
Source: Shacknews
As always with this objective, do your best not to accidentally kill a scientist. You will be forgiven only a couple of times on Agent while on 00 Agent things are much stricter. Get to the end of the mission and this one will automatically complete.
With Silo completed, you’ll be on to one of the tougher mission in the game, Frigate. Stay tuned to the Shacknews GoldenEye 007 page for more guides so you can finish the game on 00 Agent and unlock some great bonuses.

-
Shacknews

 reply
replySam Chandler posted a new article, Silo guide - GoldenEye 007
