
Hello, PC building folks! Last time around, I opened up the monthly PC build feature with a small form factor build centered around a white theme, dubbed White Lightning. It combined some premium components and an outstanding Phateks ITX case while still managing to stay within some sort of budget. At the time, the build was mostly just a part list and I got a bunch of feedback that it would have been ever better if the PC was built out for real. Sadly, any parts for these builds must be purchased out of pocket, unless manufacturers would be willing to provide parts for furture builds (**WINK**WINK**).
As bad luck would have it, my mom's 2010-era PC met an untimely demise during Hurricane Irma. She used it every day for browsing, Facebook, and work. Needing a replacement, I volunteered to build her a new one, using more modern parts and in a case that wasn't as drab and off-putting as the old Coolermaster Elite 350 that was home to the now deceased AMD socket FM1 build. While I thought about which parts would make the most sense for the new build, I found myself coming back to several choices from last month's White Lighting build. With a few changes and tweaks to accomdate her needs and to get under budget, I finalized the parts list and made the orders. The resulting build shall be forever known as Tempered Glass For Mom.

All components gathered on the table, ready for assembly
The Build
PCPartPicker full part list available here
- CPU: Intel Pentium G4560
- CPU Cooler: CRYORIG C7
- Motherboard: ASRock H270M-ITX LGA1151
- Memory: Crucial Ballistix Sport LT 8GB DDR4-2400MHz
- Storage: SK Hynix Canvas 120GB SSD
- Case: Phanteks Enthoo EVOLV ITX Tempered Glass Black
- Power Supply: Corsair CX 450W Power Supply
- Lighting: Corsair Lighting Node PRO
- Cable Extensions: Phanteks White Extension Combo
- Mouse: Steelseries Sensei RAW
- Keyboard: Logitech K120
- Mouse Pad: Corsair MM300 Desk Mat
Total Build Cost ~$550
The Tempered Glass for Mom is your basic build for everyday computing, with some fancy additions to enhance the look and usability. It is not meant to be used for gaming, hence the lack of a discrete GPU. The IGP of the Pentium G4560 is more than capable of providing enough juice to accomodate any task it will be presented by my mother. The motherboard includes 2 HDMI ports and a DVI port that will help facilitate alternating desktop monitor and big-screen TV usage.

ASRock H270M-ITX with the Crucial DDR4 and Pentium G4560 installed
With the rough performance overview out of the way, let’s get to a detailed look at the components.
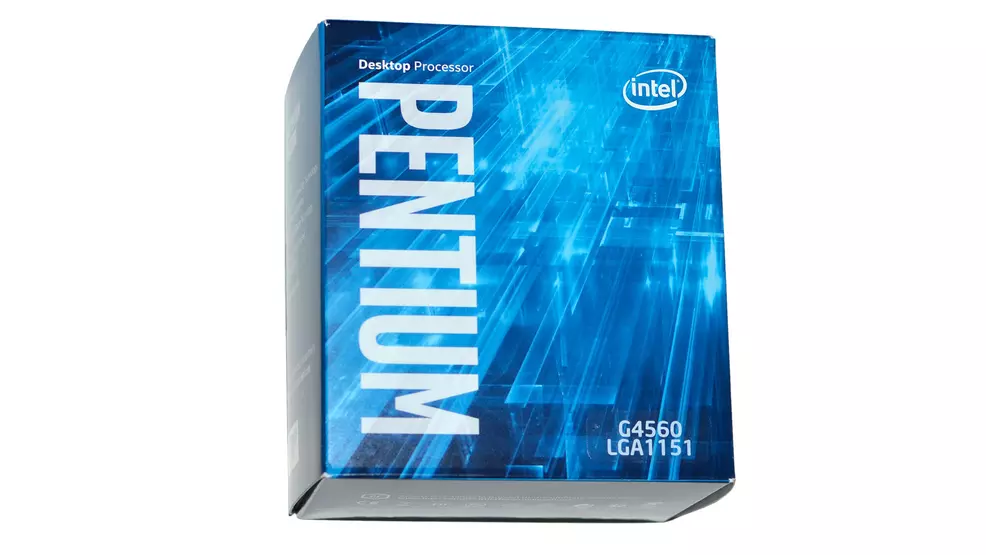
CPU : Intel Pentium G4560
For years, most budget gaming PC builds started with the Intel Core i3 series or with a budget oriented AMD Quad Core APU. Builders were expected to spend at least $100+ on a CPU because any of the cheaper options would cause performance problems or bottleneck other components. In January 2017, Intel released the Kaby Lake line of CPUs. The line was nothing more than a refresh of Intel’s successful Skylake architecture and had chips that were mostly identical to the Skylake predecessors with the exception of bumps to clockspeed.
The Kaby Lake line introduced the very first K-series Core i3 CPU, the 7350K. Departing from years of locked processors, the 7350K is the first i3 released that has an unlocked multiplier and allows end users to simply overclock the CPU. However, it cost more than previous i3 chips and still fell short of i5 performance despite it’s near i5 price tag.
Sneaking into the bottom of the product stack was a dual core Pentium CPU known as the G4560. It is a 3.5Ghz dual core chip with a surprise that had yet to be seen from prior Intel budget offerings. The G4560 has hyper-threading enabled, allowing programs and games to run with 4 threads instead of two. This allows the G4560 to punch above its weight class and the performance it delivers has left the i3 series processors in a bad position when it comes to price versus performance. End users can expect the G4560 to reliably pair with GPUs all the way up to the $300 performance tier.
Thankfully, I don't need the CPU to power an expensive graphics card. It only needs to browse the web and serve up high-definition Youtube videos without breaking a sweat and the G4560 is perfect for this task. It runs cool and quiet, which is all that matters for our purposes.
CPU Cooler: Cryorig C7

While the G4560 comes with Intel’s stock CPU cooler and it will do an admirable job with this particular build, I went with the Cryorig C7 CPU cooler because of its performance, value, and because it fits in perfectly with the black and white theme of the build.
Motherboard: ASRock H270M-ITX

Motherboard selection becomes quite easy once you have chosen a CPU. All of the boards offer similar feature sets and options. Pricing is largely dependent on features like overclocking, number and type of USB ports, onboard networking, and RGB (gotta have that bling). For this build, choosing an Intel H270-based motherboard is a smart selection for a few reasons. It has all of the features of its bigger brothers with the exception of CPU overclocking ability, RAM overclocking, and number of SATA and USB ports. If you only need to hook up the basics (keyboard, mouse, headset), the cheaper models have you covered. If you have 6 hard drives, a webcam, Audio DACs, a USB panini press, and a few USB coffee mug warmers, opting into a more robust motherboard in the series will serve you well. Some of the premium boards offer extras like higher voltage USB ports for quick charging or special I/O needs.
For the purposes of this build, I have selected the ASRock H270M-ITX. It has 6 SATA ports for disk storage and 8 external USB ports. A Wifi adapter was a requirement for this build and the included Intel solution works perfectly. The Mini ITX form factor allows for building in smaller cases and he black PCB makes it a perfect choice for this build, as it will contrast nicely with the white components that will be stuffed into it.
Memory: Crucial Ballistix Sport LT 8GB (2 x 4GB) DDR4-2400
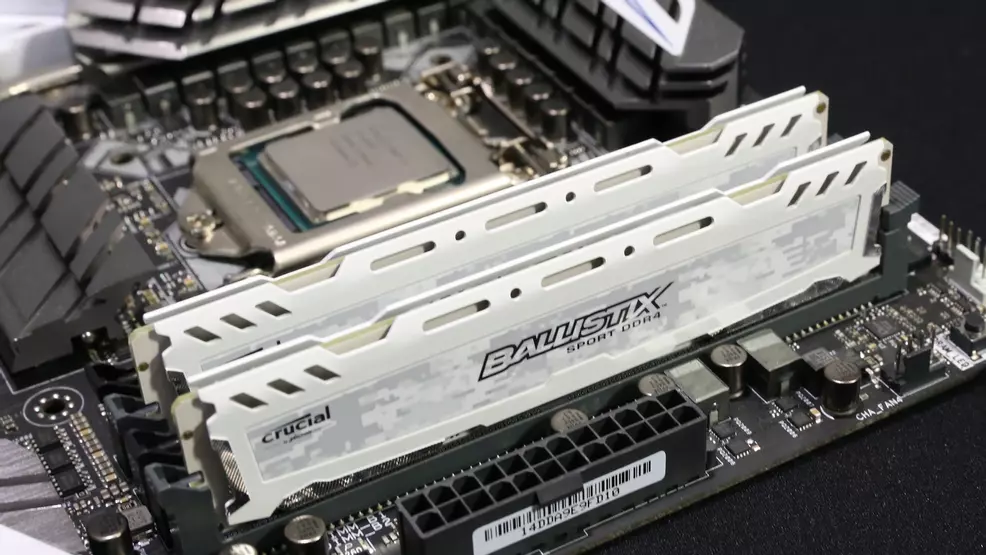
Selecting RAM is simple. If it fits and the motherboard supports the kit’s rated speed, a memory kit should work out fine. When going for higher speeds or if the builder has plans for overclocking the CPU and/or the RAM, choosing a kit that is on the motherboard manufacturer’s Qualified Vendor List is a must. This list is available on a given motherboard’s support page on the vendor website. While 16GB of RAM would be ideal for serious gaming builds, 8GB can satisfy the needs of this particular setup. I am selecting an 8GB kit, specifically the Crucial Ballistix Sport LT BLS2K4G4D240FSC. The kit has 2 4GB DIMMs and the white housing will show nicely against the motherboard’s black PCB. It is rated at DDR4 2400Mhz speeds, the official memory speed spec for Kaby Lake.
Storage: SK Hynix Canvas 120GB SSD

You have to install your OS on something, right? Solid state drives are more expensive than conventional platter drives but offer a massive jump in speed. I do not recommend building any new PC (or buying any laptop) in 2017 without a SSD. I chose the 120GB SK Hynix because it has a reasonable price, great looks, and has enough room for your operating system and applications. Obviously, it will not be able to hold countless modern AAA games due to increasing install footprints (glances at Doom 2016’s ever expanding waistline). For those who like having a big library of AAA games ready to play, adding in a conventional platter drive in a 2TB size would be a good idea.
Case: Phanteks Enthoo EVOLV ITX Mini ITX Tempered Glass Black

The case holds it all together. For new builders, it is the component that makes the difference between a fun, easy build and an hours-long exercise in frustration. For this reason, I chose a case from Phanteks. They operate out of the Netherlands and have been in the PC case business for about 10 years. In that short time, Phanteks has established itself as one of the best PC component manufacturers around. The Enthoo Evolv ITX TG is a shrunken version of the company’s award-winning Evolv ATX chassis. It is slightly larger than some competing ITX enclosures, but offers support for all your full-sized parts. It has a smoked tempered glass window that allows you to easily see all the important parts of the build and has amazing cable management on the back side of the motherboard tray.
The Enthoo EVOLV ITX TG can hold a 240mm or 280mm radiator if you decide to upgrade to an All-In-One or custom water cooling system. It has support for up to 200mm tall CPU heatsinks and can handle graphics cards up to 330mm in length. For those of you keeping track at home, that means you can easily fit your ¡VIDEO LOCA! Bitchin' Fast 3D 2000 GPU with ease. Your friends are likely to be green with envy when they see you pushing for the Bungholiomarks record in such a compact enclosure. It comes with a single 140mm Phanteks 3-pin case fan pre-mounted on the back panel.
Power Supply: Corsair CX 450 2017

The power supply gives all your components life. Skimp out to save money here and you risk endless crashes and frustration. Even worse, a poor PSU could end up taking your PC straight to Goochtown. The Corsair CX 450 2017 is a solid power supply from one of the most reputable companies in the business. It has all the connections this build needs and offers the ability to handle future upgrade to the CPU and GPU of this system. It carries the 80+ Bronze certification, meaning that it offers 80-85% efficiency at load.
Lighting: Corsair Lighting Node PRO
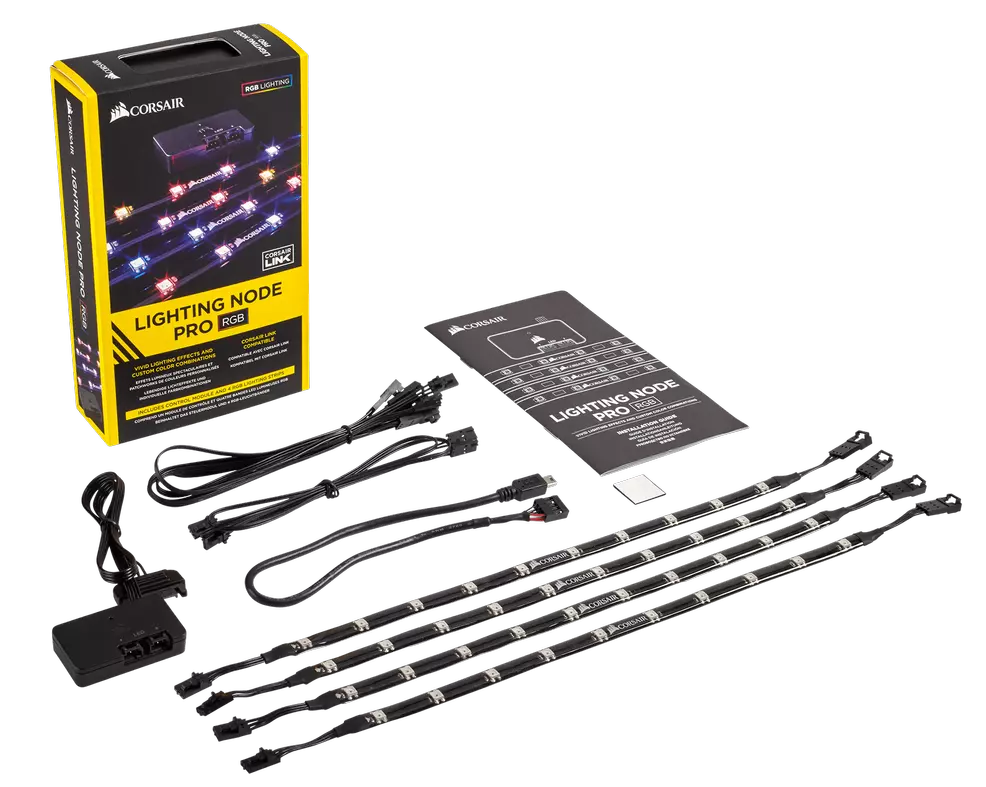
No real head-turning build would be complete without some LEDs. I chose the new Corsair Lighting Node Pro kit for a few reasons. First, it comes with a software lighting controller and individually addressable LEDs. The LEDs come on 4 daisy-chainable strips and they offer adhesive backing or the option to place them with the built in magnets. While this white build doesn’t explicitly need RGB capable lights, having the option gives the best visual results. You will be able to tune the strip to the exact shade of white that matches the system rather than being stuck with whatever color temperature you get with a generic white LED strip. As an added bonus, you can choose whatever colors you like when using the strips. Because many of the parts in this build are white, they will be excellent reflectors of your chosen color versus black, red or blue parts.
Sleeved Cable Extensions: Phanteks White Sleeved Combo

Your PC certainly doesn’t need sleeved cabling, but if you are going with a tempered glass side panel and want a clean and unique look, it is the only way to go. I chose the Phanteks Extension Combo because I didn’t need a full set of extensions for every cable in the build, only the 24-pin motherboard power plug and the EPS 8-pin CPU power plug. The kits also include a par of 6+2 pin PCI-E GPU power extensions but they were not used for this build. As an excellent bonus, the Phanteks extension kits come with a set of clear acrylic cable combs that help straighten up the wires and provide a very clean presentation.
Mouse: Steelseries Sensei RAW

This build did not need a gaming mouse, but I saw no reason to roll with bargain bin junk. The Sensei RAW has a nice rubberized coating and a minimalist approach. It reminds me of the classic Microsoft Intellimouse Explorer 3.0 with a few modern touches. The Sensei RAW is also an ambidextrous design, which work perfectly for my left-handed mother.
Keyboard: Logitech K120

It doesn’t get any more basic than this. A plain, plastic membrane keyboard that is simple and gets the job done for around ten dollars. Because she retired from competitive South Korean Starcraft a few years back, a fancy mechanical gaming board with macros and LEDs was deemed unnecessary.
Mouse Pad: Corsair MM300 Desk Mat

For years, my mother used cheap mice directly on the cheap wood veneer surface of her desk. She didn’t seem to mind it, but I loathed having to spend more than a few moments using that setup. I chose a Corsair desk mat that lays over most of the width of her desk and holds both the mouse and keyboard. It has an excellent feel and consistent friction that makes using the desk a joy. A slight amount of padding in the mat also provides a negligible amount of wrist support.
The Completed Build

A look inside the completed build with the tempered glass window removed

A closer look at the motherboard inside the case

Powered on with the Corsair RGB Strips set to white - The invididual LEDs are not visible when the case is viewed head on
The Wrap Up
Have opinions or questions about the build? Do you know of any alternate components that would fit nicely into the build? Let us know in the comments.
PS: We want to see your builds. I welcome any Shacknews reader or Chatty member to submit pics and details of your gaming PCs and/or desk setups. The best entries will recieve a write-up and be featured on the front page. Send any entries to my e-mail address (chrisjarrard@shacknews.com) using the subject line: Shacknews PC Builds.

-
Shacknews

 reply
replyChris Jarrard posted a new article, PC Build of the Month: Tempered Glass for Mom
-
-
[deleted]
-
I dunno, this natural light photo is almost contemplative. The calm after the storm, computing is restored.
https://s3-us-west-1.amazonaws.com/shacknews/assets/editorial/2017/09/septbuildside1.jpg
-
-
-
Your mom's a fan of RGB?
-
That is a nice clean look. I didn't know about that lighting kit.
What's up with those Xbox huge Intel Ethernet stickers though, that's crazy.
-
