
Destiny 2 - Spire of Stars Raid Lair Guide
A complete walkthrough of Destiny 2’s Spire of Stars Raid Lair.
Spire of Stars is the final Raid Lair for Destiny 2’s Levaithan raid, and it does not disappoint. This small-scale raid takes Guardians once more onto Leviathan, the giant planet-eating ship of Emperor Calus. The premise behind this experience is that Calus has an unwanted guest whom he’s grown tired of, and wants the players to remove him.
This will be the most mechanically-heavy activity a lot of Destiny 2 players would have ever experienced, demanding the full-attention of all members of the party. More than the mechanics, it requires an exceptionally high Power level (370) for the first two encounters and a whopping 380 for the final fight – so spend some time leveling!
Spire of Stars Raid Lair Guide
As mentioned above, the Spire of Stars Raid Lair has a Power level of 370, meaning it’s advised that average players attempt it at no lower than 370, while above-average players can make their way through at lower Power. In terms of the best weapons for Spire of Stars, it doesn’t really matter, as long as they deal solar damage. There are only solar shields in this Raid Lair, so take advantage of that fact by only using solar energy and power weapons. A standout option is Skyburner’s Oath, a solar Exotic scout rifle that deals bonus damage to Cabal units.
A new sniper rifle called Whisper of the Worm has made its way into Destiny 2 which basically trivializes bosses. If you haven't already, take the time to unlock Whisper of the Worm, as it will make the final boss fight a breeze.
Statue Garden

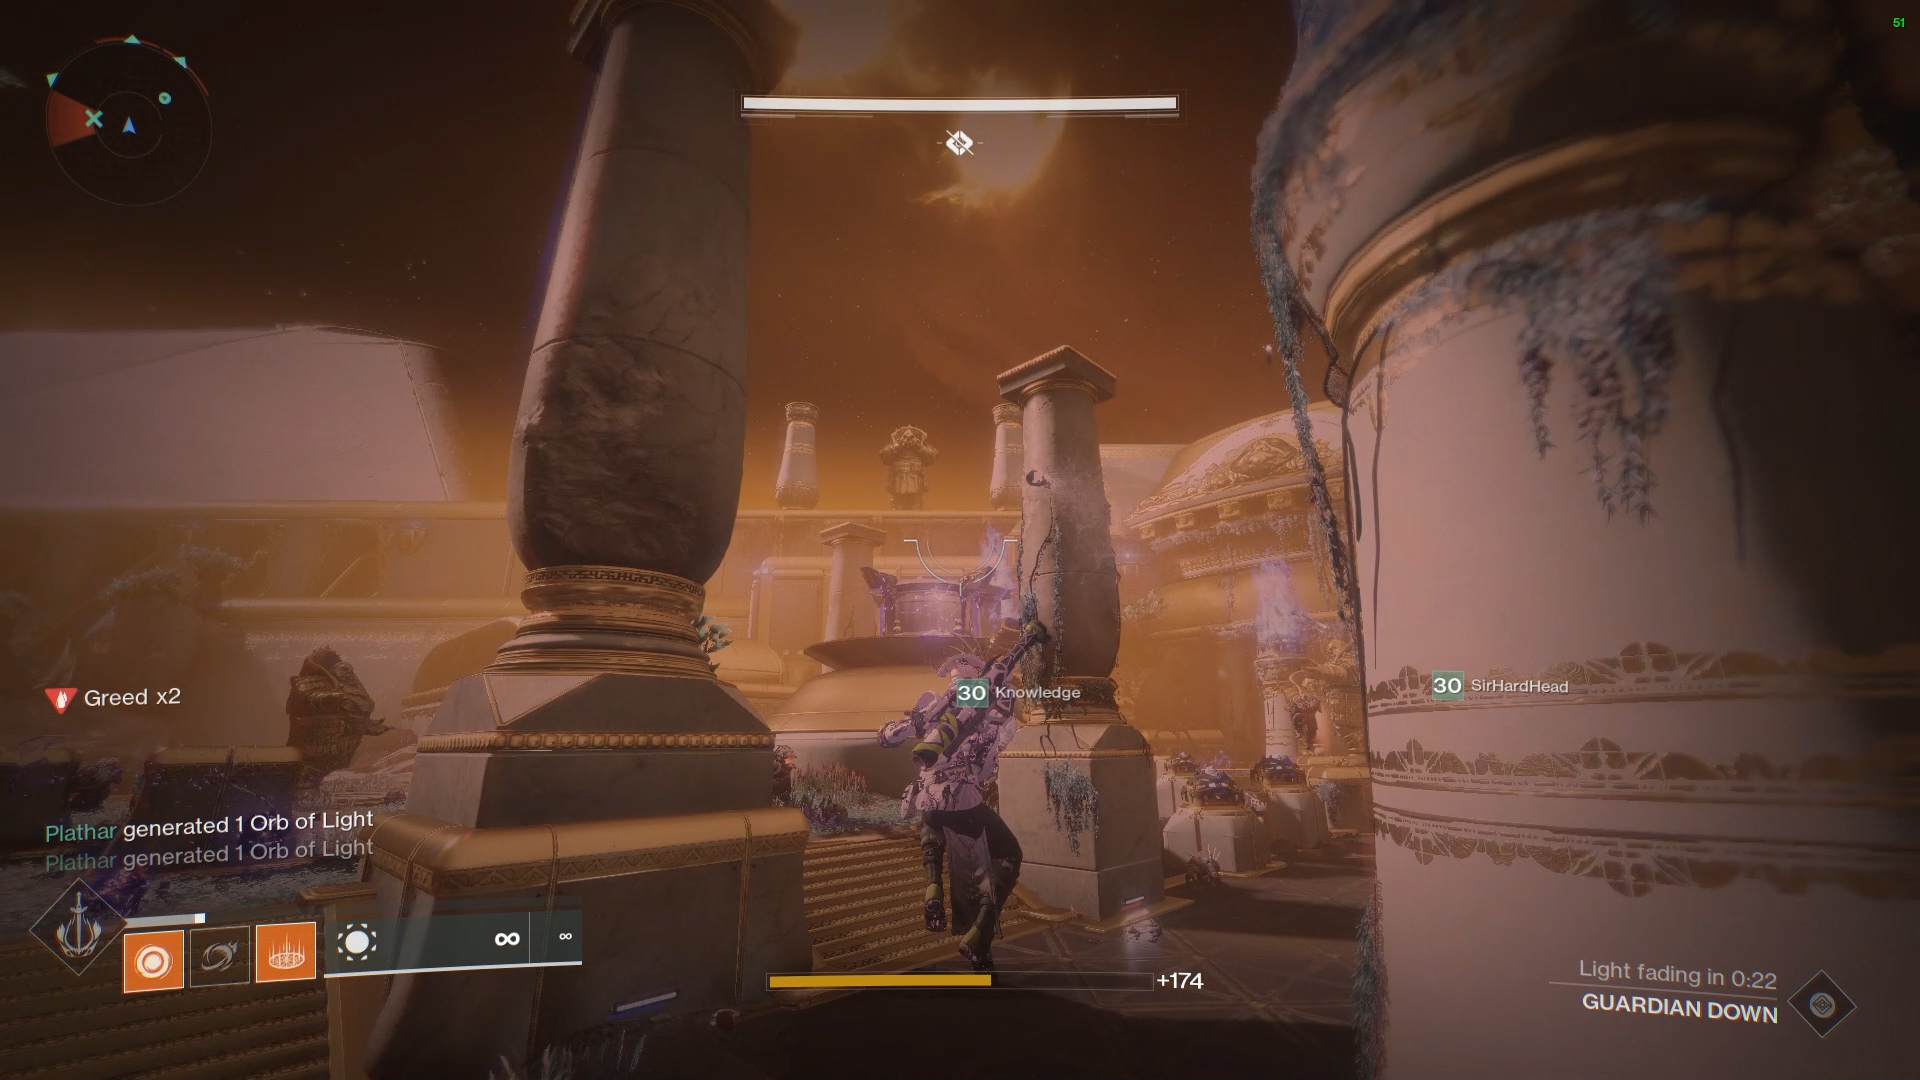
The first encounter in Spire of Stars takes place in the Statue Garden. The goal of this encounter is simple: throw the ball at the center dome after the shield is lowered, which happens once the ball has been passed from player-to-player as they stand on the four pillars.
Two pillars are located on the left and right of the arena, and when stood on by a player, gives a debuff called Engulfed. This debuff counts down to zero, at which point the player will die. The only way to stop from dying on a pillar is to hold the ball. Holding onto the ball adds a debuff called Greed that slowly counts up, and when it reaches 10, the player will die. Greed will slowly descend when the ball is no longer being held.

Standing on the pillar with the ball raises the pillar up into the air and all four pillars must be raised in order to lower the dome’s shield. Once the shield is lowered, the ball can be thrown at the dome to deal damage. If a pillar is left unraised for too long, a red fire will glow from a nearby brazier, indicating that the team will wipe if the pillar isn’t raised.
The way the Statue Garden fight plays out is as follows:
- Four players are assigned pillars and must stand near them, ready to receive the ball while two players are assigned the task of killing enemies.
- One player takes the ball, stands on the pillar and throws it at the dome to begin the encounter.
- The ball respawns and is then passed to one player who stands on the pillar to raise it. The ball is thrown to the next player to do the same thing. This is repeated for each pillar and will likely require two complete laps before the “Shield Lowered” message appears.
- Once the “Shield Lowered” message appears, the ball is thrown at the dome.
- These steps are repeated two more times to finish the encounter.
There are a few challenging parts of the Statue Garden encounter: line-of-sight, enemy numbers, and communication. Because the players who jump on the pillars will want to be near their platform, it can be difficult for someone with the ball to get a good angle to throw the ball to them. A good solution to this is to have the receiver stand in a position where the thrower can see them. When trying to pass the ball across the front of the arena near the statue, one of the two players whose primary focus is killing enemies can be used to ferry the ball from one side to the other.
As for the enemy number problem, all players will need to focus on killing as many enemies as possible immediately after they have thrown the ball. It’s important for them to listen out for who has the ball so they can quickly get into position to receive it, which leads into the next issue: communication.
Stating when the ball has been received and when it is being thrown is critical to passing this encounter. Throwing the ball when another player isn’t ready can result in a ball rolling away and causing a wipe. Players should listen to who has the ball and pre-emptively get into position to quickly receive the ball and raise the pillar.
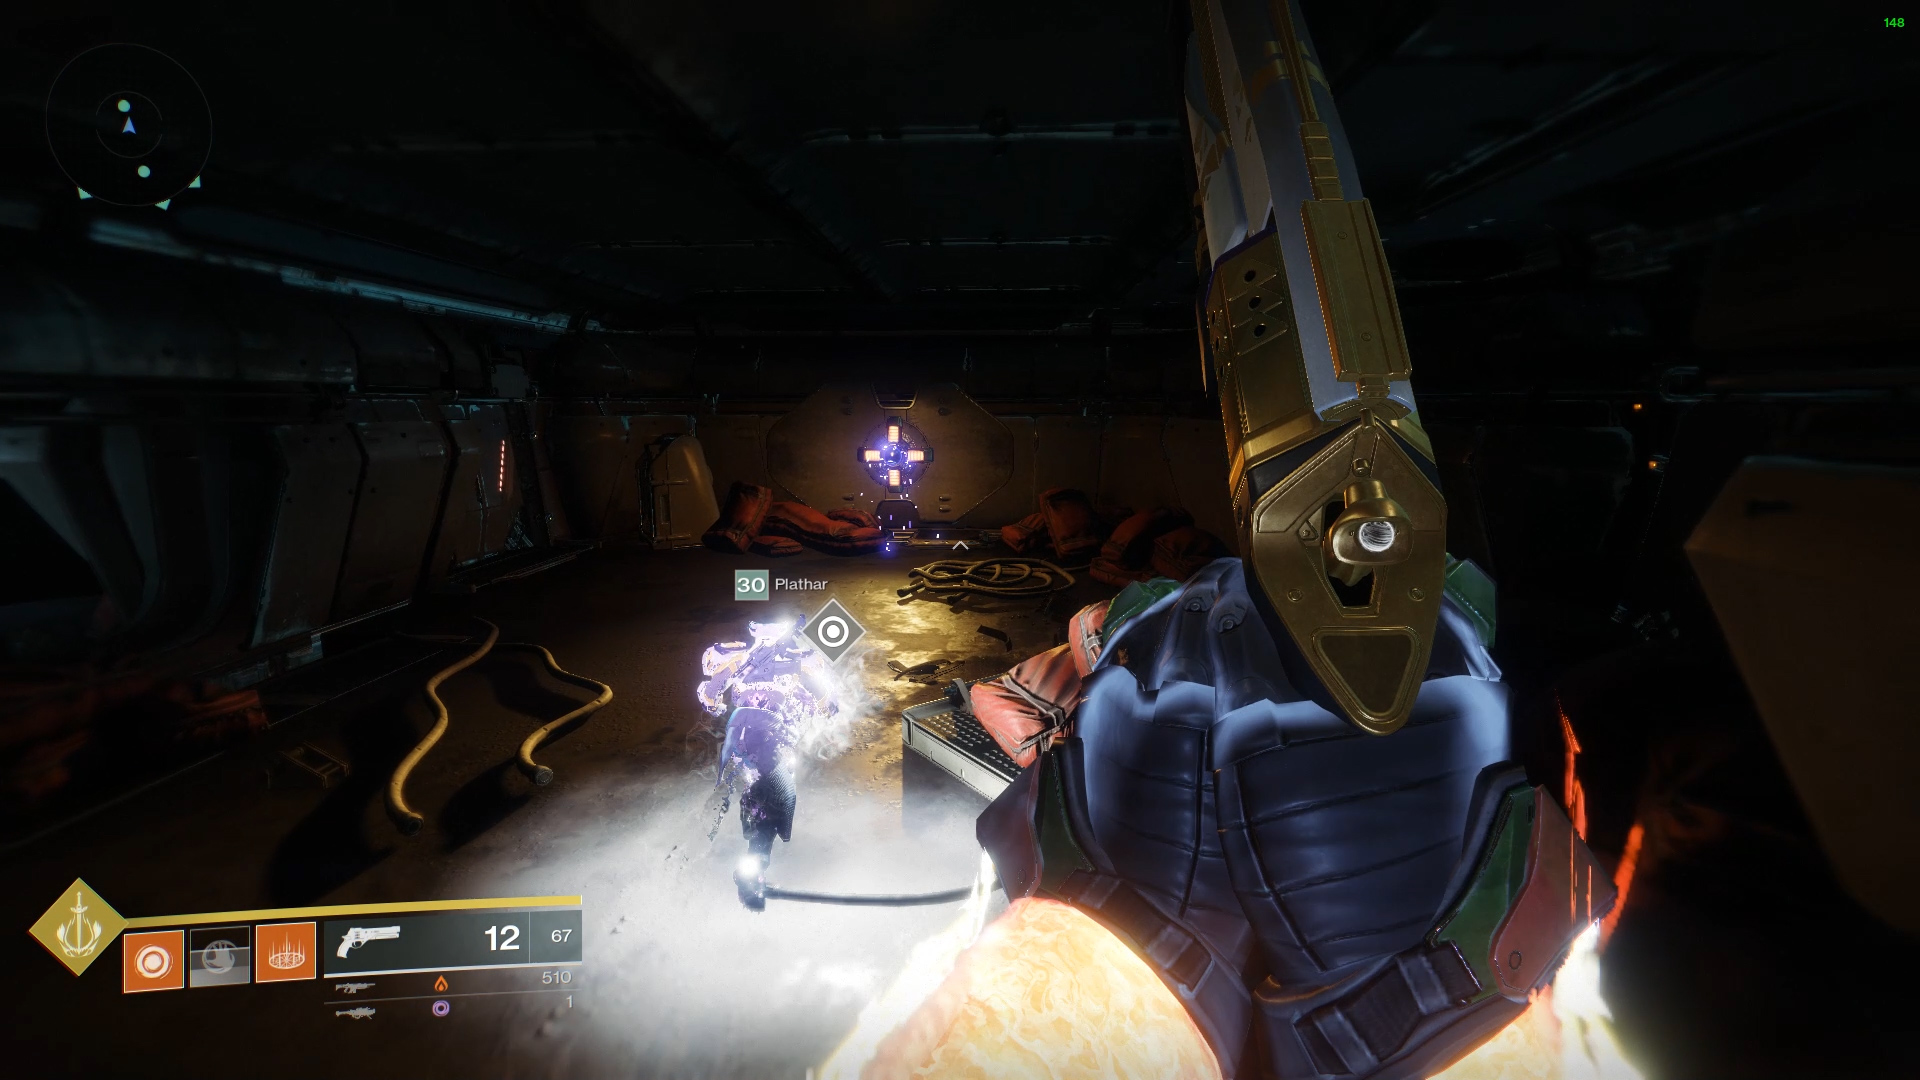
Power Conduit

Though it isn’t one of the main encounters in Spire of Stars, the Power Conduit can be one of the more challenging sections, especially for players who struggle with platforming. The main goal of this section is to carry a ball across the platforms and throw it into a socket.

It sounds simple enough, but the challenge is that the ball gives the same Greed debuff from the Statue Garden encounter, and once it reaches 10, the player holding the ball dies. This means players will need to play “hot potato” and throw the ball back-and-forth or down a production line of players.
This section can be started by heading to the right and into a room that contains a lever. The lever can only be activated when three players are in the room. Pulling the lever extends the bridge that will grant access to the next lever room.
The next step is getting the first ball, which can be found by going to the far-right where a solitary platform is jutting out. There is a box on the side of a pipe that must be shot, and then the roof above the platform should be destroyed. The ball will fall from the ceiling and must now be carried and thrown to the next socket. The rest of the Power Conduit follows this pattern, where the ball must be carried/thrown across the jumping puzzle and thrown into the socket.
A bonus chest can be found in this area by looking above the third ball-dropper for a secret path. Climb to the top of this structure to see a chest sitting by itself. Another chest can also be found at the very end of the Power Conduit, though a ball is required to unlock it. Take the final ball and continue toward the exit while making sure to pass the ball around. Once inside the building, go left and continue through the tunnel to spot a socket on the wall. Throw the ball into the socket to unlock the room on the left that contains the chest.
Celestial Observatory – Destroy the Ships

The Celestial Observatory is the final room in the Spire of Stars Raid Lair, and it’s where the Fireteam will encounter the final boss, but before then, there are three ships that must be destroyed. The goal of this encounter is to send one player into space with a ball and mist, who will then throw the ball at a ship to destroy it. There are only a few steps to this encounter, but it can very quickly become too much to handle when the enemies start pouring into the room:
- Clear starting enemies
- Stand on all four platforms to activate the central lift
- One player with the Superior Retainer buff goes into space and calls out symbol (square, circle, triangle)
- Other players stand on the three buttons to open the doors
- One player grabs the ball, then the mist, and throws it at the socket the Superior Retainer called out (square, circle, triangle)
- Stand on platforms to activate lift
- Superior Retainer grabs the ball, and the mist, enters the lift, and throws it at the highlighted ship
- Repeat the above steps until all ships are cleared.
This encounter begins once all the enemies in the room are defeated, at which point the four platforms around the entrance can be activated. With all four platforms activated, three players at random will receive a buff called Superior Retainer, and one of them must be sent up the orange tractor beam/lift/elevator in the center of the room.
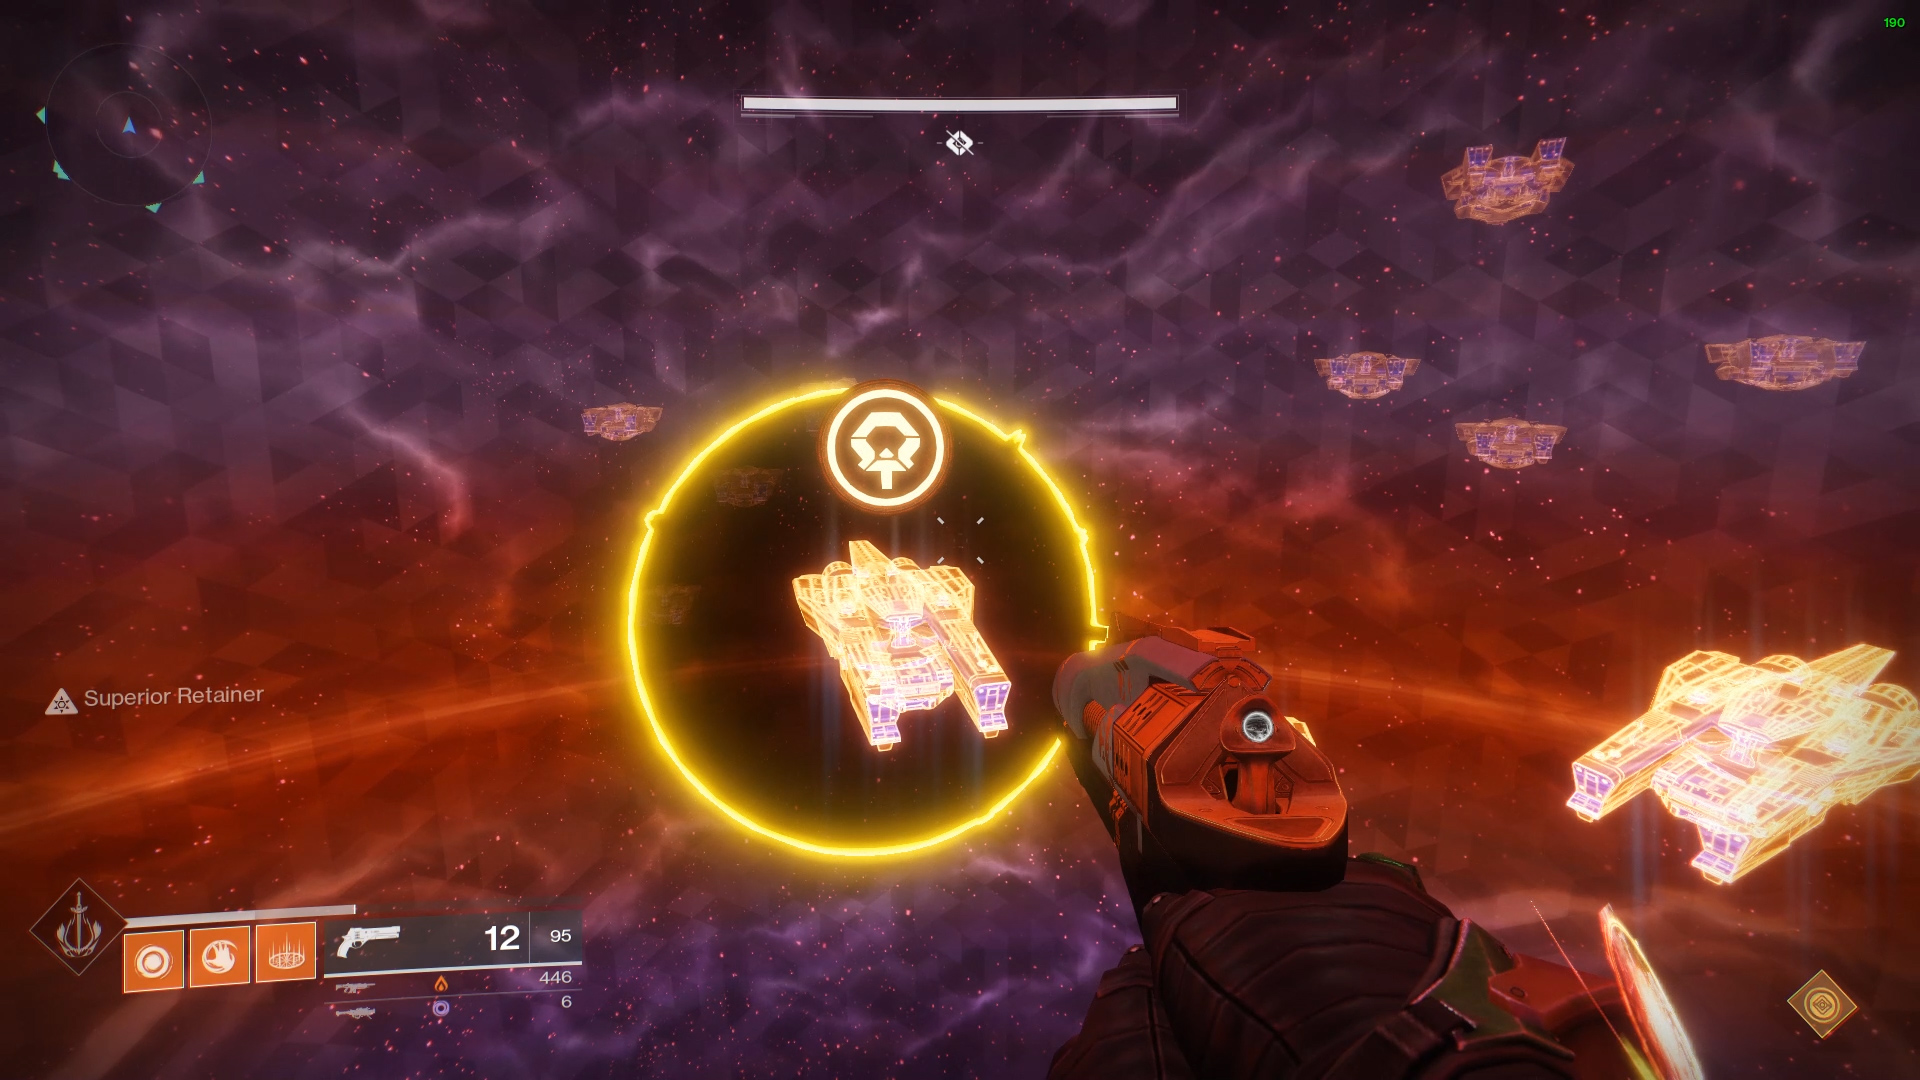
As the Superior Retainer enters the datanet virtual-reality realm, they will need to look for the ship that is highlighted and call out the symbol. The outside of the symbol will either be a square, circle, or triangle (ignore the odd icon in the middle). Whatever symbol is called out corresponds to one of the buttons down on the floor, and a ball must be thrown at the socket behind that door. The door will only open when all three buttons have a player on them. The player who picks up the ball will need to also get the mist in order to receive the Greed debuff, else throwing the ball at the socket will do nothing.

Once the ball has been thrown into the correct socket, the weapons will be armed and the Superior Retainer will need to be sent back into the virtual-reality realm with another ball and Greed mist combo. To do this, four players will need to stand on each of the four platforms while the Superior Retainer grabs the ball and mist and then approaches the lift.
When the Superior Retainer enters the other realm, they must throw the ball at the correct ship in order to destroy it in one shot. With the ship destroyed, the next round will begin and the above steps must be repeated. These steps must be repeated another two times in order to destroy all the ships.
Celestial Observatory – Defeat Val Ca’our
Once the three ships are destroyed, the fight with Val Ca’our can begin. This fight incorporates all the steps in the previous fight but also adds in a couple of additional mechanics. The goal of the Val Ca’our fight is to destroy two ships at once, and then throw three balls at the body of Calus at the same time in order to activate the damage phase against Val Ca’our.
There are a lot of steps to remember during this fight, and that’s on top of all the enemies that must be killed:
- Approach the Calus robot
- Clear enemies
- Pass around the ball to remove the Engulfed debuff, last person throws the ball at Val Ca’our
- Kill Gladiators
- Stand on platforms to activate lift
- Superior Retainer goes into space and calls out the two symbols they see
- Players stand on buttons to open doors while two players get the balls, the mist, and then throw the balls at the correct sockets
- Players stand on the platforms to activate the lift
- Two Superior Retainers grab the balls, the mist, go up the lift, and throw the balls at the highlighted ships
- Grab the ball, and then the mist, and hold onto it, grab the second ball, the mist, and hold onto it, grab the final ball, then the mist, and all players collect the Greed mist and then throw all three balls at the Calus robot
- Damage Val Ca’our
- Repeat these steps three times, and then grab all six balls and throw them at Val Ca’our to defeat him.

To begin the final fight with Val Ca’our, approach the Calus robot and then retreat to avoid getting squashed. Clear the enemies that enter the room and when all players receive the Engulfed debuff, quickly throw the ball between all six players to remove it. The last person to receive the ball throws it at Val Ca’our.

Shortly after Val Ca’our is hit, four yellow-health Gladiators will drop on the platforms. Quickly kill them and then three players will randomly be selected as Superior Retainers. Stand on the platforms and send one Superior Retainer up to call out the two symbols on the ships (square, circle, or triangle).

While the Superior Retainer is flying through space, it can be a good idea to have the other two Superior Retainers grab the balls and the Greed mist and stand on the buttons that were called out. When the Superior Retainer returns to the room, they should stand on the button that wasn’t called out. This leaves three other players as roamers to kill enemies.

Throw the two balls into the appropriate sockets that match the symbol the Superior Retainer called out. Four players should then stand on the platforms, activating the lift, while two Superior Retainers grab a ball, the Greed mist, and then go into the lift. Throw the balls at the ships, making sure not to throw two balls at one ship.
When the Superior Retainers return, another ball will be thrown into the room. Grab this ball and then immediately collect one of the mist debuffs in the center of the room. Shortly after this a second ball will enter the room, and the same must be done. Hold onto these two balls until a third ball is thrown into the room. Once the third ball is collected and the Greed mist applied, all three ball holders must throw the balls at the Calus robot. Keep in mind that the Greed debuff will count upwards, meaning the balls must be juggled between players while the other balls enter the room.
After all three balls hit the Calus robot, Val Ca’our’s shield will drop and the damage phase will begin. Deal as much damage to Val Ca’our as possible, using either Whisper of the Worm, D.A.R.C.I., Curtain Call, Sins of the Past, Coldheart, Supers, grenades, and even auto rifle fire. Val Ca’our’s shield will return, at which point the above steps will need to be completed. Players will have three rounds to deal damage to Val Ca’our or else he will wipe the team.
When Val Ca’our has been dealt critical damage and has no health left, more balls will appear in the room and every player will need to grab a ball and throw it at Val Ca’our. Once all balls have hit the boss, Val Ca’our will be defeated and the Spire of Stars Raid Lair will be finished.
Be sure to check out the Shacknews Destiny 2 Complete Strategy Guide for more walkthroughs, Exotic weapon breakdowns, and tips on farming.

