
Destiny 2 - Eater of Worlds Raid Lair Complete Guide
A complete walkthrough of Destiny 2’s Eater of Worlds Raid Lair.
The first of two Raid Lairs has been released for the Leviathan raid in Destiny 2. Known as the Eater of Worlds Raid Lair, this small-scale raid takes you into the gaping maw of the Leviathan to help Calus fix the engine. While it might be technically shorter than the main raid, the Eater of Worlds Raid Lair can be just as challenging.
Eater of Worlds Raid Lair Complete Guide
The Eater of Worlds Raid Lair introduces Destiny 2 players to a different kind of raid. Set aboard Leviathan, the Eater of Worlds Raid Lair exists in the same space and expands on the experience delivered in the original raid. Despite its short length, the Eater of Worlds poses its own set of hurdles.
Jumping Puzzle
After walking in the front door and descending into the belly of the beast, the Eater of Worlds Raid Lair greets you with a vast open area with purples hues. This is your classic jumping puzzle, where you must work together with your teammates to move from the start to the finish.
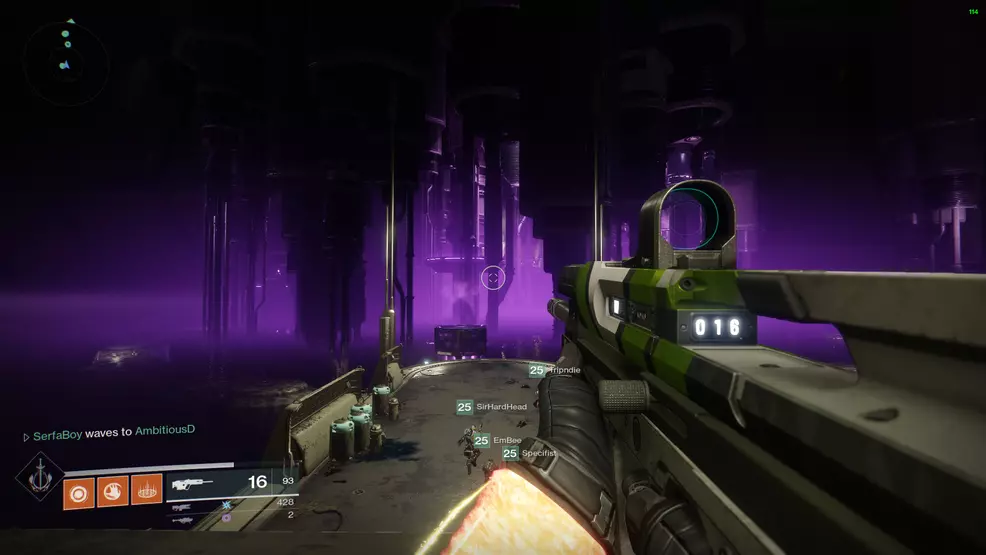
The main tip for this section is that only one person can stand on a platform at a time, else the platform will sink back into the water. To progress, you should form a conga line, only jumping to the next platform when the person in front of you moves. It’s worth noting that the platforms only stay above the water for a short amount of time before retreating, so being fast is essential.
The jumping puzzle is split into different sections, with sturdy checkpoints along the way. Once four people make it to a checkpoint, the platforms will rise permanently, allowing stragglers to catch up.
At some points in the challenge, you will need to split the team into two, with both teams working one path of platforms while the other team moves along the other.
It can become confusing on the final stretch, as the platforms seem to loop back on themselves, causing chaos for players who are at the back and lose track of what platform they should stand on next. Thankfully, this area has no respawn restrictions, so you’re free to die and retry as much as you need.
Wave Defence

When you reach the end of the jumping puzzle section of the Eater of Worlds, you will need to hold out in a small area while dozens of Cabal Loyalists flood the area, attacking you. Kill them all, but look out for the wave of Colossi Majors that spawn – killing these will complete the first proper challenge, granting you a reward from a chest.
Defuse Mines
Continuing on into the Eater of Worlds Raid Lair will deliver you to a floating platform inside a fiery hellscape. This is the final location in the Raid Lair and consists of two distinct fights. The first fight is to defuse the mines on the outside of the central structure in order to free the final boss. From here on out, the fights become mechanically challenging.
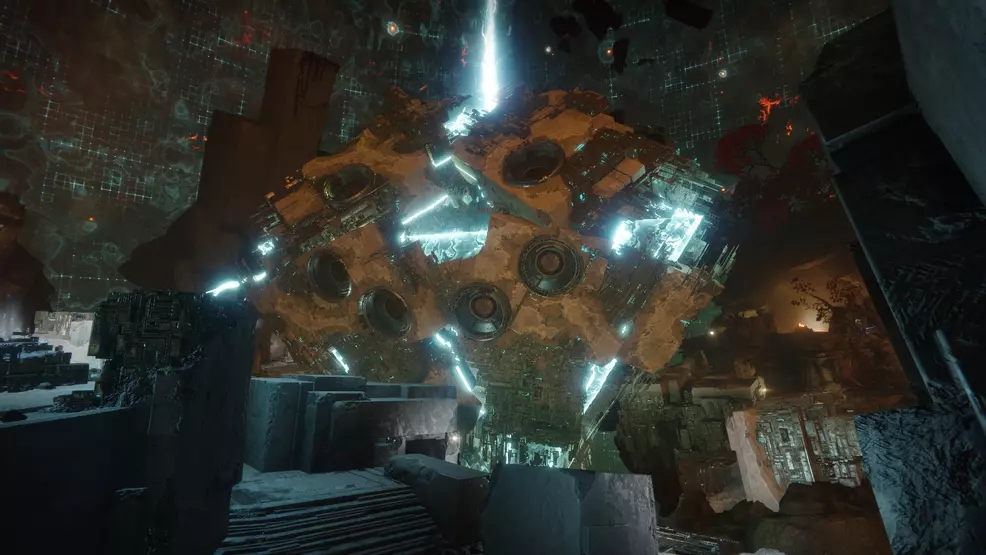
The main goal in this stage of the Raid Lair is this: Use charged Vex heads as lasers to destroy the mines that appear on the central structure, making sure to match the laser color with the color of the mines.
The arena is split into three sections called Expanse, Sphere, and Grove. These areas house Arc, Void, and Solar plates that are used to charge the Vex Craniums. These Vex Craniums spawn between each of the three areas of the map, on the little floating rocks and pillars.

Start the fight by picking up the Vex Cranium and then look out for where the mines spawn. They appear as diamonds in the holes of the structure. When the mines begin spawning, call out what elemental type they are, and then charge the Vex Craniums at the appropriate plates. For instance, if you see a Solar, Void, and Arc mine, you will need to charge a Vex Cranium at each of the three plates.
When a Vex Cranium is charged, use it to destroy the mine that its element type matches. A Void Vex Cranium can only destroy a Void mine, an Arc Vex Cranium can only destroy an Arc mine, and so on.
Only three mines spawn at a time, but it’s important to destroy them in the order that they appear – as they have an extremely short fuse and when one explodes, it will wipe the team. Clearing a section of mines will remove it from the structure, revealing what lies beneath.
Continue charging Vex Craniums and destroying mines until the final boss is revealed.
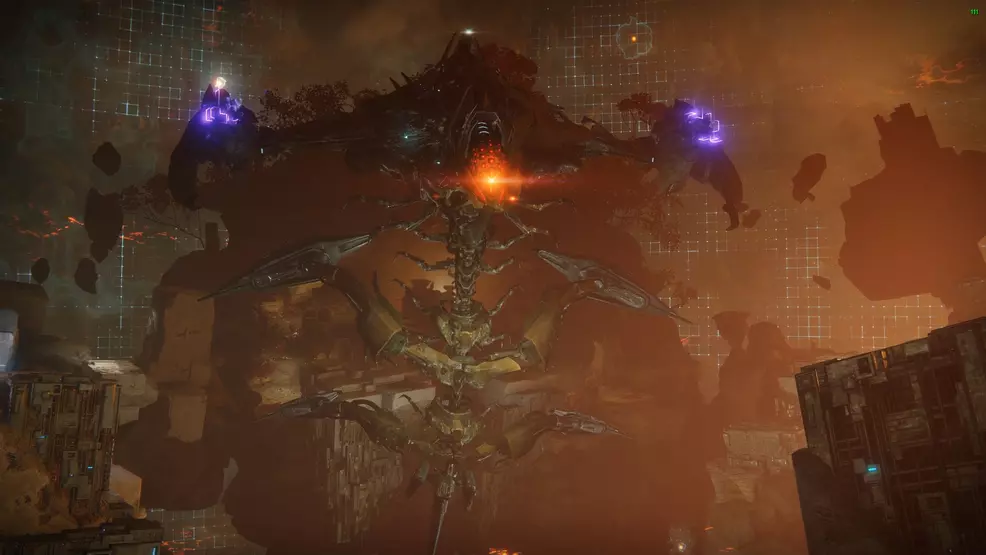
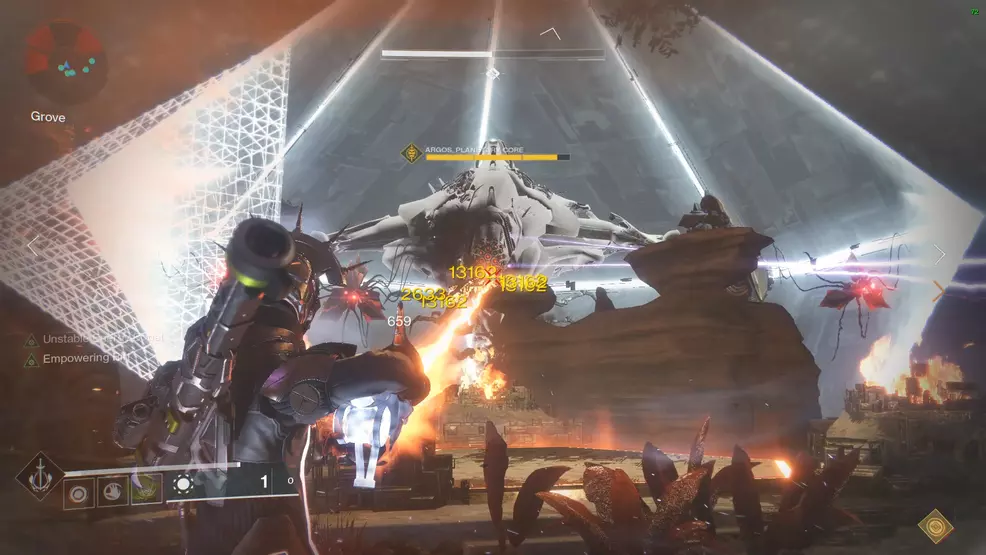
Argos, Planetary Core
The main goal of the Argos fight is to use charged Vex heads to shoot the three elemental orbs on the shield into the center, breaking the shield and allowing you to damage Argos. This fight uses similar mechanics to the previous encounter, specifically the charging fires and the Vex craniums.
Shield Phase
During the Shield Phase, you will need to charge Vex Craniums in order to match the elemental orbs floating at the points of Argos’ shield. Argos will face one of the three charging plates in the area, either the Solar, Void, or Arc plates, and you will only be able to see the required elemental types from this plate.
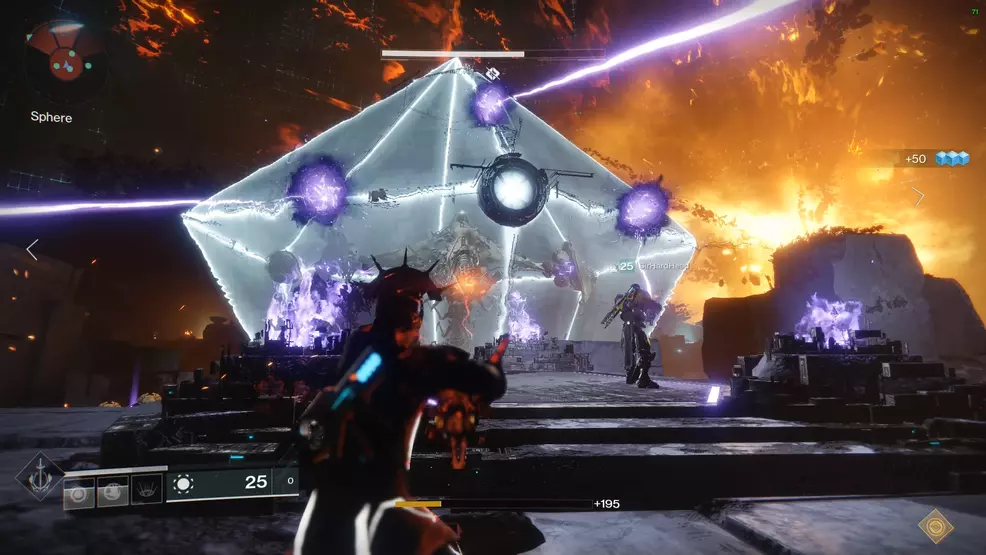
As an example, if Argos is facing the Solar plate, this is where everyone will need to group in order to take down the shield. Players will need to quickly call out the three elemental orbs they see floating a the points of the shield, i.e.: Solar, Solar, Arc. This would mean you need to charge at least two Vex Craniums at the Solar plate and one at the Arc plate, then the remaining three Vex Craniums at any spare slot.
Once the appropriate Vex Craniums are charged, assign players to pick them up and shoot the elemental orb that their Vex Cranium matches. When shooting the correct elemental orb, it will travel toward the center of the shield toward the hole. When all three reach the center, the shield will break and you must deal damage to Argos.
When Argos’ shield is down, he is vulnerable to attack, but will continue to attack you. Argos will send out a net that detains anyone it touches and carries them off into space. Anyone who is not detained will need to shoot their teammates free. Argos will also launch six homing missile Harpies that deal considerable damage. Simply dodge the net to avoid getting detained and shoot or avoid the Harpies before they reach you.
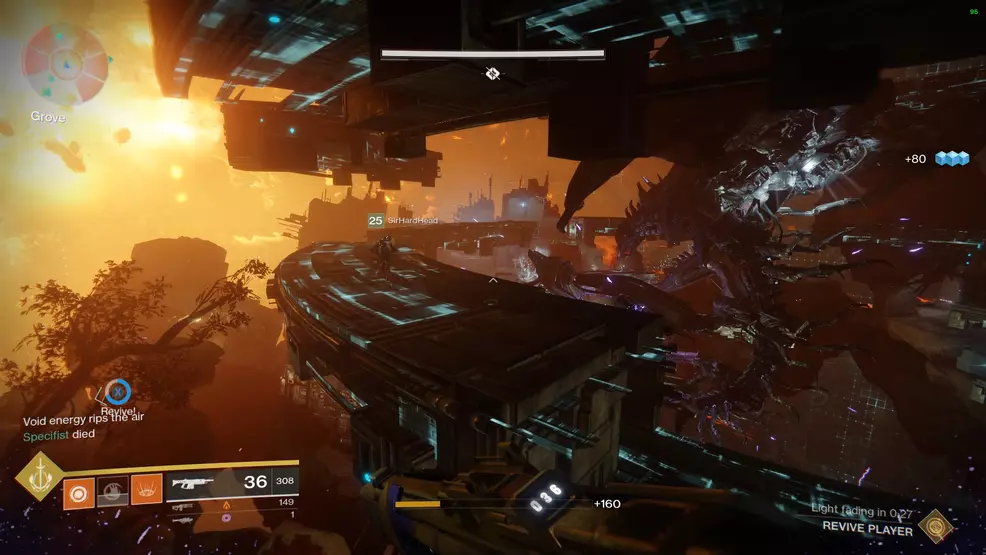
Ring Phase
After a short period of damaging Argos, the shield will reappear, giving you enough time to clear adds and collect ammo, however, you will need to be quick as a wipe mechanic will begin soon. Argos’ shield will disappear and be replaced by floating rings. The boss will then begin to summon a ball of Void energy between its limits, and if it is not interrupted, it will wipe the entire team.
In order to prevent Argos from completing the team wipe, you must destroy a pair of white glowing points on Argos’ body. There are three pairs of places you must shoot: Argos’ upper arms, under Argos’ armpits/shoulder blades, and Argos’ hump/back/head.

To do this, you must separate into two teams of three players and focus on one side each. One team will focus on the left weak point while the other focuses on the right. As an example: when Argos enters the Ring Phase, all players jump onto the rings, go to their specific side, and shoot the white parts on Argos’ arms until they break. Once the white part of the arms break, you can prepare for another Shield Phase. When the next Ring Phase comes around, you will need to destroy a different part of Argos’ body.
Note: Dealing damage to Argos’ white parts turns them red. Keeping them red is what destroys them, not the amount of damage you deal. This is why it’s better to use Auto Rifles, as they have large clips and can keep the parts red for longer.
Argos Boss Fight Tips
Dealing enough damage to Argos is undoubtedly going to be the main issue when you get to a damage phase. While any build and gear loadout will work, the following weapons were found to be incredibly beneficial for gaining maximum DPS:
- Kinetic: Auto Rifle
- Energy: Prometheus Lens
- Power: Curtain Call/Sins of the Past
Any of the Kinetic Auto Rifles will deal considerable damage to Argos, especially Origin Story and Ghost Primus. Prometheus Lens is currently an extremely powerful Energy weapon, capable of taking out large groups of enemies with ease. Finally, Curtain Call remains one of the best burst-damage weapons (other than Merciless).
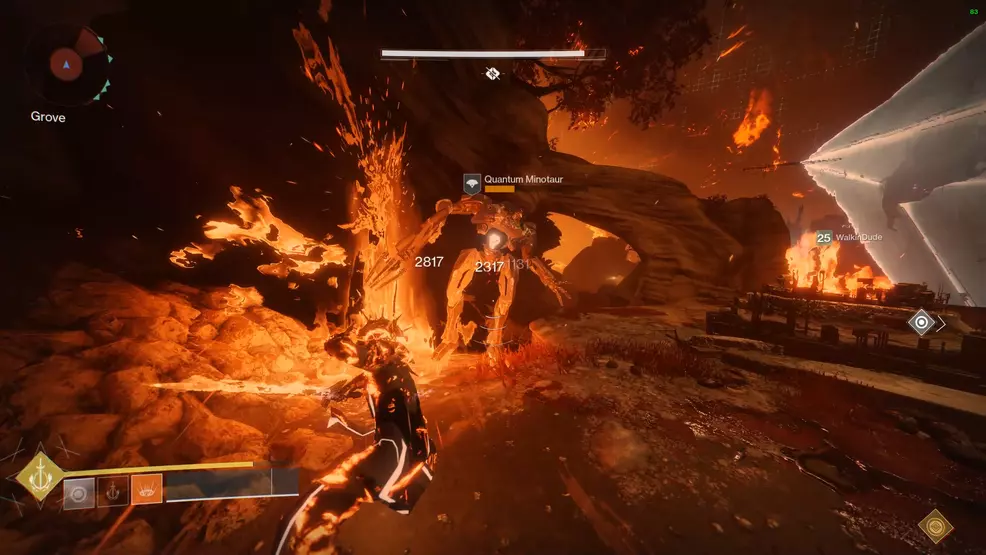
For every one Vex Cranium that is placed in a charging plate, two Quantum Minotaurs will spawn at that location. This means, if you place three Vex Craniums at the Arc plate, six Quantum Minotaurs will spawn there. This is excellent for Power ammo drops, but it can be problematic when this is done on the plate where your team will be dealing damage to Argos. Ideally, you want the least amount of enemies at the place where you’ll be shooting Argos. For this reason, once you know where you’ll be dealing damage, only put the minimum amount of Vex Craniums in that plates’ charging fires.
A total of six Vex Craniums spawn during the Shield Phase, and while you only need three Vex Craniums to remove the shield, it is critical that you use the three spare Vex Craniums to deal damage to Argos. They deal an absurd amount of damage, so avoid using them on small enemies, and if there is any charge left in the Vex Craniums after moving the elemental orbs, use it on Argos.

Once a Vex Cranium is charged, it should be taken to the plate where you will be damaging Argos. Keep in mind that, if you drop the Vex Cranium, you only have a short amount of time before it disappears – so pick it back up quickly!
Controlling the amount of enemies on the field is also crucial to your success. Whenever you have time, or it is optimal, use your Supers to take down enemies. Dawnblade is surprisingly powerful given its ability to gain energy off of kills – it’s able to last a significant amount of time. Nightstalker is equally useful for Orb of Light generation, as are Sunbreakers and Sentinels for their long-range Supers.
Finally, as always, Warlock Empowering Rifts are overwhelmingly useful, as are Titan Rally Barricades. Use these in combination to deal insane amounts of damage to Argos – you’ll need it!
The Eater of Worlds Raid Lair offers a great challenge for players looking to experience even more of Destiny 2’s epic Leviathan set piece. Make sure to check out our Destiny 2 Complete Strategy Guide for more walkthroughs and tips!

