
PUBG Graphics Guide: Increase Your FPS
A guide to PUBG graphics settings and how to optimize your setup for high-resolution chicken dinner.
After selling 5 million copies in as many months, PlayerUnknown’s Battlegrounds has become a PC gaming kaiju, stomping through all but the most popular competitive titles. For some context, PUBG has been eclipsing the concurrent user count of CS:GO for a couple of weeks now and is on pace to surpass the quintessential squad shooter in total hours played per week. All your friends are playing PUBG (or at least the cool ones) and you want to get in on the action or maybe you already bought in but your toaster can’t keep up with all the helmet poppin’ and bike flippin’. You will need a very powerful PC (or upgrade) if you want the best chance at tasting that sweet chicken dinner with excellent image quality, but compromises can be made that will allow your current hardware to get the job done. In this guide, I will go over which settings you can optimize to gain some extra performance.
Getting started, you should know that PUBG is still in early access and has yet to receive the all important final optimization pass that most games get in the months prior to release. The action can get choppy at times and the occasional spikes in performance will occur, no matter how good your PC hardware is. It is likely that things will get better as development progresses, but this guide will focus on which settings you can alter get extra fps using the current build.
PlayerUnknown’s Battlegrounds Minimum Requirements
Let’s start with developer BlueHole’s list of minimum requirements:
- OS: 64-bit Windows 7, 8.1, or 10CPU: Intel Core i3-4340 or AMD FX-6300
- GPU: NVIDIA GeForce GTX 660 2GB or AMD Radeon HD 7850 2GB
- Memory: 6 GB
- Storage: 30 GB
- DirectX: 11.1 compatible video card or equivalent
Admittedly, that list is really nothing more than wishful thinking. While it is possible to start the game and join a server with similar hardware, the experience will be lackluster and prone to constant stutter at any resolution or settings. A second generation Intel Core i5 or newer and 8GB of ram is around the bare minimum you need to run the game on low settings at 1080p. Also required will be a GPU like the NVIDIA GTX 760 or AMD Radeon 7970/R9 280 or better. Ideally you should be using a GPU with at least 3GB of vram. For a somewhat stable 45-60fps at 1080p with medium settings, a GPU in the neighborhood of the GTX 970/1060 or Radeon R9 290/RX470 is required.
For higher settings and resolutions like 1440p, a modern Core i5 K or Ryzen 5/7 CPU with 16GB of ram is recommended. On the GPU side of things, a GTX 980 Ti/GTX 1070 or better will be required. The game currently has issues with AMD architectures, so I can’t recommend the new RX Vega cards for PUBG until further optimizations or driver updates occur.
Achieving a rock solid 60fps with the highest settings at 1440p can currently be done using a Core i7-7700K and GTX 1080 Ti combo. This hardware setup is also capable of driving the game beyond 100fps, but will still see spikes down into the high 60s and 70s.
Let’s go over the graphics settings and what they mean for image quality and performance.
PUBG Graphics Settings
Quality
This preset encompasses all of the other settings under one umbrella. When you set this option to low or high, all of the individual graphics options will change to match. This preset is one of the fastest ways to increase or decrease image quality and performance, with swings of up to 50% in framerates.
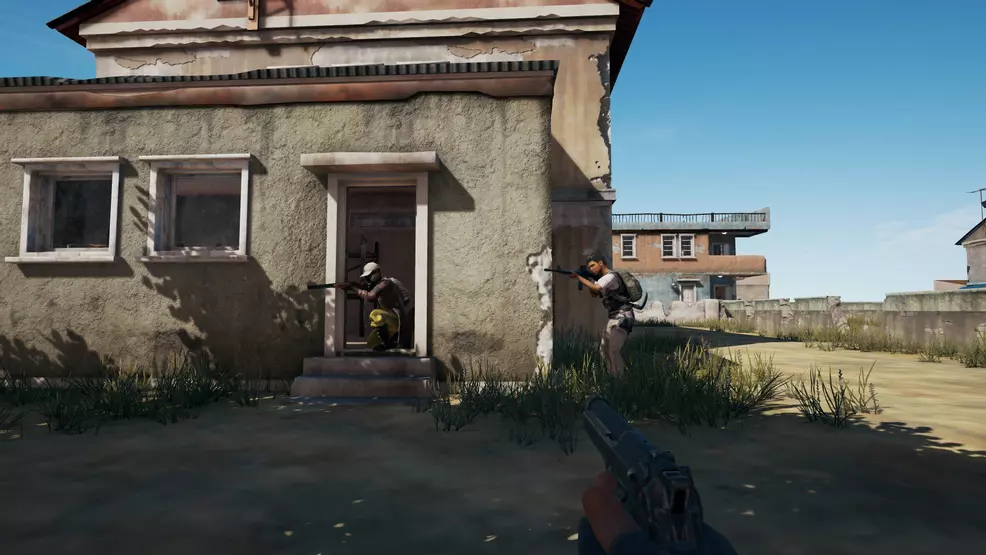
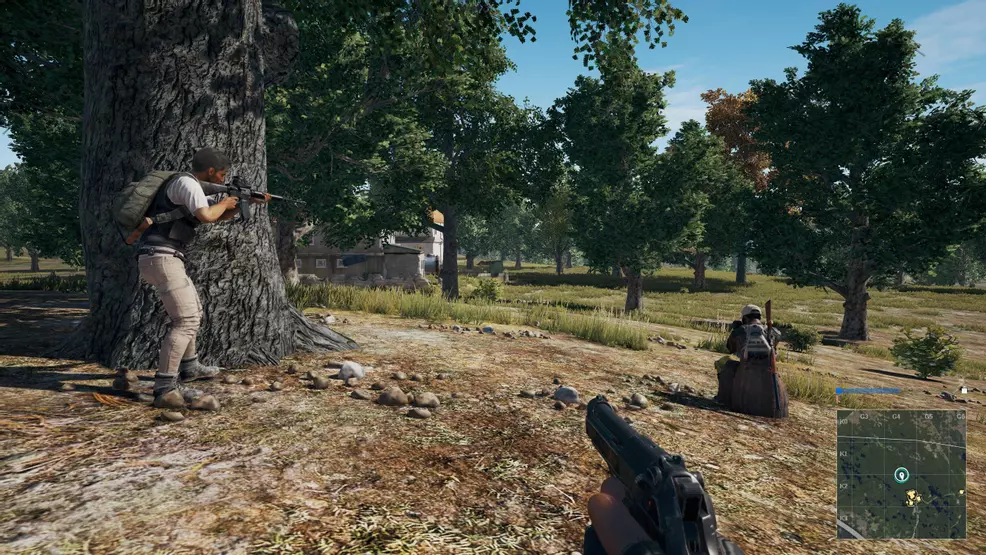
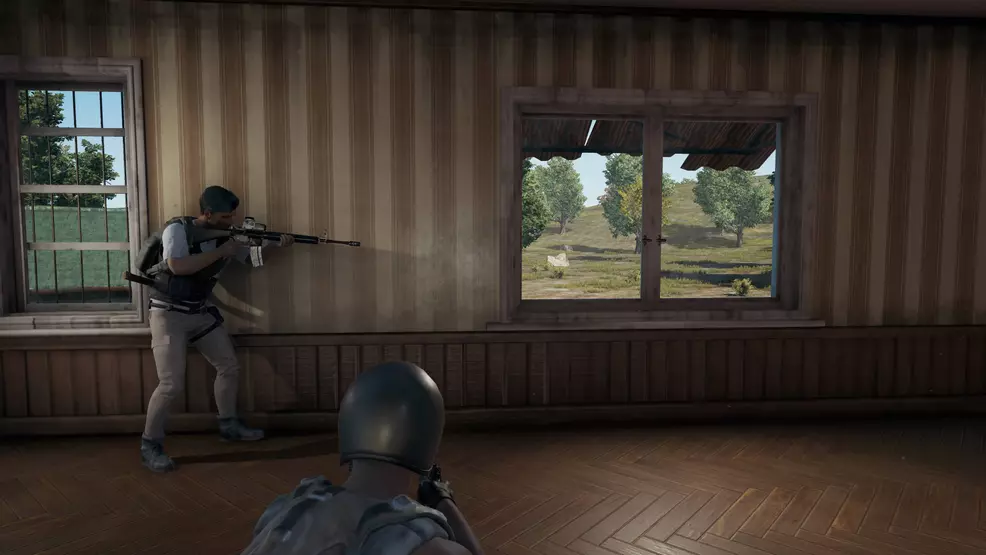
To demonstrate the differences between quality settings, I entered a PUBG match with fellow Shacknews staffers Asif Khan and Charles Singeltary and snapped some screenshots using the Very Low and Ultra presets. An album of the comparison shots can be seen here.
Resolution
This option defines what resolution (duh) the game will render at. The rendering resolution can have a massive increase on image quality and your ability to spot movement while playing. Increasing resolutions will incrementally tank your performance if you don’t have the hardware to back it up. It is not unheard of for 1080p to perform 3 times faster than 4K on the exact same hardware. Ideally, you want to play the game at your monitor’s native resolution.
However, if your hardware is not up to the task (or overpowered) you have the option of using your GPU driver’s built-in scaling options. Sometimes, choosing to upscale from a lower resolution will allow you to hit your performance goals without sacrificing other quality settings. For example, if you are unable to get the performance you want on a 4K monitor (3840x2160), running the game at 3200x1800 can give a ten to twelve percent framerate boost with almost no visible loss in overall image quality. A more thorough explanation of how to enable GPU scaling is listed below the settings overview.
Post-processing
This setting encompass many different individual effects, including depth of field, ambient occlusion, and color grading. Unfortunately, players have zero control over which of these effects are used and to what degree. I personally prefer this setting as high as possible, because the ambient occlusion makes a huge difference in image quality. Those who cannot deal with depth of field will likely keep this at very low. Overall, the extremes of this setting can mean a difference of close to twenty percent in your average framerate.
Shadows
The shadows setting controls the overall resolution and number of shadows that will be drawn in for a scene. The lowest setting removes the majority of shadows, especially indoors and can drastically change the overall look of the game. The medium setting restores these shadows. The higher settings further refine shadow resolution and offer some very nifty soft shadows. Generally, players can opt for the medium setting and get a decent performance boost without drastically changing the image quality. Competitive players may choose the lowest setting in an attempt to gain any visual advantage possible versus the immersion of a nicer looking scene.
Textures
Texture quality affects how detailed the in-game textures appear. For the most part, this setting has little performance impact as long as your GPU has enough Vram to handle the load. Any cards with 4GB of Vram or less should avoid the highest setting, which needs around 6GB to spread its legs.
Anti-Aliasing
This setting helps remove the jagged stair step effect from hard edges and things like leaves and chain link fencing. Any setting above low will also help reduce the shimmering effect you see as you run past trees and bushes. Some players avoid turning this setting up at all because of the general blurring that occurs at the edges. It is up to you which setting to go with as it has a very small effect on performance.
Foliage
The foliage setting allows players to slightly increase the visual fidelity of bushes and a few types of leaves. The setting has no effect on the distance at which grass or other greenery is rendered. This one is all up to personal preference and has little to no performance impact.
View Distance
A settings that determines the distance at which building models are rendered to the player. Typically, this option only applies to structures that are extremely far away from the player. It is easiest to notice the difference between presets when you dive from the airplane. On ultra, virtually all structures are visible to the player while falling. On the lower settings, those same structures will pop-in as you get closer to landing. Like foliage, this setting has a negligible performance impact. For those on lower-end systems, running this on very low can give you a slight boost with almost zero change in image quality once the boots are on the dirt.
Motion Blur
Just like the name implies, the motion blur add a slight blur to fast moving objects on your screen, be it a Dacia roaring past or the elbows on your dude as you run from the circle. There is no performance difference with this setting, so it all comes down to personal preference.
GPU Scaling
While significant amounts of performance can be regained by adjusting the various settings, the gains are not cumulative when combined. Still, you can expect dropping multiple settings to eek out some much needed frames when it counts. For the quickest impact, dropping your post-processing and shadows to medium can give you a respectable boost with an acceptable loss in image quality. For those of you that are seriously struggling with performance, do consider lower your resolution and using your GPU’s built-in upscaler.
For AMD users, scaling can be enabled by right-clicking on your desktop and selecting AMD Radeon Settings. When the window opens, select the display tab and turn the GPU scaling option to “On” and the Scaling Mode to “Aspect Ratio”. When these options are enabled, selecting any non-native resolution in PUBG will let the game render in the non-native resolution while still outputting your monitor’s native resolution.
For Nvidia Users, scaling can be enabled by right clicking on your desktop and selecting NVIDIA Control Panel. Once the window opens, choose “Adjust desktop size and position” under the display menu on the right-hand pane. There will be a pulldown menu under the text, “Perform GPU Scaling On:”. Set this to GPU and then make sure you select “Aspect Ratio” in the scaling mode options above this pulldown. When these options are enabled, selecting any non-native resolution in PUBG will let the game render in the non-native resolution while still outputting your monitor’s native resolution.

