
Destiny 2 - Eater of Worlds - Argos Guide
Everything you need to know about the Argos fight in the Eater of Worlds Raid Lair in Destiny 2.
Eater of Worlds, the first Raid Lair for Destiny 2, has launched, taking players deep within Leviathan to clear out the engine. At the very end of this new raiding experience waits Argos, the Planetary Core, a challenging boss fight for even the most experienced raiders.
Destiny 2 Argos Guide
This Argos guide for Destiny 2 will breakdown the multiple stages of the fight, the strategies you can employ, as well as the ideal player builds. Be sure to check out our Eater of Worlds Raid Lair Complete Guide for details on how to do the other elements of the raid, including freeing Argos from his cage.
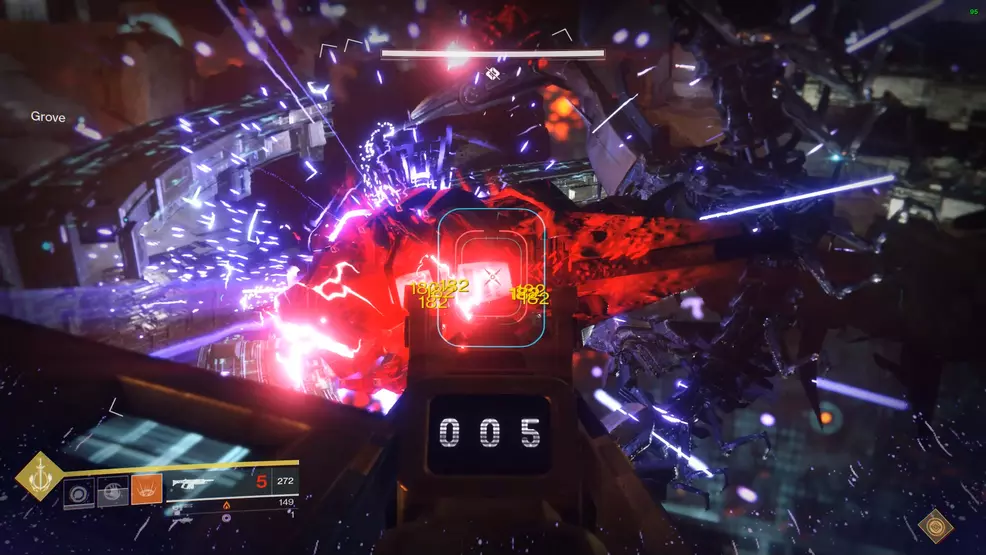
The Argos fight in the Eater of Worlds Raid Lair tasks you with charging Vex Craniums in order to shoot the orbs that float around Argos’ shield, this lowers the shield, allowing you to deal damage to Argos.
Argos Shield Phase
The Shield Phase section of the Argos fight is defined as the time in which Argos has his shield raised, requiring you to collect the Vex Craniums, charge them at the appropriate plates, and fire them at the correct orbs. During this phase, six Vex Craniums will spawn – three followed by another three.
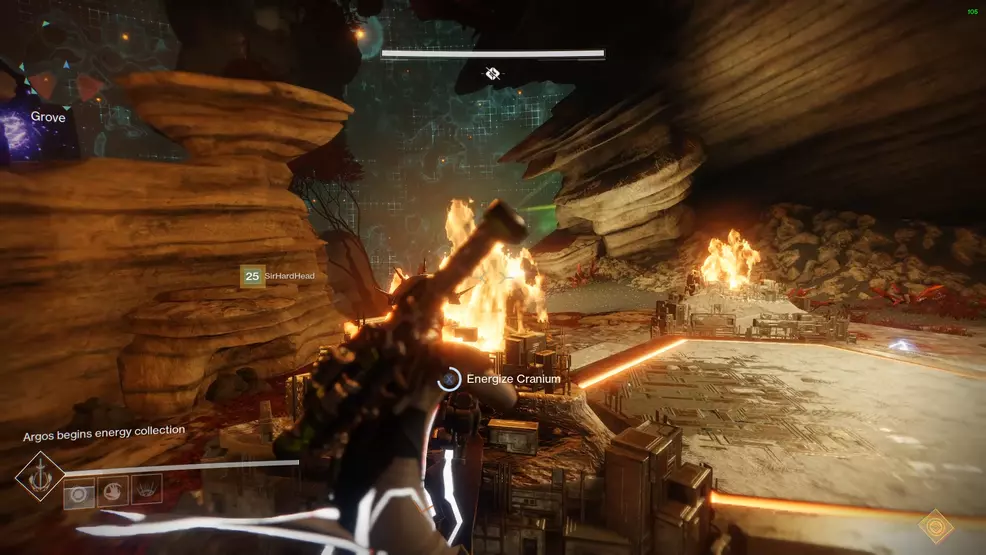
Begin by picking up the Vex Craniums and waiting for the element orbs to appear around the shield. Have a player call out where Argos is facing and the element orbs that appear. This will indicate to everyone else where you will be damaging Argos during the Damage Phase and how many Vex Craniums must be charged, and at what stations.
As an example, if someone calls out “Arc plate, two Void, one Arc” that means Argos is facing the Arc plate and that one Vex Cranium must be charged at the Arc plate and two Vex Craniums must be charged at the Void plate.
Note: For every one Vex Cranium charging on a plate, two Quantum Minotaurs will spawn.
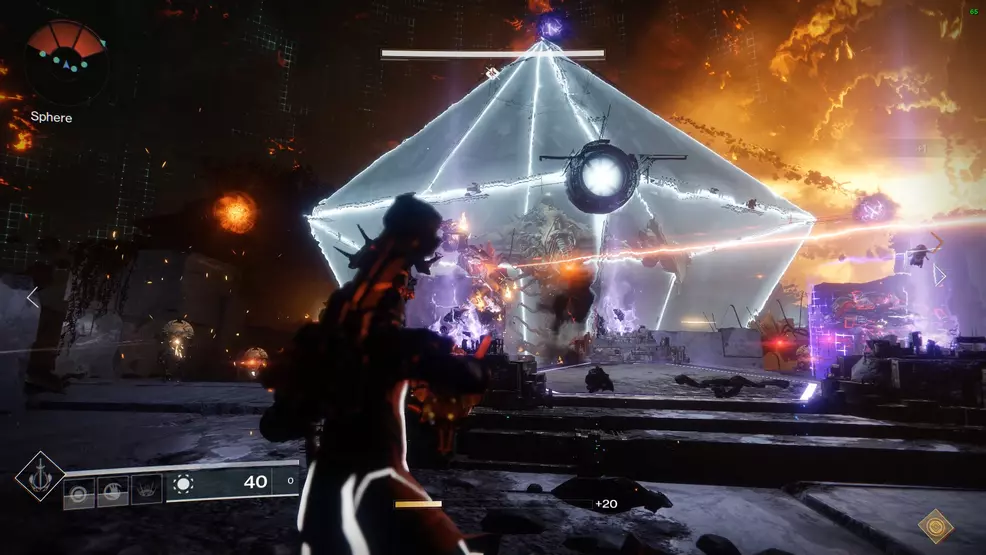
Once the correct Vex Craniums are charged, they can be fired at the elemental orbs, making sure to “drag” the orbs toward the center of Argos’ shield. When all three orbs make it to the center, Argos’ shield will break, allowing you to shift to the damage phase.
Two Damage Cycles Per Shield Phase
While only three Vex Craniums are required to take down Argos’ shield, it is a good idea to have the three extra Vex Craniums charging as they deal an incredible amount of damage to Argos. However, there is an even more important reason: you can break Argos’ shield twice before the Ring Phase, allowing you to gain two Damage Phases per Shield Phase. This is an example of what it might look like.
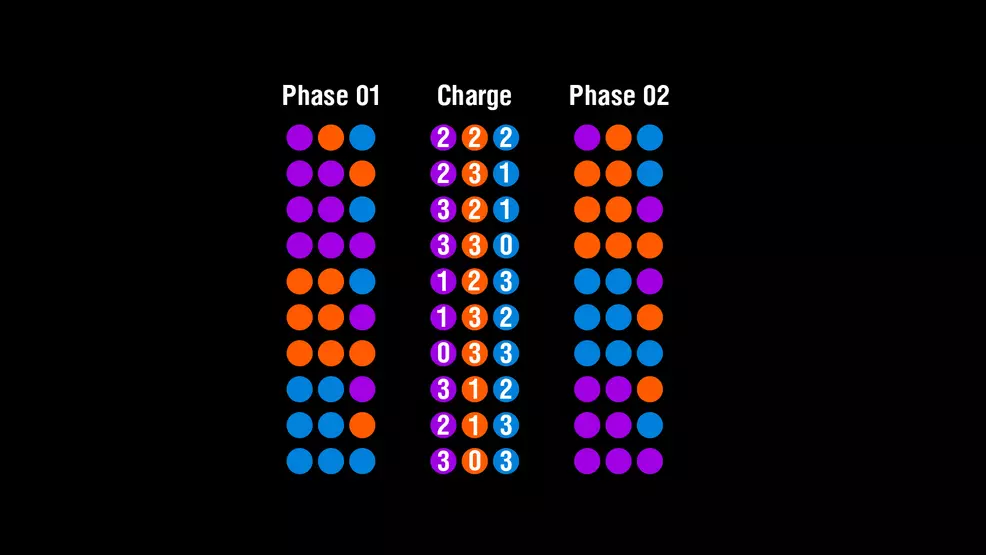
Direct link: Argos Orb Charge Cheat Sheet.
You will take down Argos’ shield, deal damage to him, and then his shield will go back up. Three more elemental orbs will appear, but you won’t have enough time to charge them. The orbs disappear and the Ring Phase begins. There is a way to take down Argos’ shield a second time, and here’s how it works.
When a Shield Phase starts and the elemental orbs appear, a pattern begins for that Shield Phase. Any elemental orb that is Void, will be Solar in the second damage cycle, and Solar will be Arc, and any Arc will be Void.
Using the example above, the two Void and one Arc orbs will become two Solar and one Void for that short period when Argos’ shields return before the Ring Phase. It can be confusing, but by using the above image, you will know what orbs will appear next, as well as how many of a given element you need to charge.
To do this effectively, you need to ensure that all the Vex Craniums are charging on their correct plate, and that only the three Vex Craniums you need in order to break the shield are removed from the charge. Leaving the other three Vex Craniums on the charging plates allows them to be immediately available for the second damage cycle.
Here’s how it would work on during a run: The elemental orbs are called out (two Void, one Arc) at which point a player reads the above image and notifies how many of each element must be charged (three Void, two Solar, one Arc). Once the first three correct Vex Craniums are charged, they are collected and taken to the plate Argos if facing – the other three Vex Craniums are left alone. The orbs are shot toward the center, Argos’ shield goes down, and all six players damage Argos. The shield will go back up, at this point, the other three Vex Craniums can be collected and taken to the next damage plate and Argos’ shield can be taken down a second time. When the Vex Craniums are being collected a second time, three more will spawn – this can be brought and charged at the damage plate for additional damage.
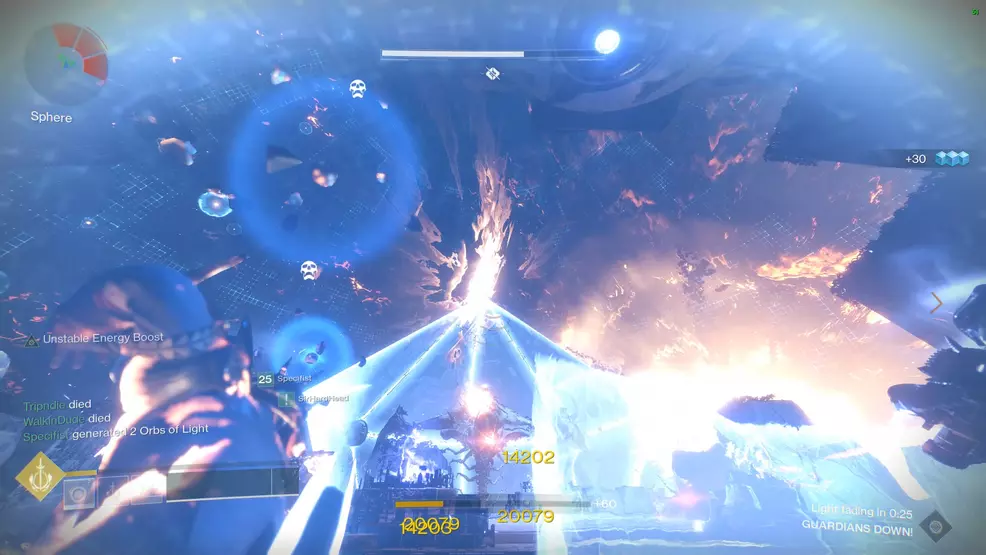
Argos Damage Phase
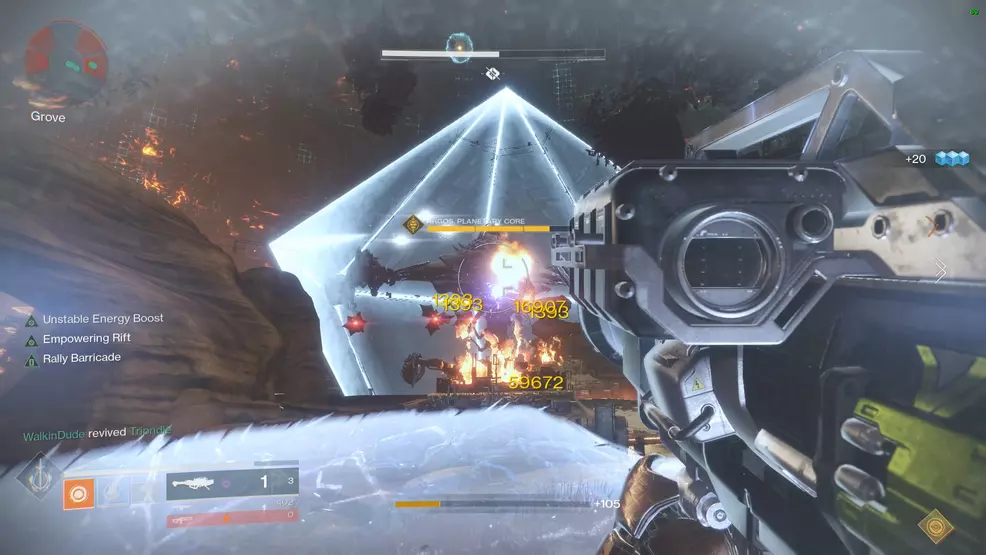
After Argos’ shield goes down, you will receive a buff called Unstable Energy Boost, allowing you to deal considerable damage to Argos. At this point, all players should focus on dealing maximum damage to Argos. If there are spare Vex Craniums (specifically during the second damage cycle), they can be used to deal huge damage to Argos. Alternatively, Rocket Launchers with Cluster Grenades and Auto Rifles deal considerable high damage.
During the Damage Phase, Argos will perform two types of additional attacks on top of his standard Void guns. He will shoot out a net that detains any players hit and float them off into the abyss. You must shoot any detained players in order to free them.
Argos’ second attack is six homing Harpy-missiles. These deal considerable damage and are more than capable of destroying an entire team. Thankfully, they can be destroyed well before they hit you, so ensure you shoot them when they appear.
When Argos’ shield goes up, if it’s the first damage cycle of a Damage Phase, get ready to take his shield down again and deal more damage. If it’s the second damage cycle of a Damage Phase, get ready for the Ring Phase.
Argos Ring Phase
The Ring Phase occurs after a Damage Phase, where a Damage Phase consists of two damage cycles. Regardless of how many damage cycles you complete, Argos will always enter the Ring Phase, which is a wipe mechanic that will kill your entire team if you do not destroy two parts of Argos body.
Rings will appear around Argos which can be climbed in order to gain a better angle on some of the vulnerable body parts. The body parts are: upper arms, arm pits, and hump. These appear as white sections on Argos’ body.
During the Ring Phase, Argos will begin charging a Void blast. As a team, select any two white parts to destroy (one arm and arm pit, two arms, one hump and one arm, etc). Destroying a white body part isn’t about raw damage, it’s about sustained damage. Shooting a body part will turn it from white to red, and you must keep it red in order to destroy it. Use Auto Rifles or similar to damage the sections.
When two body parts are destroyed, Argos’ Void blast will be interrupted and you can begin another Shield Phase.
Argos Recommended Builds
Ideally, you want your team to consist of primarily long-range Supers, as taking down enemies from afar will help with survivability, especially during the Vex Cranium charging section. Any of the Warlock classes perform well, especially the Dawnblade using Solar Grenades and Sunbracers. When using the Attunement of Flame, the Dawnblade has massive add-clear potential. Warlocks should be using Empowering Rift for the bonus damage.
While the Striker Titan offers two Pulse Grenades, the clearing potential of the Sunbreaker shouldn’t be overlooked, nor should the Sentinel. However, the most important perk is the Rally Barricade, as it helps a team of six unleash dozens of rockets in a short span of time while also ensuring sustained DPS during a Damage Phase.
As for the Hunter, the Nightstalker is an obvious choice with its Orb of Light generation potential, especially when coupled with Orpheus Rig. The next obvious choice is Gunslinger using a Celestial Nighthawk, as this allows the Hunter to deal grotesque amounts of damage.
As for the weapons your team should be using, Auto Rifles are an absolute must. Out of all the available weapons, Auto Rifles are able to deal the highest DPS. You will also want to ensure you have a Void energy weapon to take down the Minotaur shields – preferably an Auto Rifle for better DPS during Damage and Ring Phases. Your weapon setup should look something like this:
- Kinetic: Auto Rifle (Origin Story, Scathelocke, Ghost Primus, The Forward Path)
- Energy: Void-based Auto Rifle (Uriel’s Gift, Positive Outlook), Prometheus Lens (provided the nerf hasn’t hit it too hard)
- Power: Rocket Launcher (Curtain Call, Sins of the Past)
More than anything, the Argos fight in the Eater of Worlds raid is a DPS challenge. If you’re unable to earn two damage cycles per Damage Phase, you may find yourself using all four possible Damage Phases to take down Argos.
There’s a lot to go over here, but if your team understands the basic principles, and if you have a decent raid leader who can rally the troops, you should have no trouble defeating Argos, Planetary Core in the Eater of Worlds Raid Lair in Destiny 2. Be sure to check out our Destiny 2 Complete Strategy Guide for more detailed walkthroughs.

